These steps enable you to integrate GSuite with SmarterU. To set up GSuite with SmarterU:
- Complete the following steps in GSuite:
- Configure GSuite in SmarterU.
Adding the SmarterU SAML App
To add the SmarterU SAML app to GSuite:
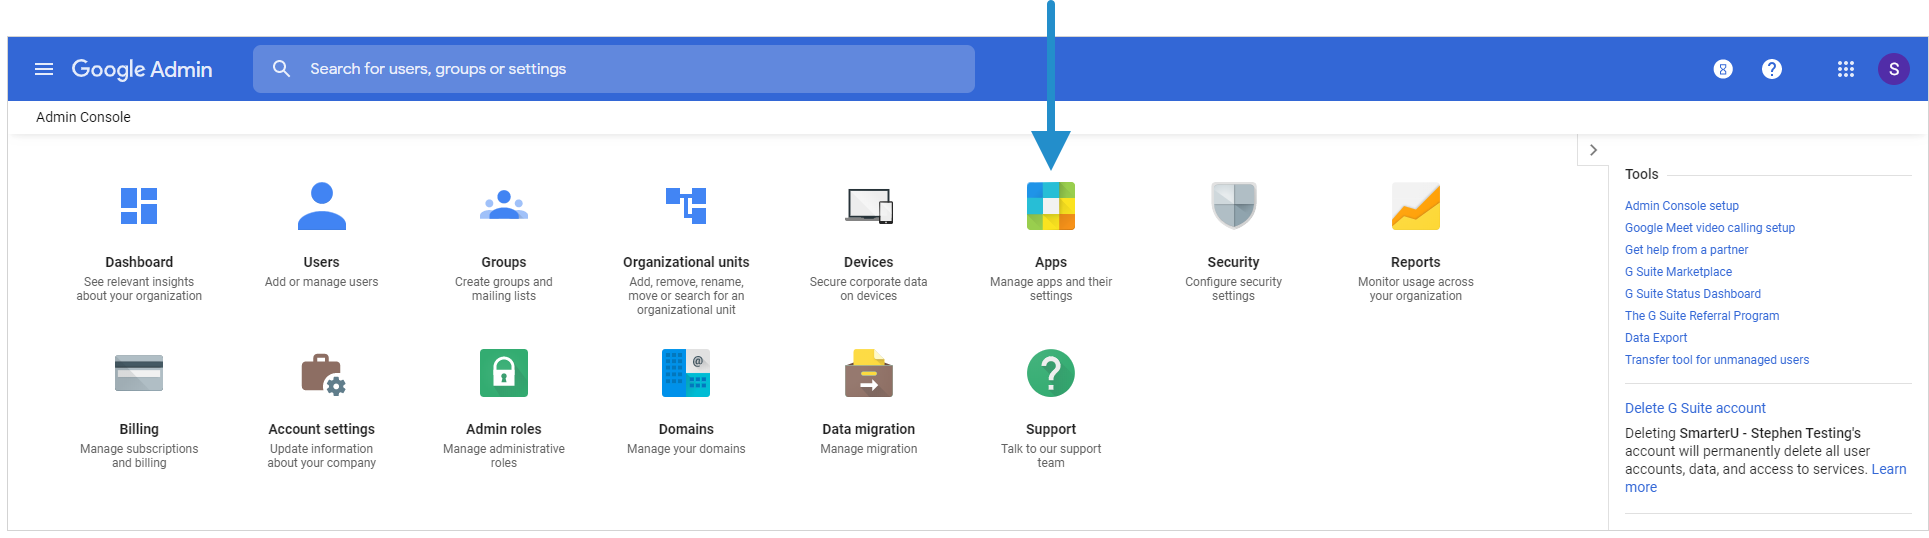
- From the Google Admin home page, click Apps.
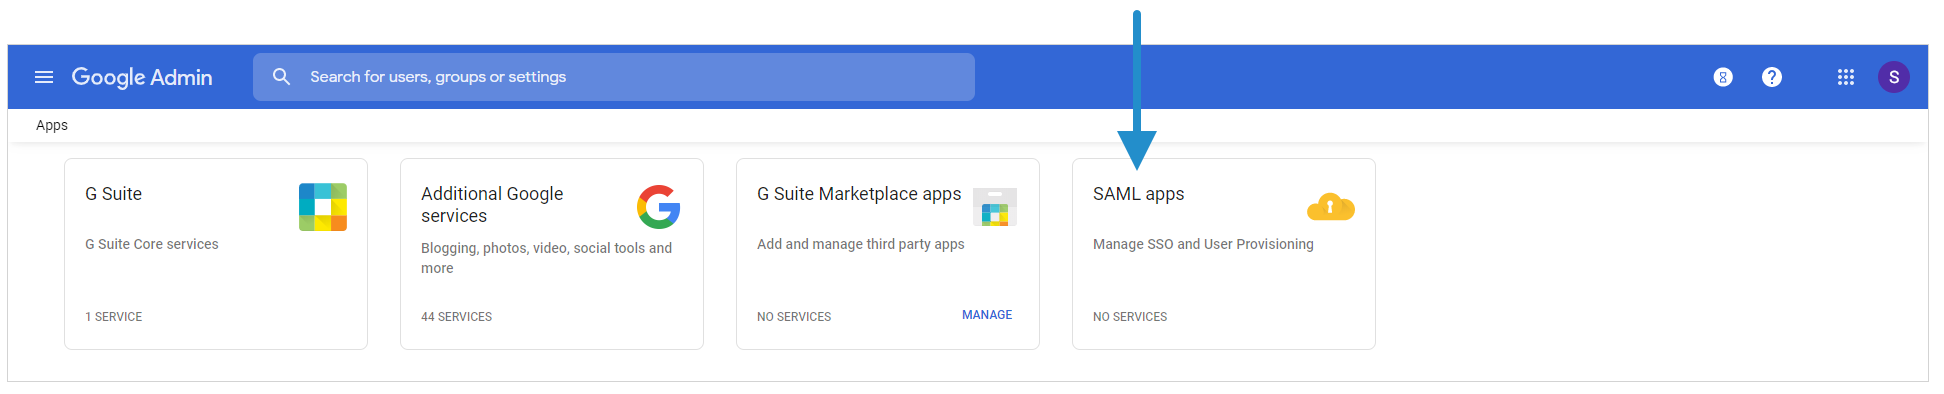
- Click SAML Apps.
- Click Add a Service/App to Your Domain.

- Click Setup My Own Custom App. The Google IdP Information window displays.
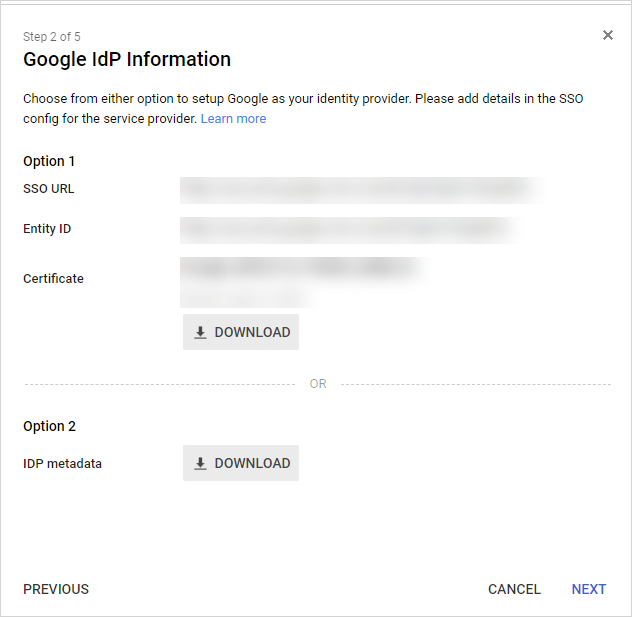
- Make note of the SSO URL. You'll need this information for the Login URL that you'll specify in a later step.
- Click Download beside Option 2 IDP Metadata to save the app's metadata. You'll need this when you specify the IdP Metadata in SmarterU.
- Click Next. The Basic Information for Your Custom App window displays.
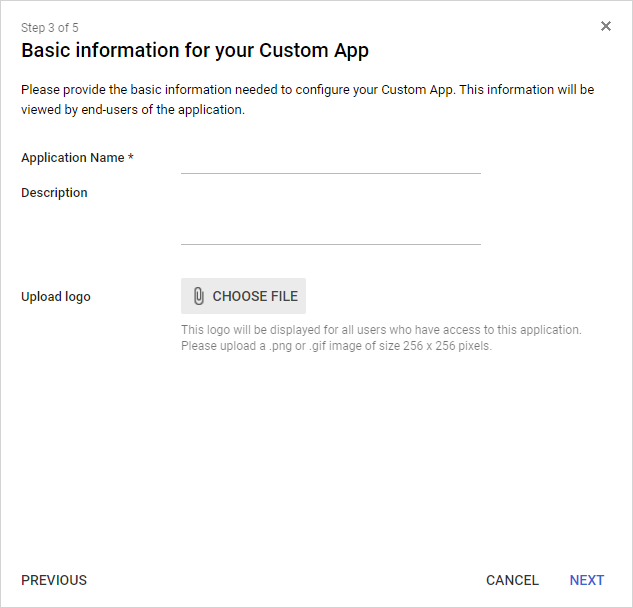
- Enter a name and description for the app.
- Click Next. The Service Provider Details window displays.
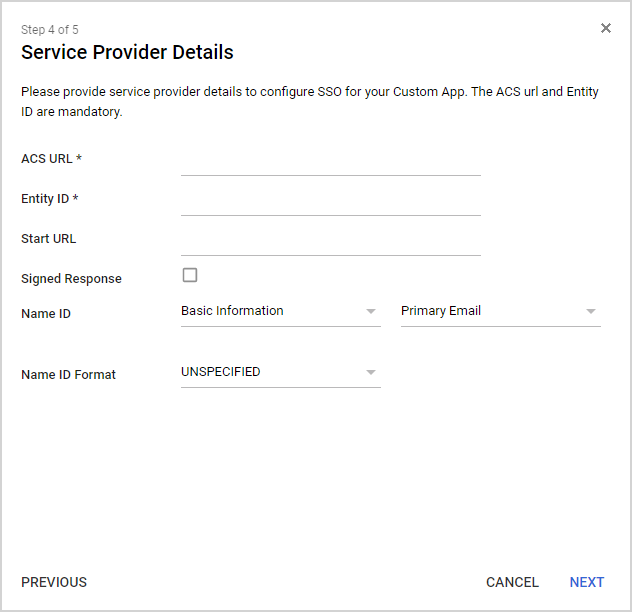
- Enter the following information.
Setting | Value |
|---|---|
ACS URL | https://integrations.smarteru.com/integrations/saml/ |
Entity ID | http://integrations.smarteru.com/ |
Name ID | Basic Information and Primary Email |
- Click Next. The Attribute Mapping window displays.
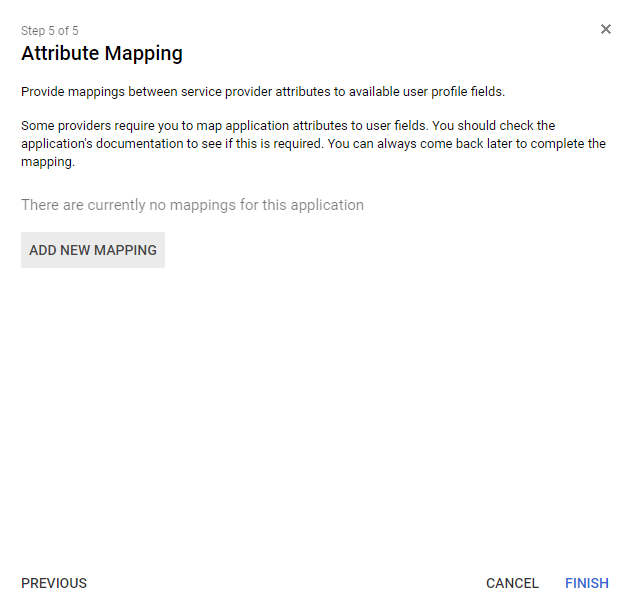
- Click Finish.
- Make note of the SAML ID that's at the end of the URL. You'll need this information when you configure SmarterU.
NEXT STEP: Grant user access to SAML app.
Granting a User Access to the SAML App
To grant a user access to the SmarterU SAML app:
- From the Google Admin home page, click Users.
- Add the user if you haven't already.
- Scroll down to the user's Apps section.
- Click Turn Apps On or Off.
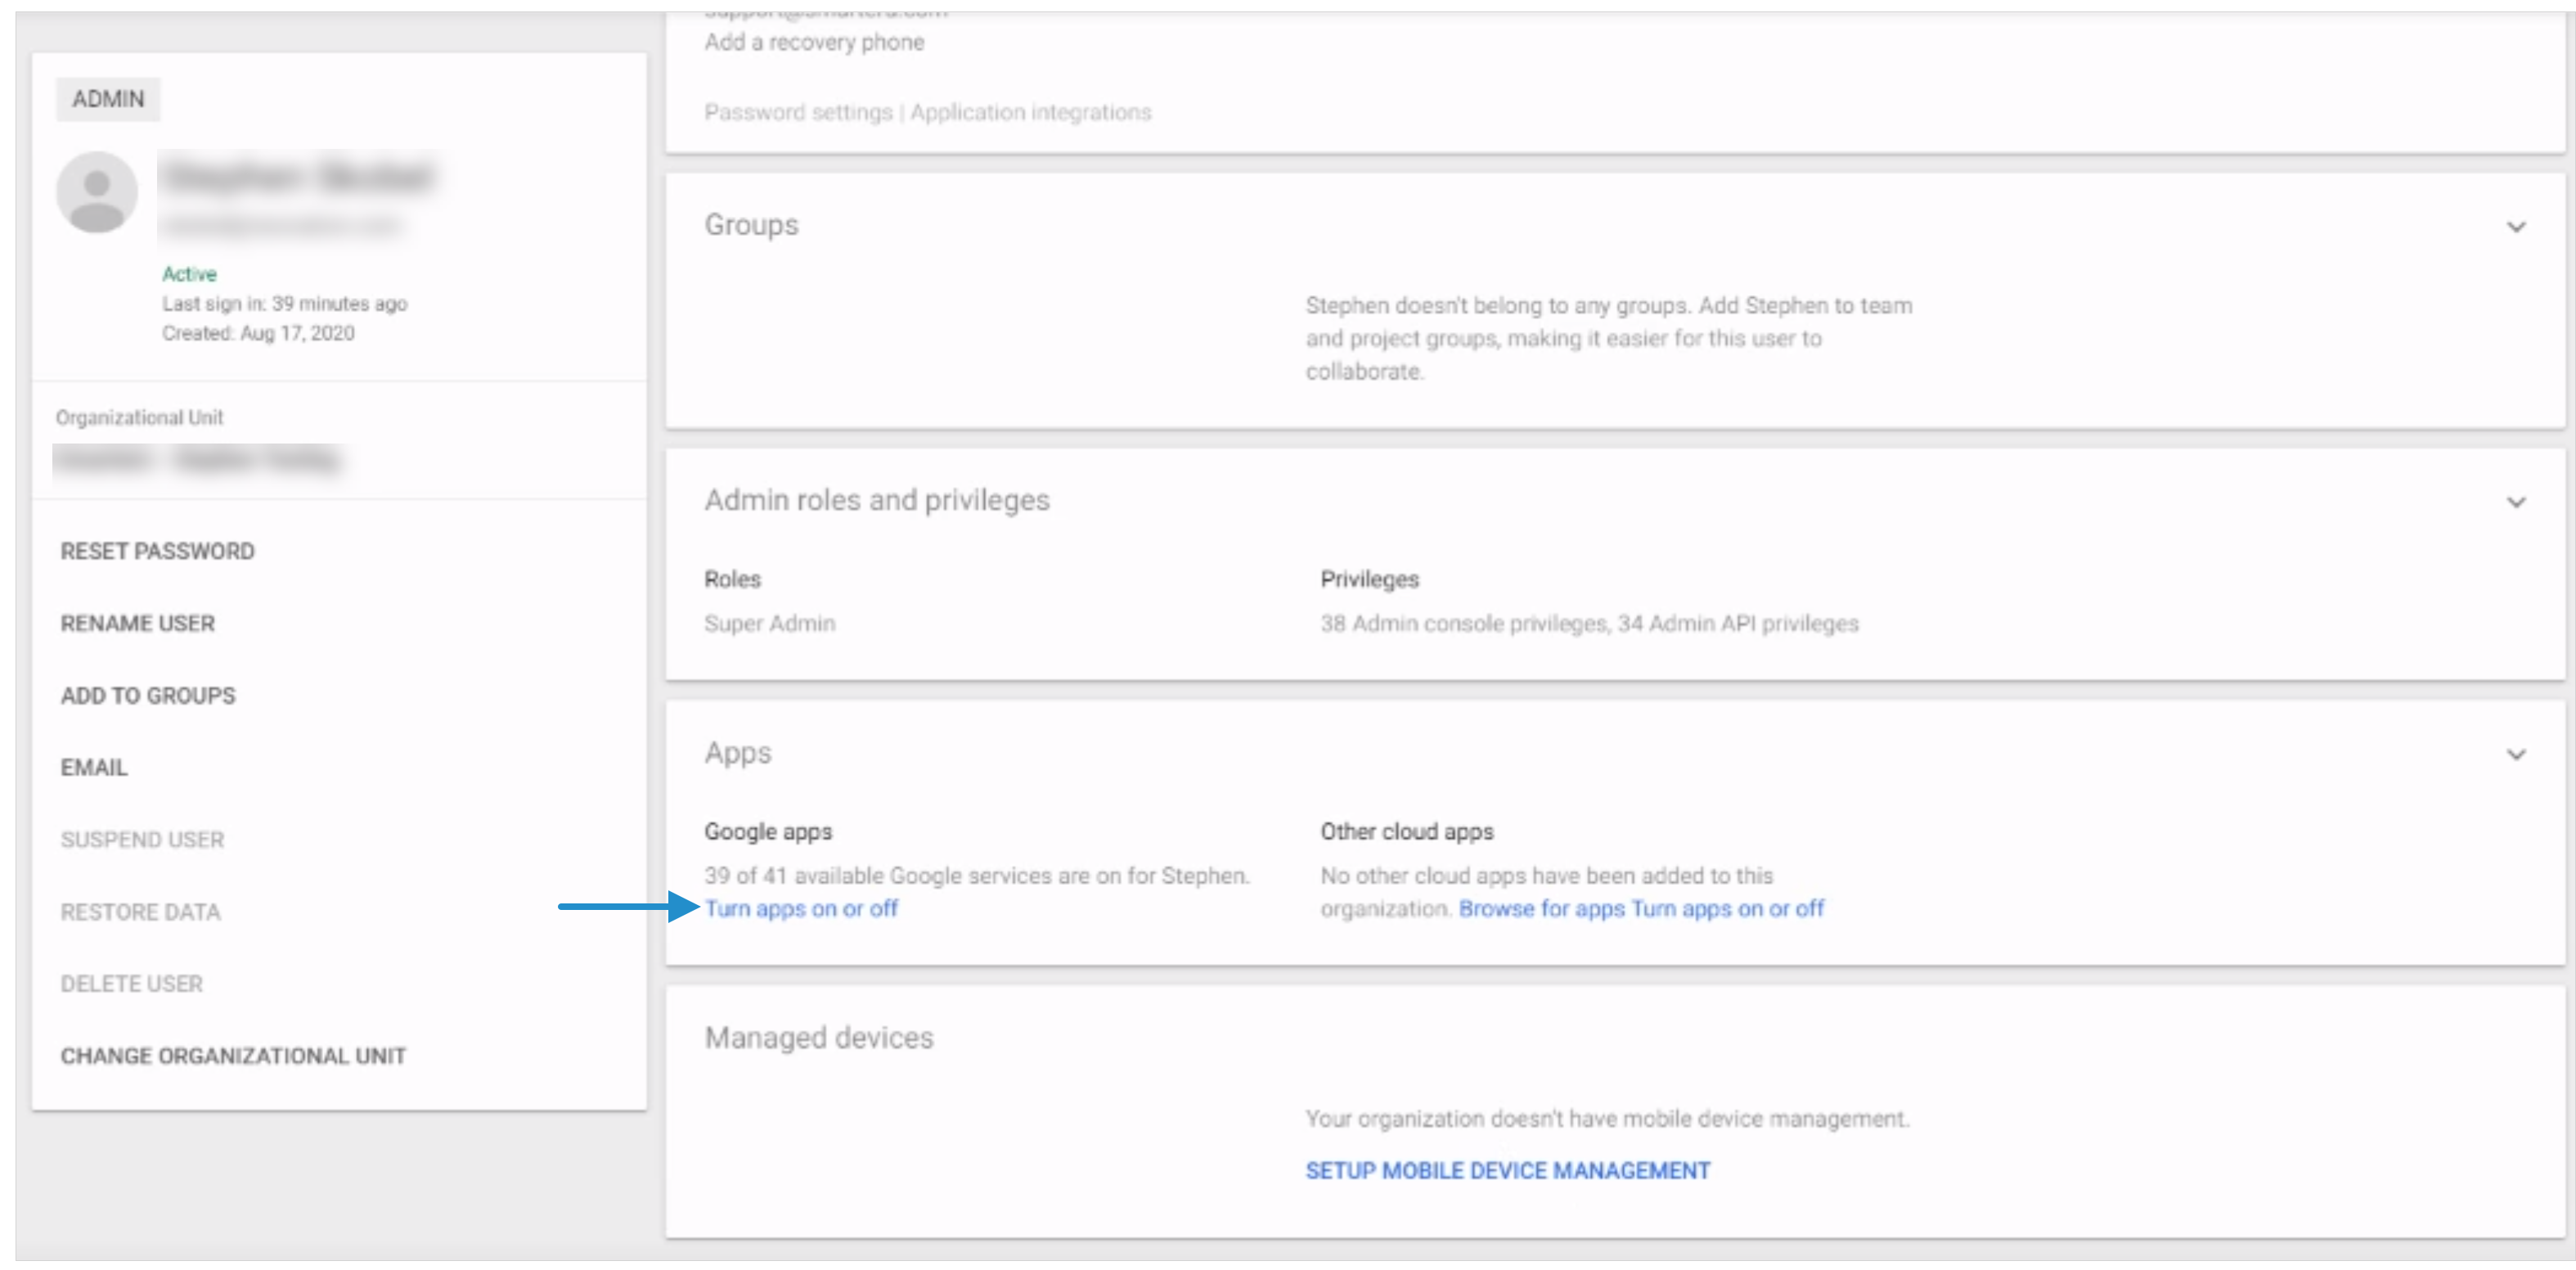
- Ensure that the SmarterU app is enabled for the user.
NEXT STEP: Configure SmarterU.
Configuring SmarterU
BEFORE YOU BEGIN
Be sure that you have the SSO URL and the SAML ID from the Adding the SmarterU SAML App section.
To configure single sign-on in SmarterU:
- Enable external authorization for your SmarterU account.
- In the Login URL field, enter the following URL. You'll need to replace <IDP_ID> with the SSL URL from step 5 of the Adding the SmarterU SAML App section and <SAML_ID> with the identifier from step 12.
https://accounts.google.com/o/saml2/initsso?idpid=<IDP_ID>&spid=<SAML_ID>&forceauthn=false- Select the Enable SAML checkbox.
- Specify the following settings.
| Setting | Value |
|---|---|
IdP Metadata | Paste the contents of the metadata file that you downloaded in step 6 of the Adding the SmarterU SAML App section. |
Identifier Attribute/Claim | Name ID |
Identifier Type | Select Email or Employee ID based on what your organization is using. |
- Click Save.