Integrating SmarterU with Microsoft Entra ID (formerly Azure Active Directory) allows you to:
Control who has access to SmarterU from Microsoft Entra ID
Automatically sign users into SmarterU using their Microsoft Entra accounts (i.e. single sign-on)
Manage your accounts from the Microsoft Entra admin center
If you want to integrate Azure Active Directory (AD) B2C using OpenID, refer to Setting Up Azure Active Directory B2C.
Be sure you have a Microsoft Entra ID subscription. You can create a free account by visiting https://azure.microsoft.com/en-us/free/entra-id.
To set up Microsoft Entra ID with SmarterU:
Create a user in Microsoft Entra ID. See note about creating a test user, below this list.
Assign the SmarterU app to the user. See note about creating a test user, below this list.
Add the user to SmarterU. See note about creating a test user, below this list.
For single sign-on to work, you need to create a relationship between a Microsoft Entra ID user and the related SmarterU user. We recommend completing steps 5-7 for a test user before creating additional user accounts to ensure that you've properly established the relationship between Microsoft Entra ID and SmarterU. After you've tested single sign-on for your test user, you'll need to complete steps 4-6 for each user.
Adding SmarterU as a Managed App
To add SmarterU as a managed app in Microsoft Entra ID:
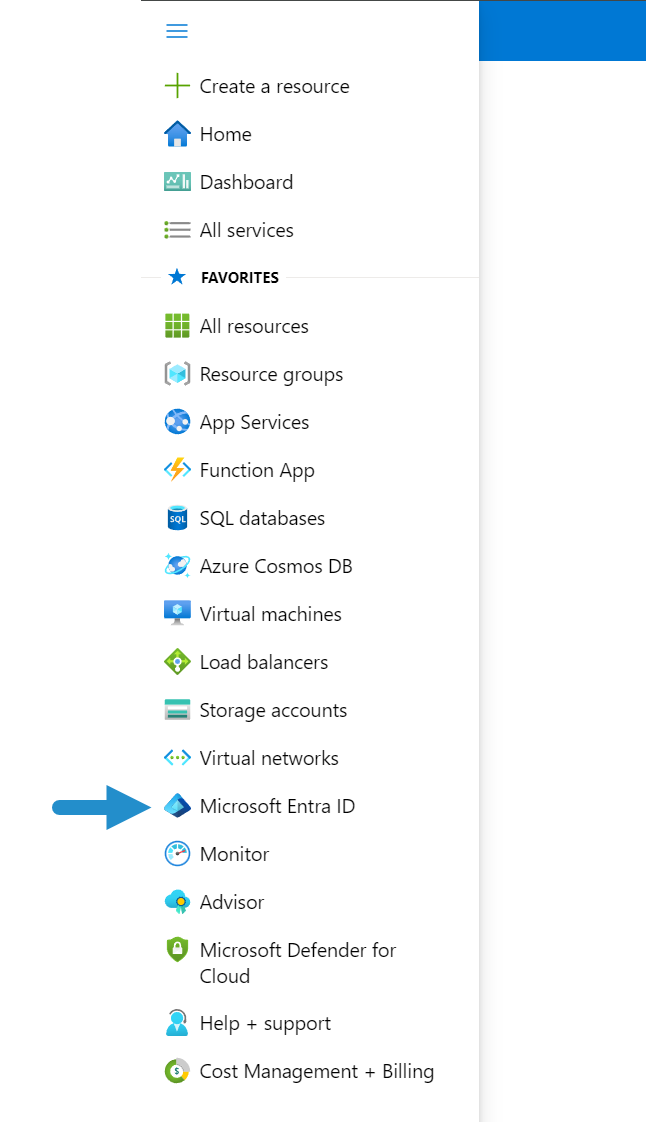
From the left menu in Microsoft Entra ID, select Microsoft Entra ID.
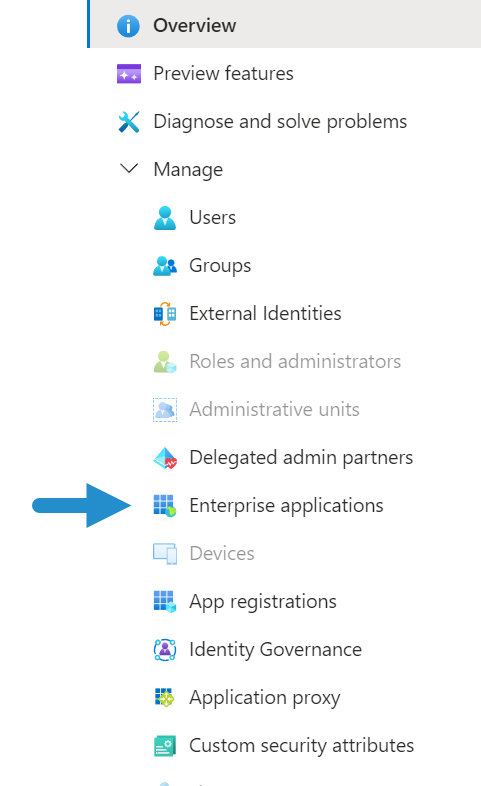
From the sub-menu, select Enterprise Applications.
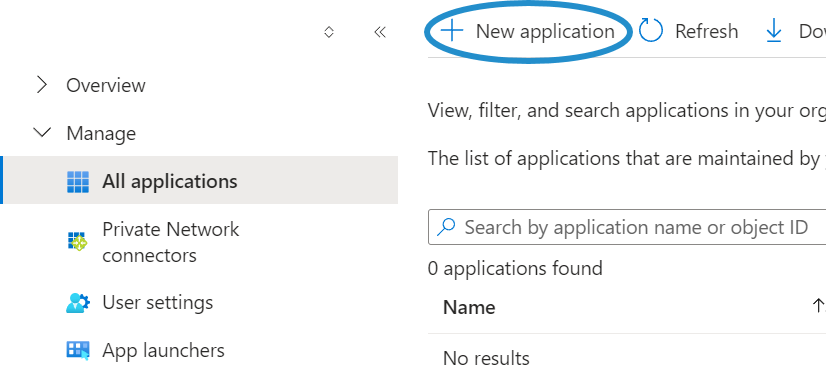
Ensure All Applications is selected.
Click New Application.
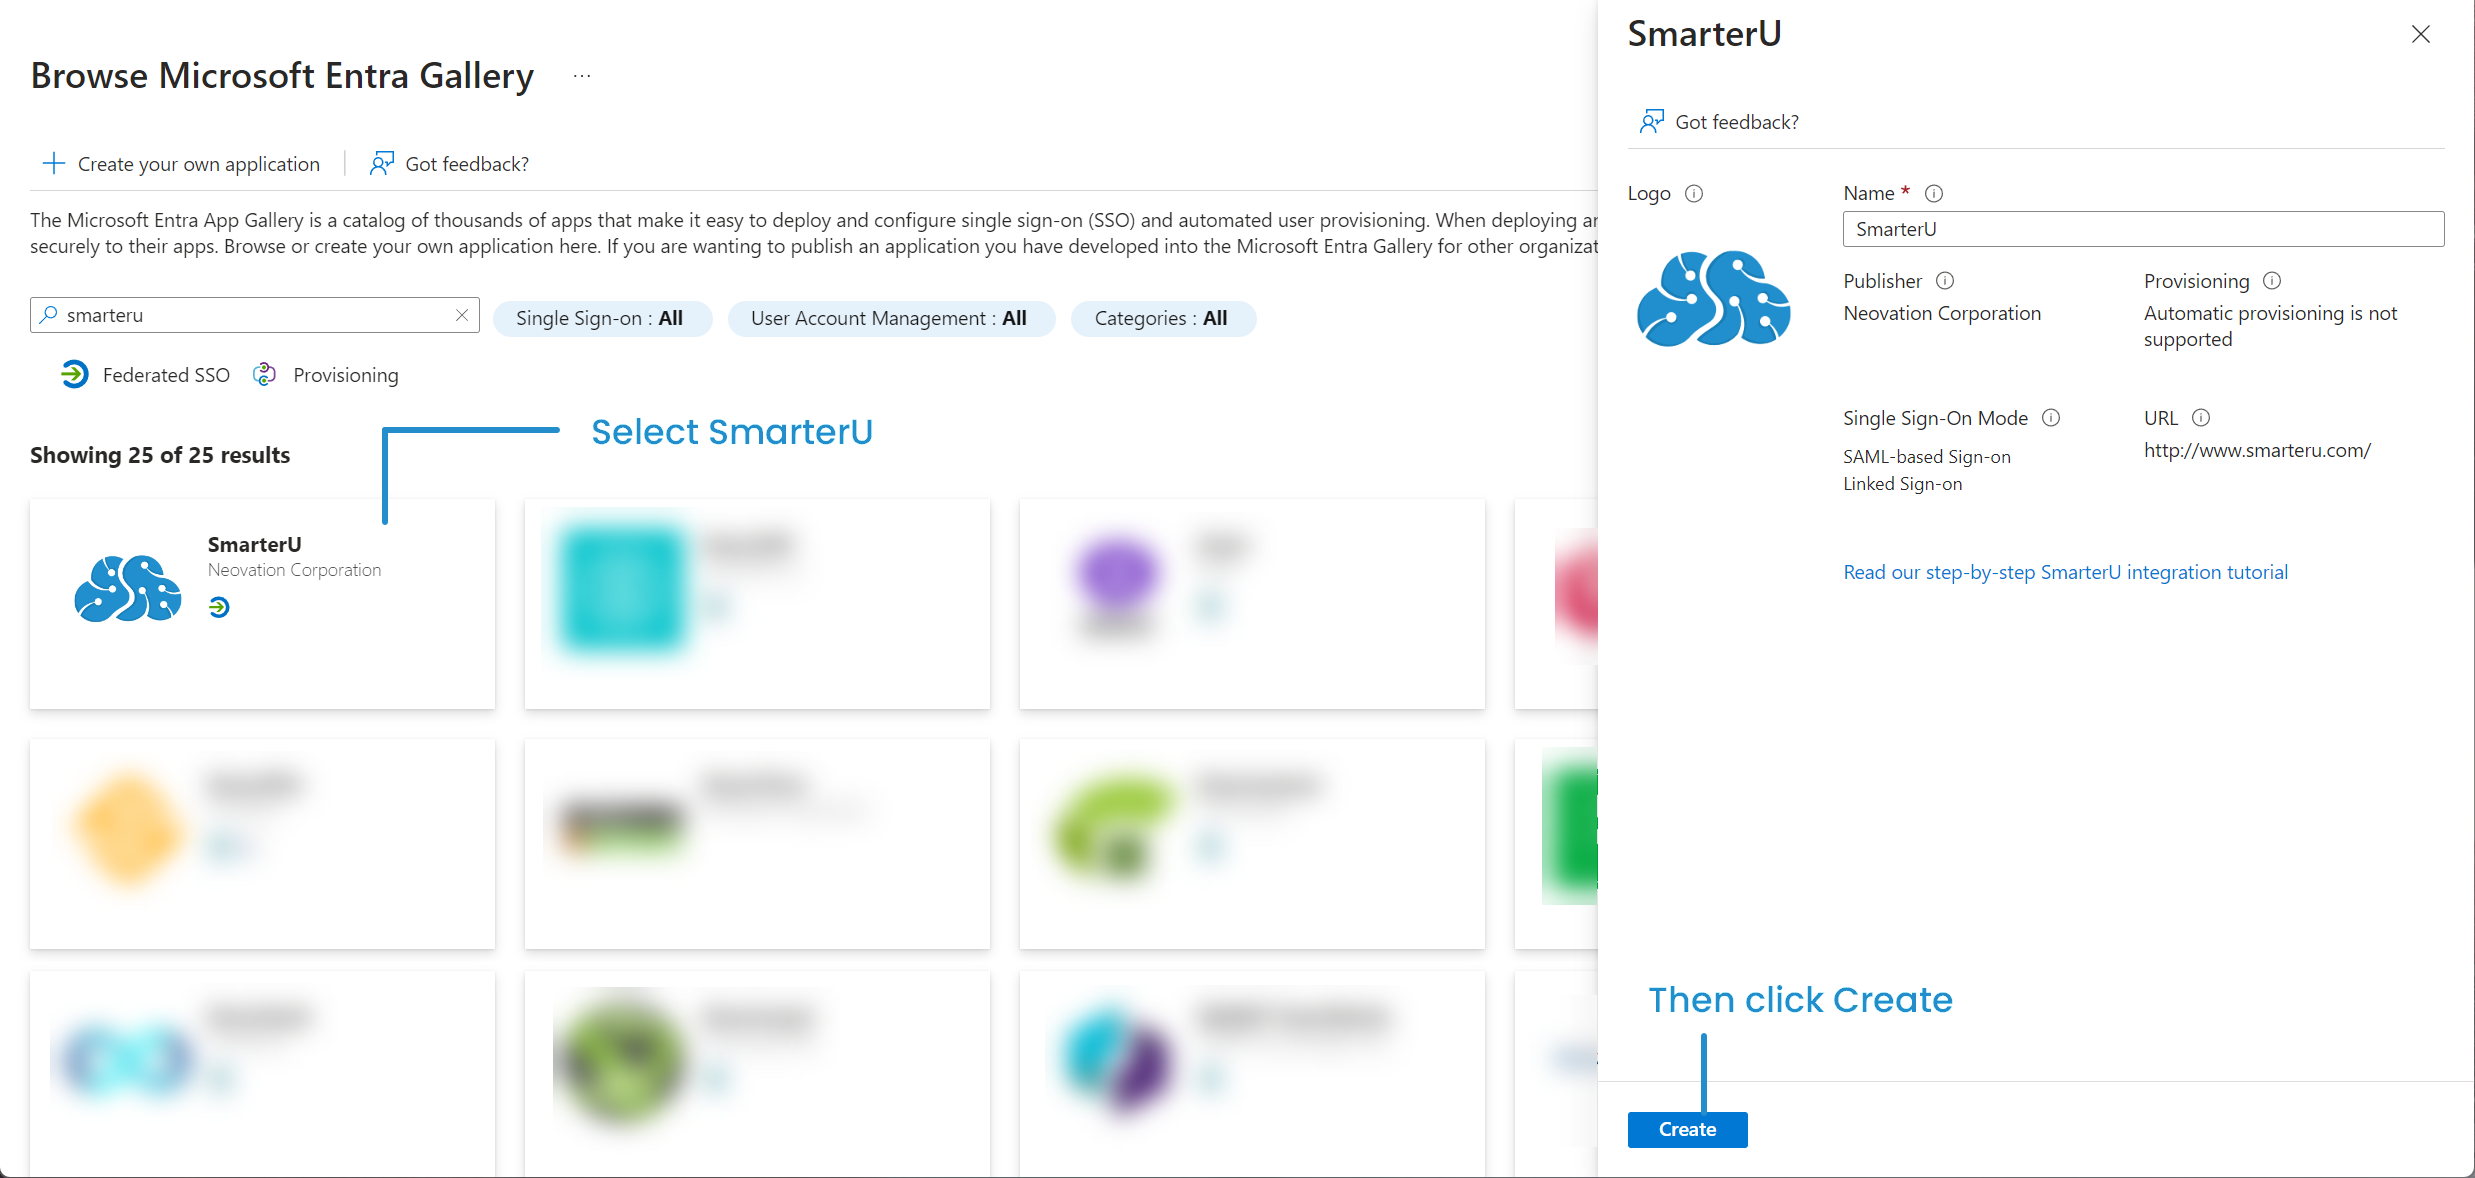
Enter SmarterU in the search field.

The SmarterU application displays in the search results.
Click SmarterU.
Click Create.
NEXT STEP: Configure single sign-on in Microsoft Entra ID.
Configuring Single Sign-On in Microsoft Entra ID
To configure single sign-on in Microsoft Entra ID:
From the SmarterU - Overview page's menu, select Single Sign-On.
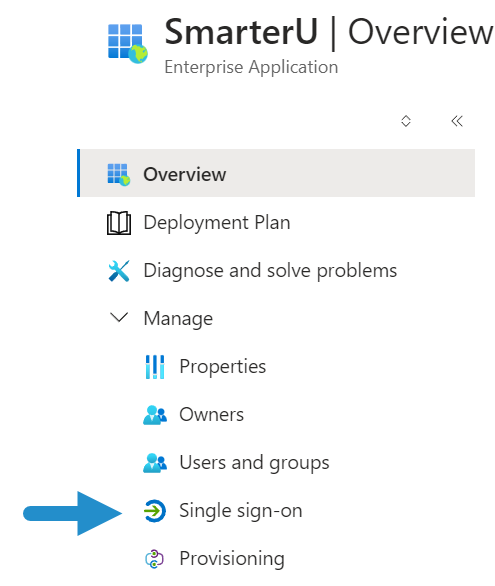
Select SAML.
From the Basic SAML Configuration section, click
 . The Basic SAML Configuration workscreen displays.
From the Basic SAML Configuration workscreen:
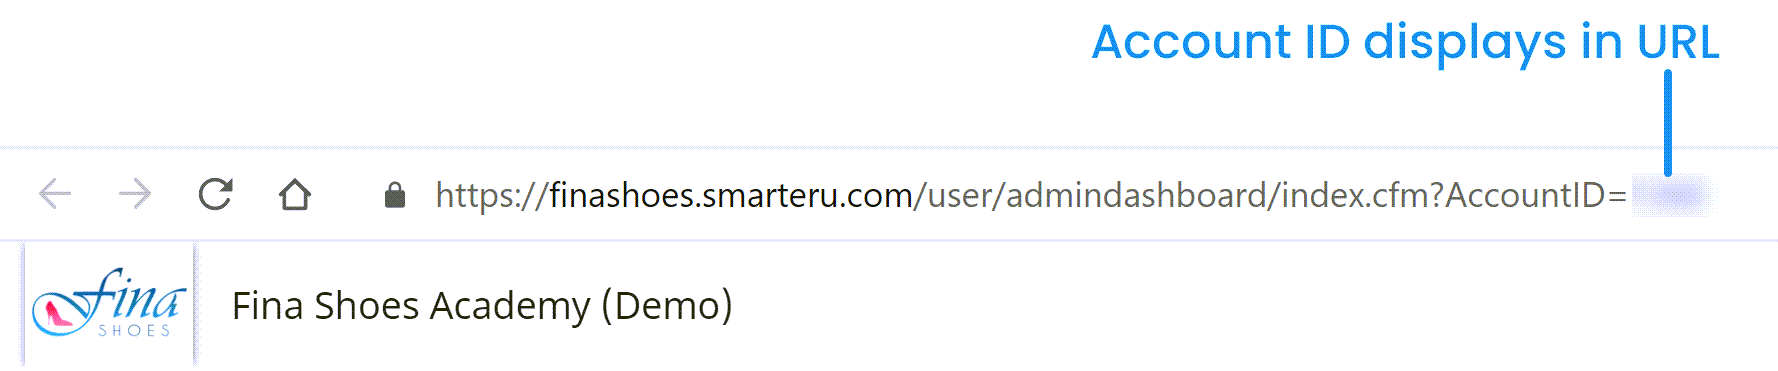
In the Identifier field, be sure the identifier is https://integrations.smarteru.com/<accountID>, where you replace <accountID> with your account's ID.
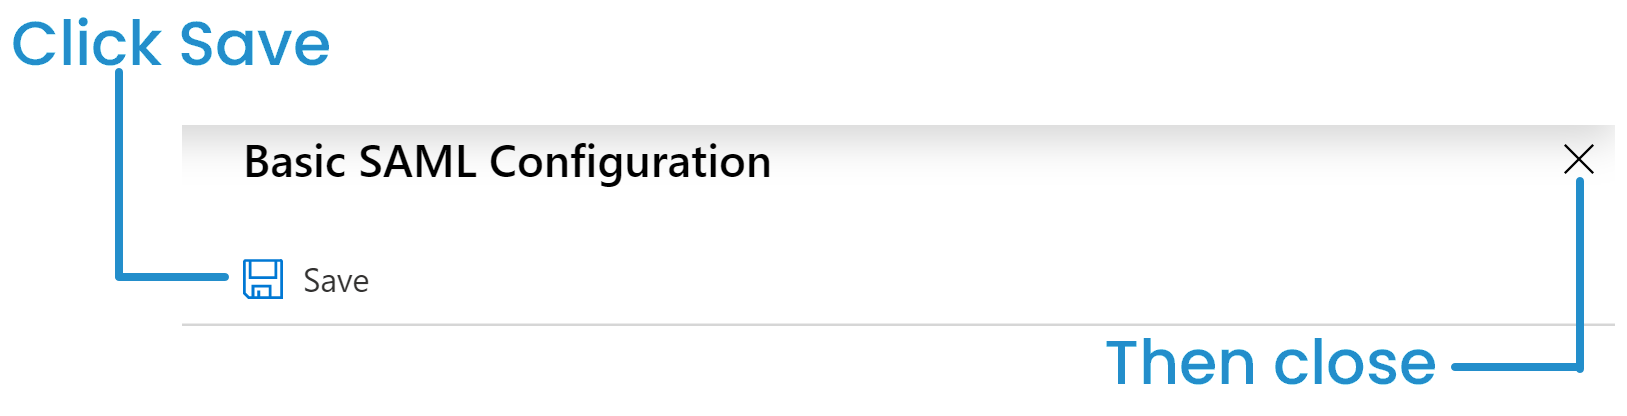
Click Save.
Click
 to close the Basic SAML Configuration workscreen.
On the SmarterU - SAML-Based Sign On page, scroll down to the SAML Certificates section.
From the SAML Signing Certificate section, click the Download link beside Federation Metadata XML.
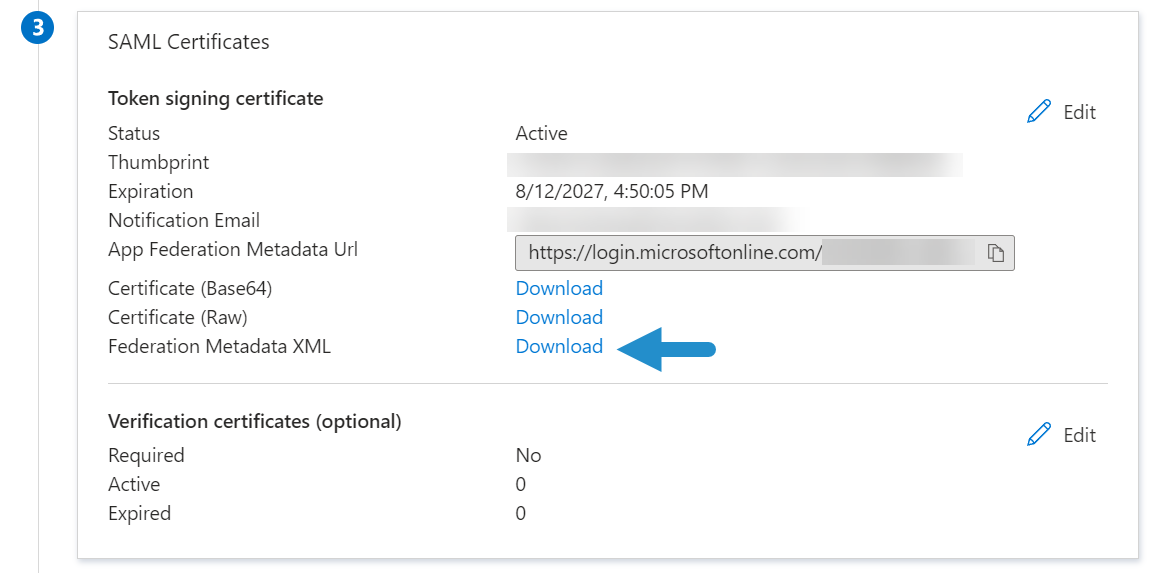
Save the file to your computer. You'll need this file in the Configuring Single Sign-On in SmarterU step.
NEXT STEP: Determine the URL users will use to log in.
Determining the URL Users Will Use to Log In
To determine the URL that users will use to log in:
From the left menu in Microsoft Entra ID, select Microsoft Entra ID.
Select Enterprise Applications.
From the list of applications, select SmarterU.
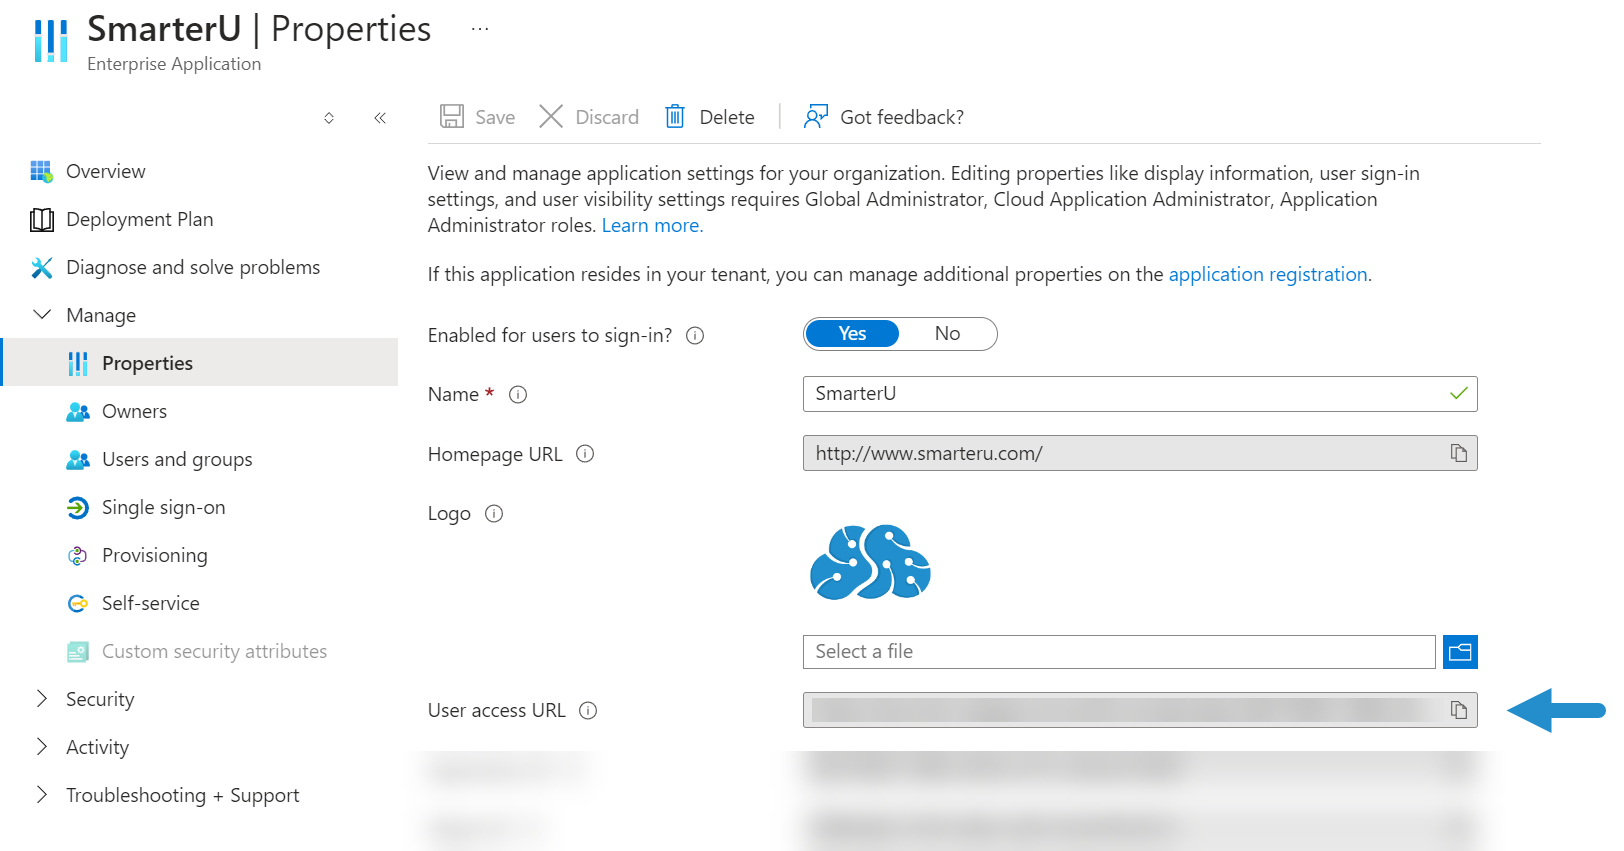
Select Properties.
Locate the User Access URL. This is the URL that users will use to log in.
NEXT STEP: Configure single sign-on in SmarterU.
Configuring Single Sign-On in SmarterU
To configure single sign-on in SmarterU:
Enable external authorization for your SmarterU account.
Specify the following settings:
Setting | Value |
|---|---|
Select the SmarterU option. | |
Select the SmarterU option. | |
Check the Enable SAML checkbox. | |
Use Notepad to open the Federation Metadata XML certificate that you downloaded in the Configuring Single Sign-On in Microsoft Entra ID section. Copy the contents of the certificate file and paste it into the IdP Metadata field. | |
Select the identifier you want to use for log in. | |
Select the identifier type. |

Click Save.
NEXT STEP: Create a user in Microsoft Entra ID.
Creating a User in Microsoft Entra ID
To create a user in Microsoft Entra ID:
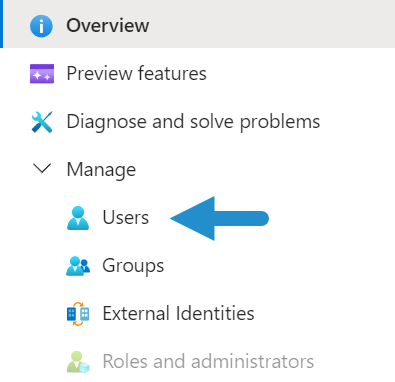
From the left menu in Microsoft Entra ID, select Microsoft Entra ID.
Select Users.
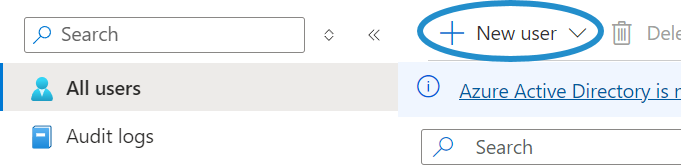
Ensure All Users is selected.
Click New User.
Select Create New User.
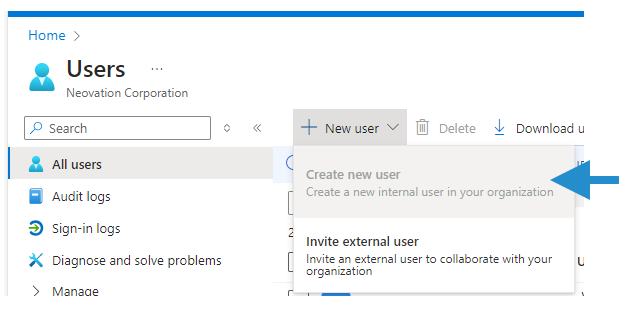
The Create New User workscreen displays.
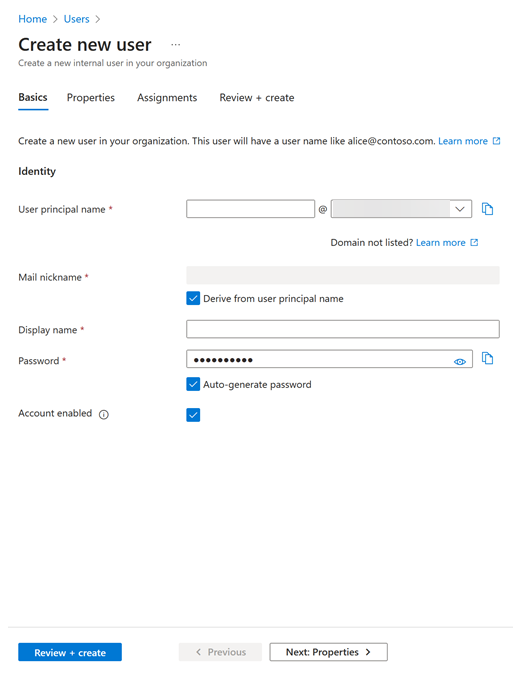
Specify the following settings in the Create New User workscreen.
Setting | Value |
|---|---|
The user's email address. NOTE: If you're using the user's email address to link Microsoft Entra ID to SmarterU, make note of the user's email address. You will need to use this email address when you create the user in SmarterU. | |
Display Name | The user's full name. |
Password | Do one of the following:
|
Click Review + Create.
Click Create.
NEXT STEP: Assign the SmarterU app to the user.
Assigning the SmarterU App to the User
You must assign the SmarterU app to the user in order for it to display in the user's Microsoft Entra Access Panel.
To assign the SmarterU app to the Microsoft Entra ID user:
From the left menu in Microsoft Entra ID, select Microsoft Entra ID.
Select Enterprise Applications.
Select All Applications.
From the list of applications, select SmarterU.
Select Users and Groups.
Click Add User/Group. The Add Assignment workscreen displays.
Click Users.
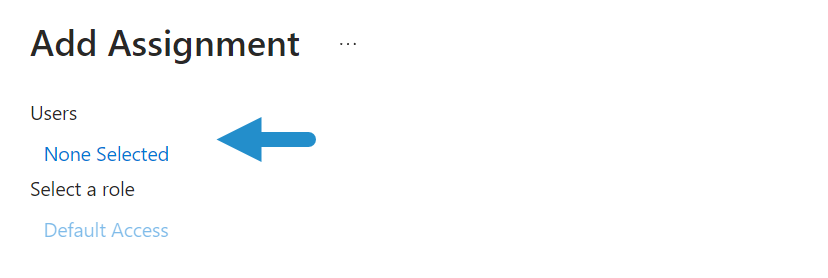
The Users panel displays.
Select the checkbox beside the user's name. The user's name displays in the Selected section of the panel.
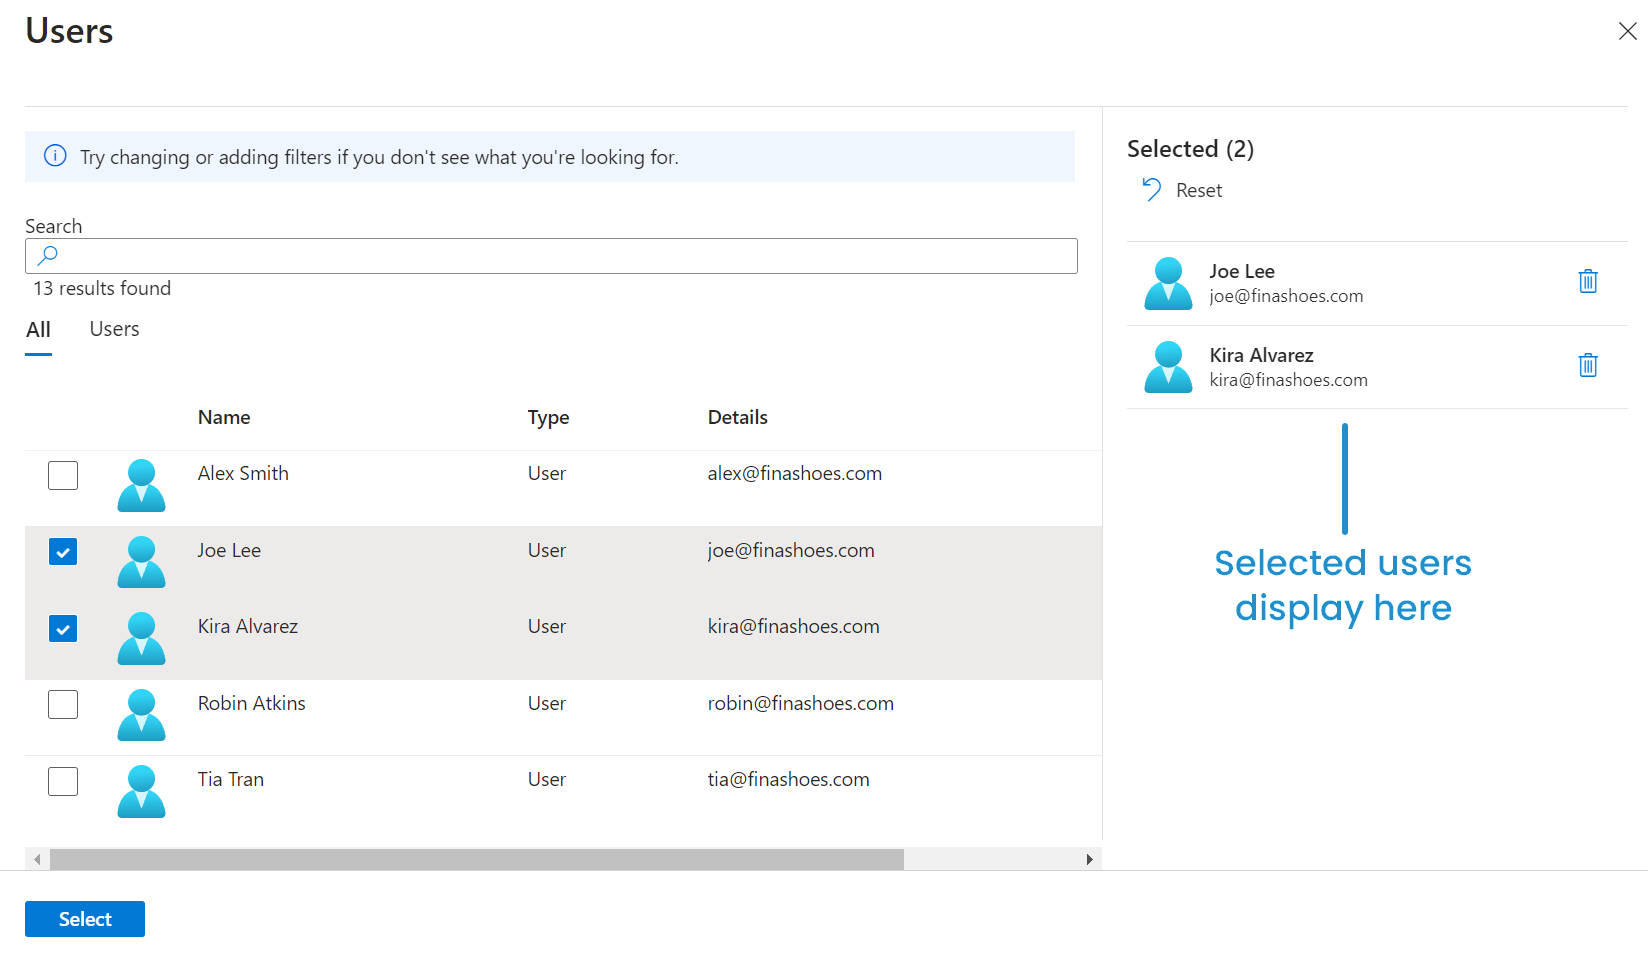
Click Select. The Add Assignment workscreen reflects the number of users that were selected.
Click Assign.
NEXT STEP: Adding the user to SmarterU.
Adding the User to SmarterU
To add the user to SmarterU:
Follow the steps detailed on the Adding a User Manually page.
Be sure that the email address specified matches the user's Microsoft Entra ID email address.
Log in with single sign-on using the test user.
Troubleshooting
If your users are having trouble logging in, refer to our Troubleshooting User Accounts page for common issues.