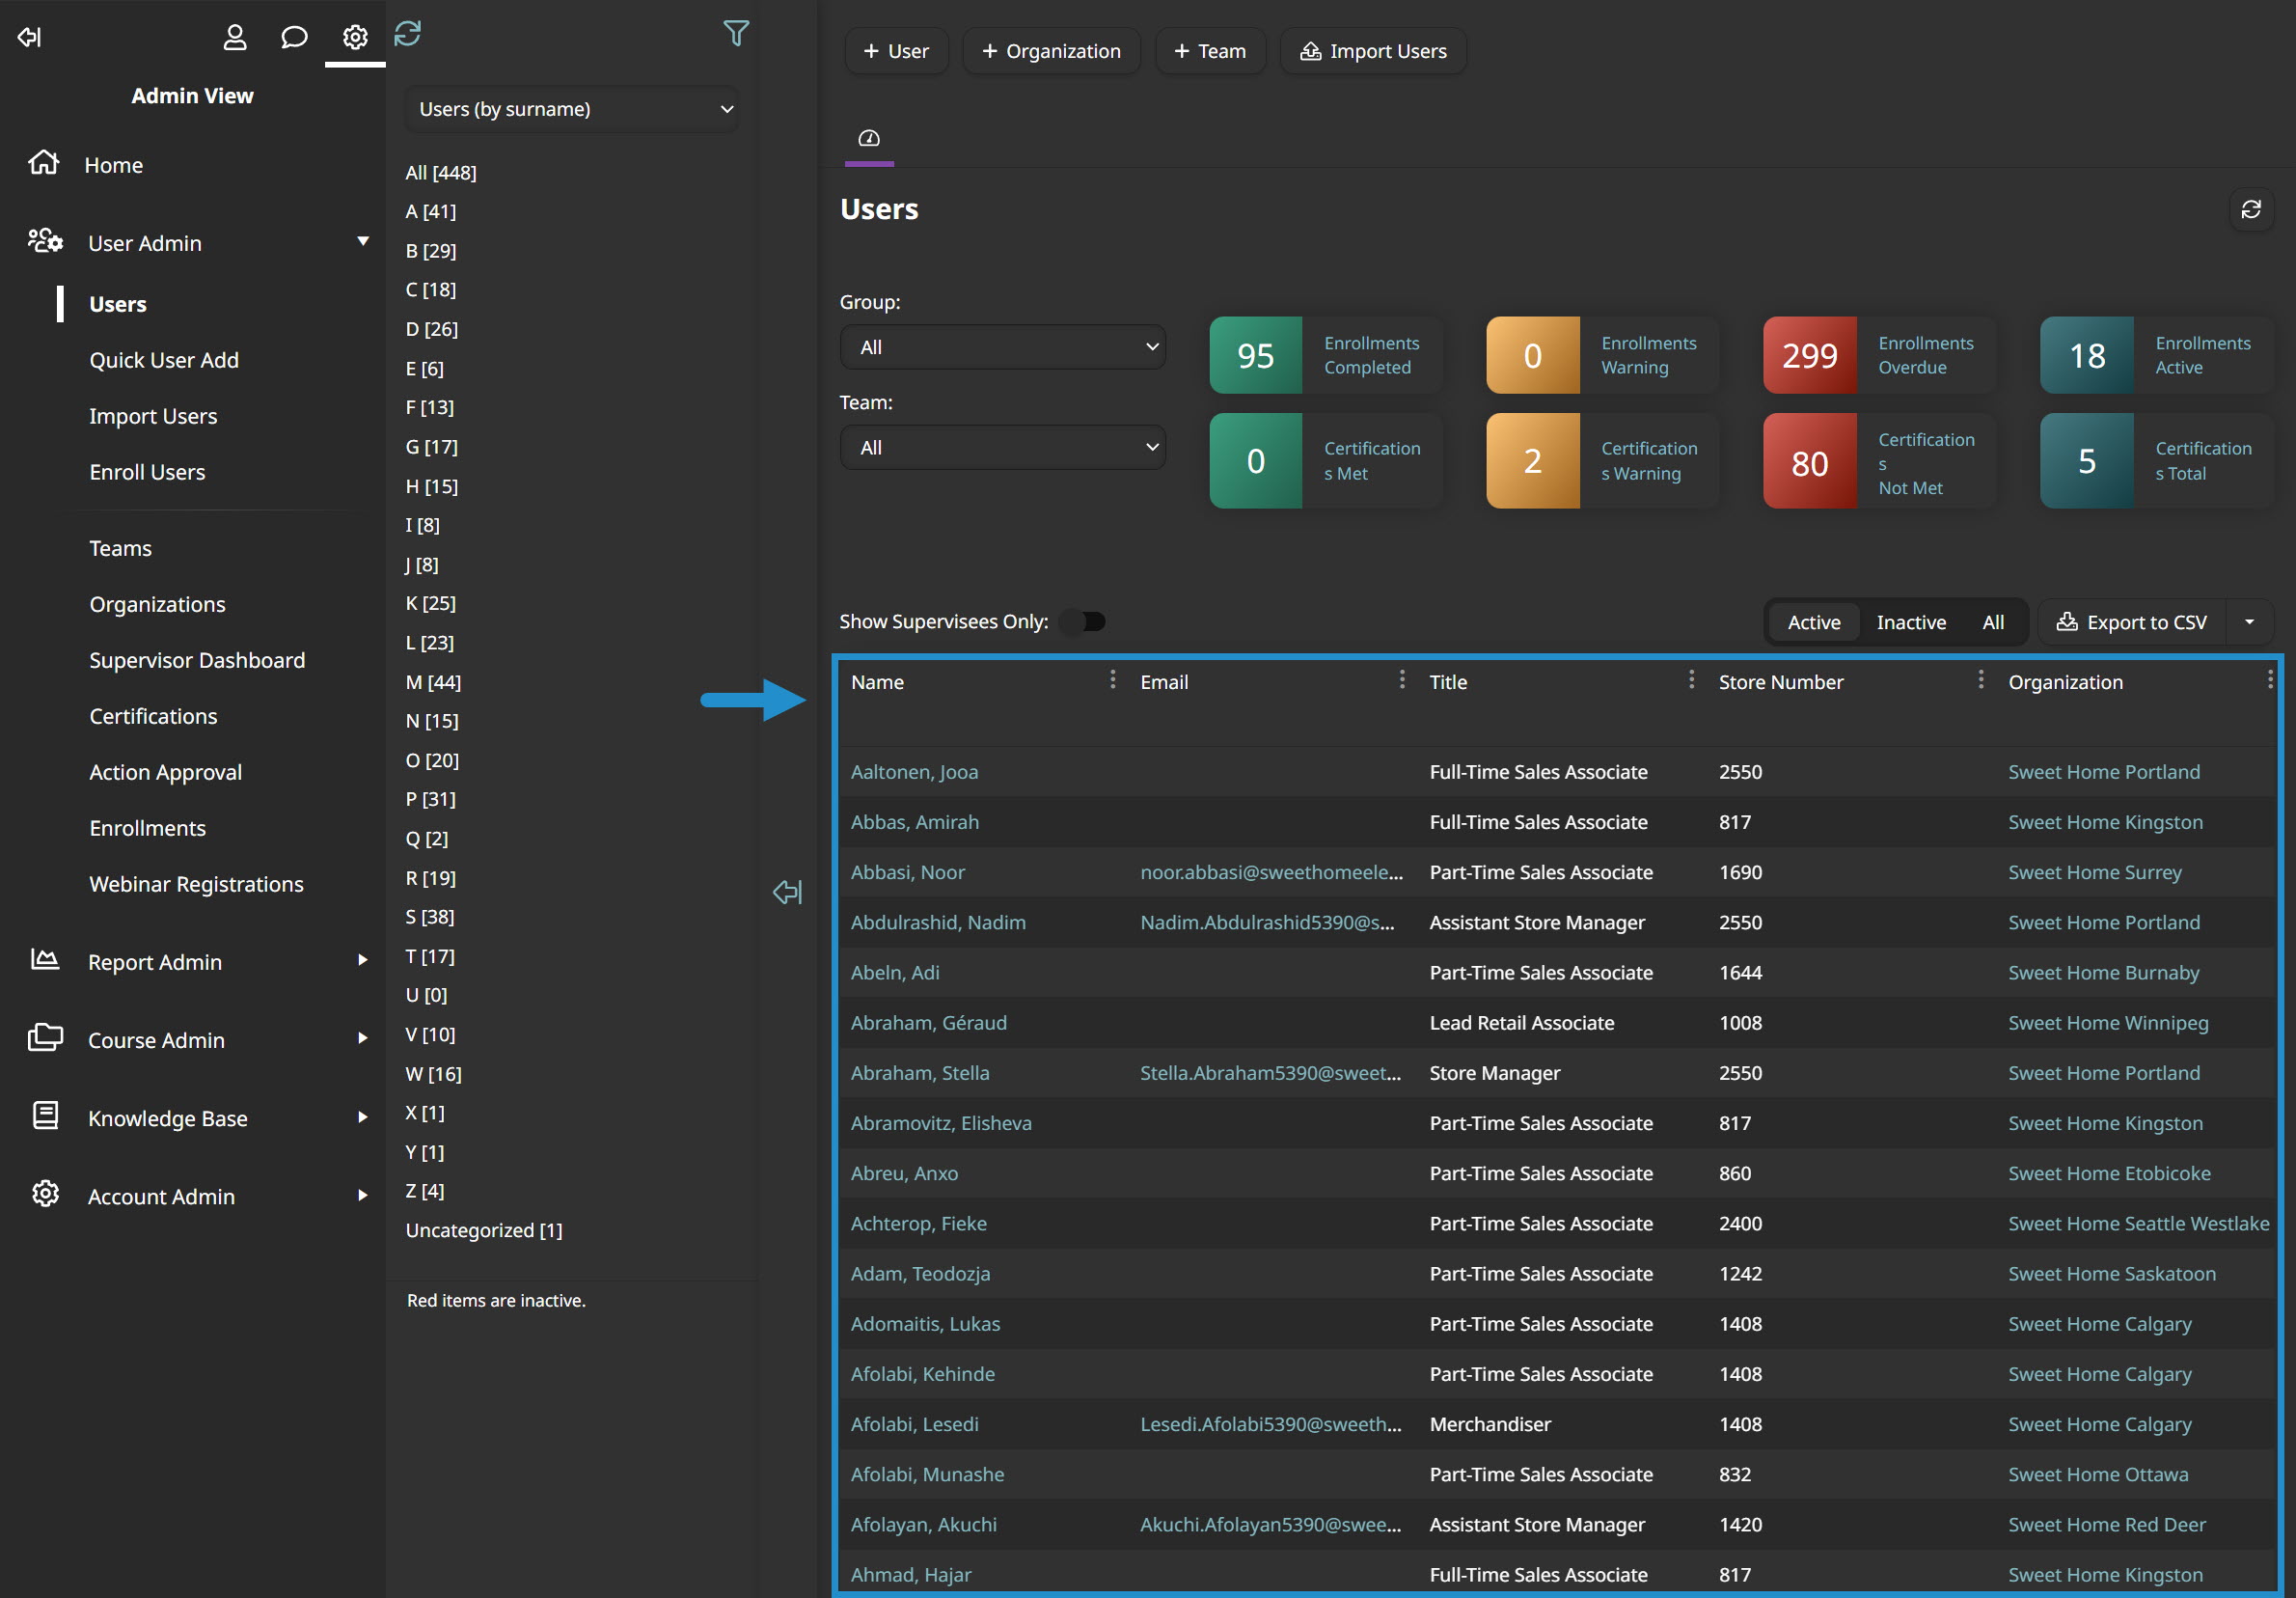
One of the first things you see on the Users Dashboard is a table listing all of the users in your account. This table, also called the users grid, includes several columns of information about each user. But did you know you can customize which columns appear in the grid?

By customizing the columns in the users grid, you can:
surface the information most relevant to your organization while hiding data that you don’t need
apply powerful filters to each column to refine your list of users
search a column to find users that match specific criteria quickly
improve your efficiency by reducing the need to run custom reports and large exports
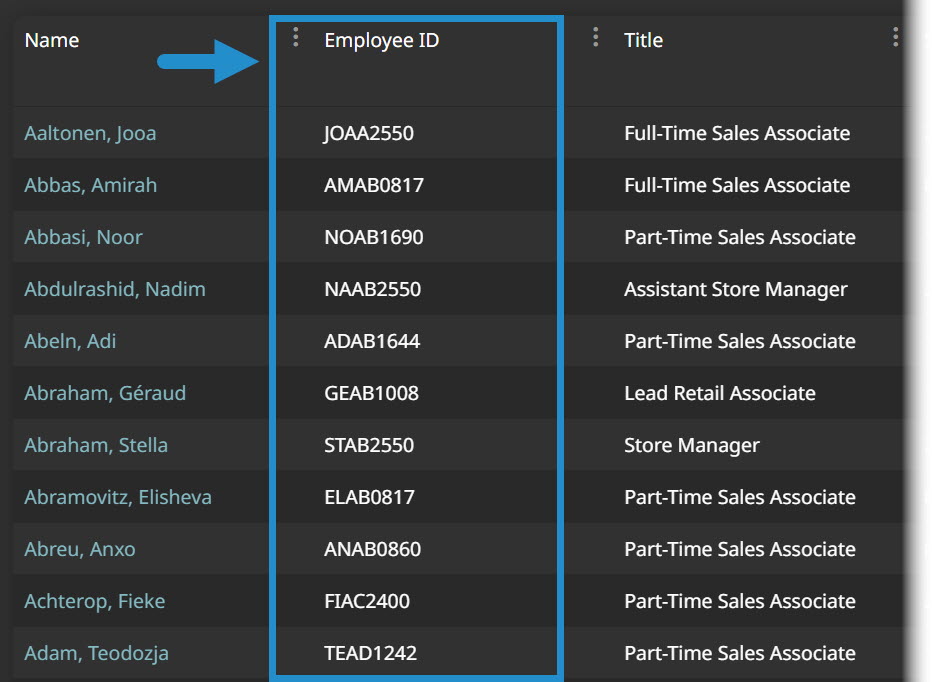
For example, maybe your organization uses employee IDs instead of email addresses. In this situation, you can switch the Email column to Employee ID, making this information accessible to scan at a glance. After adding the Employee ID column, you can also sort your users by ID.

Want SmarterNews delivered to your inbox? Subscribe today!
How to Customize Your Users Grid
To change your grid columns, follow these four easy steps:
Navigate to your account settings.
View the Customize Grid Columns accordion.
Use the dropdown menus to specify what information should appear in each column.

You can even set a column to show a custom field unique to your organization!
Click Save.
Since the process is so quick, you may even want to change your grid columns temporarily to find a set of users without running a report. For example, you might change one of your columns to Last Login Date to quickly see which users have (or have not) recently logged in.
As you can see, changing your grid columns to show information relevant to your organization can streamline user management and save time running reports. Why not give it a try today?
Do you have questions about this or any other feature? Contact our Success Desk.