Setting up Just-In-Time user creation with Okta consists of three main steps:
- Creating an application in Okta.
- Copying the IDP Metadata from Okta.
- Setting up Just-In-Time user creation in SmarterU.
Two of these steps are detailed below. We recommend reading through the steps prior to going through the process.
Creating an Application in Okta
To set up an application in Okta:
- Log into Okta as a user with administrative privileges.
- From the list in the upper left corner, ensure that Classic UI is selected.

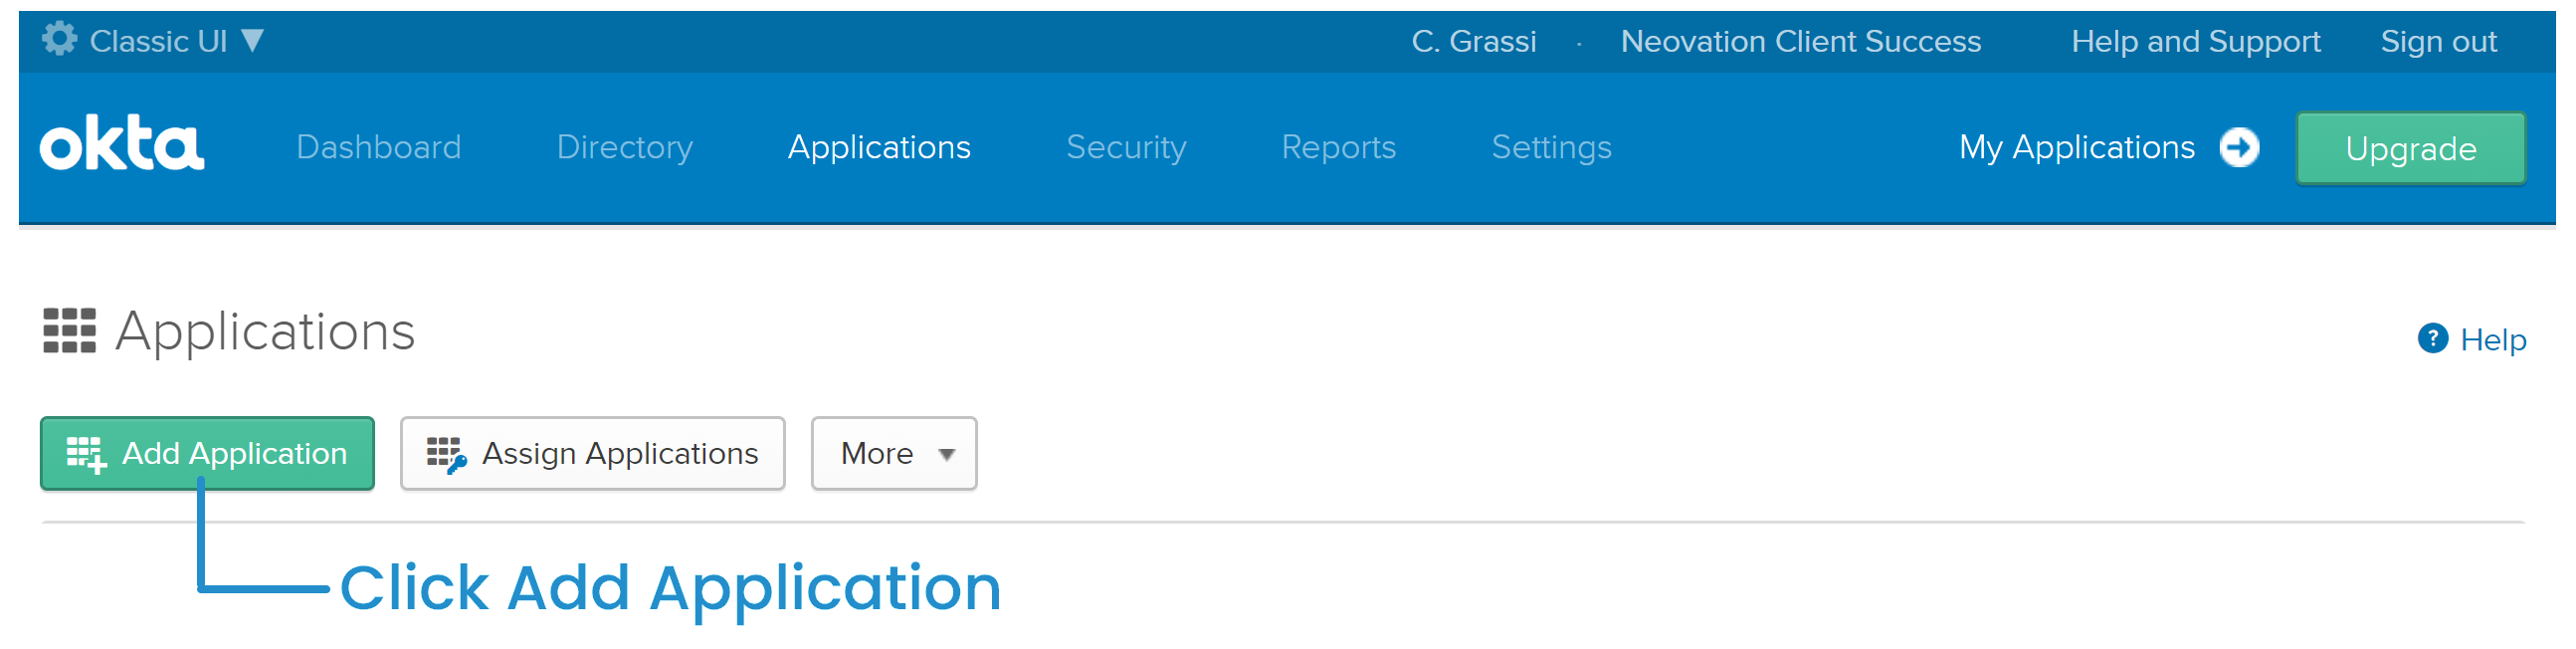
- Click the Applications link.
- Click Add Application.
- Click Create New App.
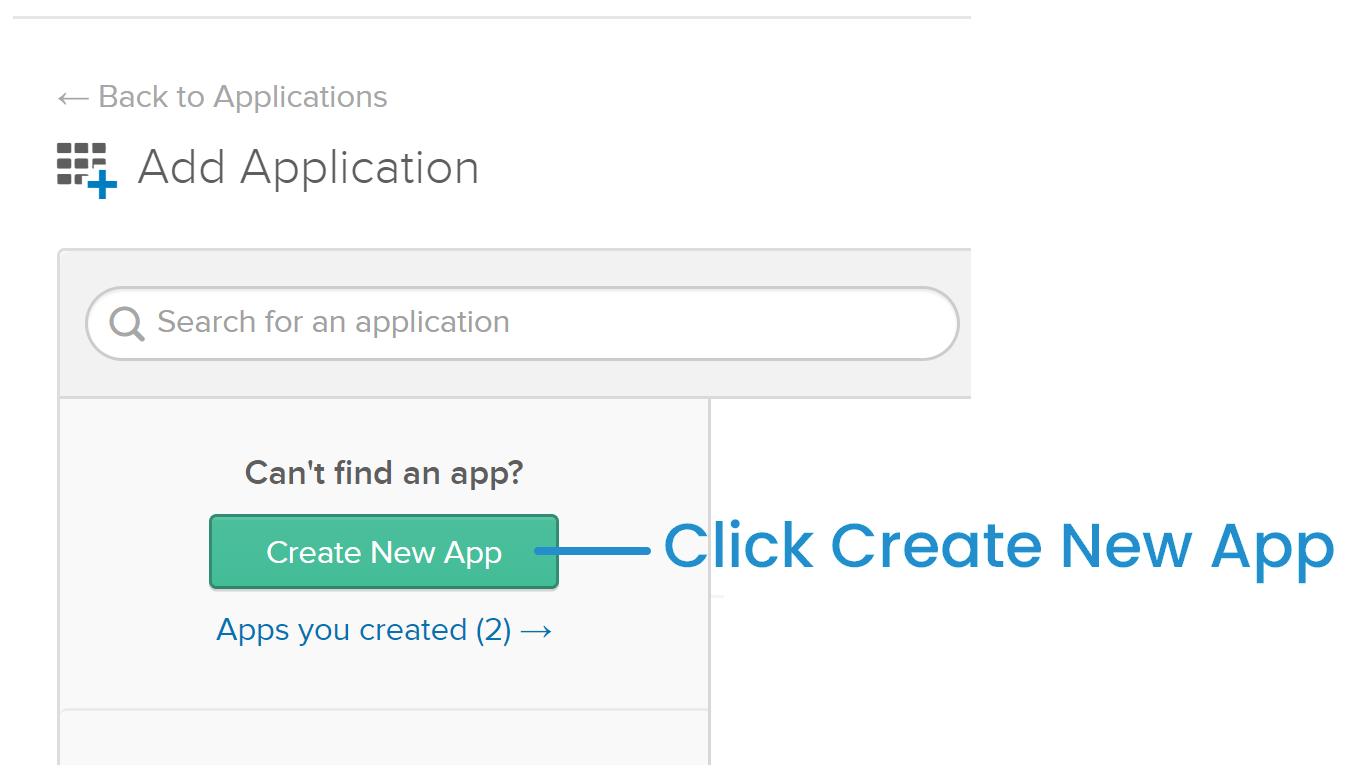
The Create a New Application Integration window displays.
- For the Sign On Method setting, select the SAML 2.0 option.
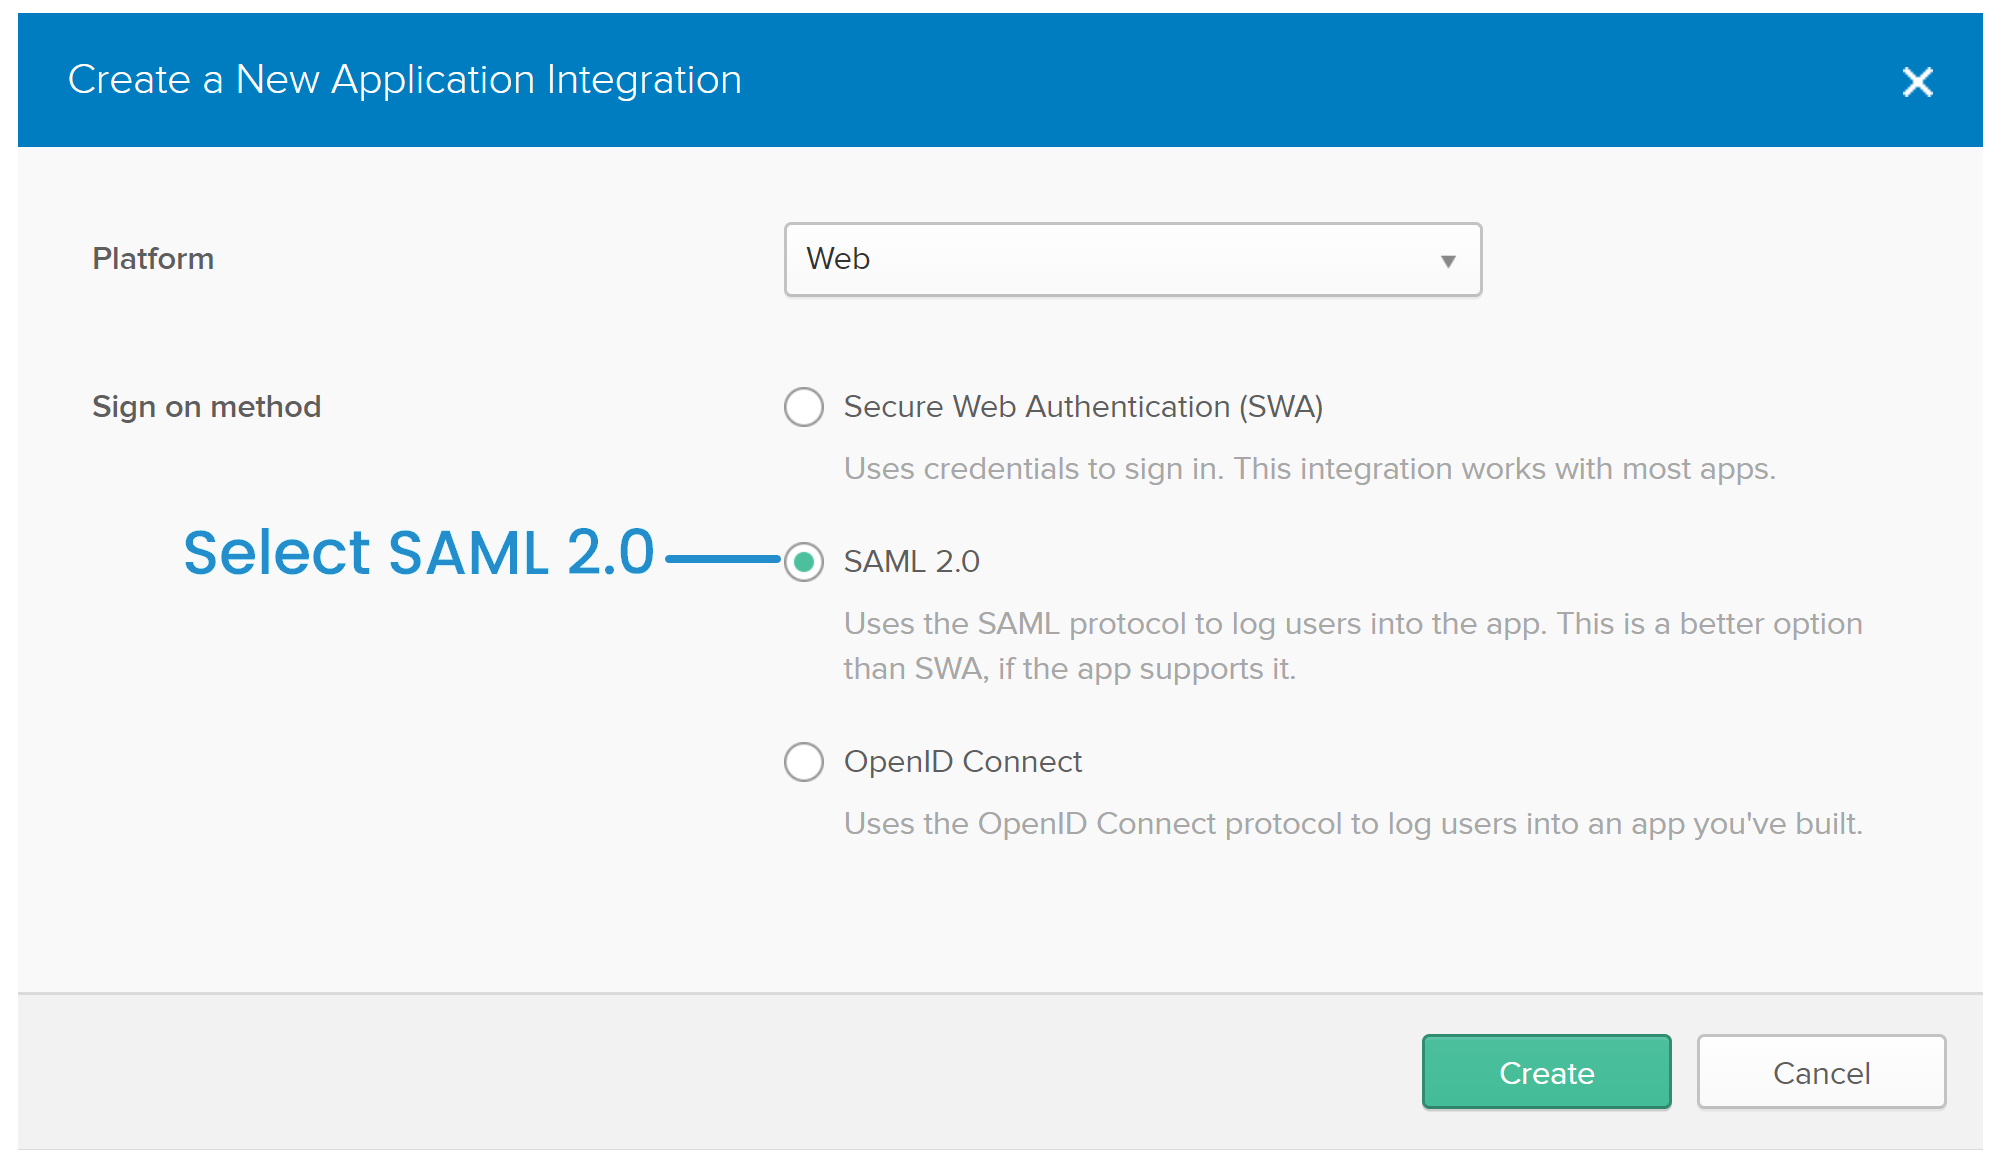
- Click Create. The Create SAML Integration workscreen displays.
- In the App Name field, enter a meaningful name.
- Click Next.
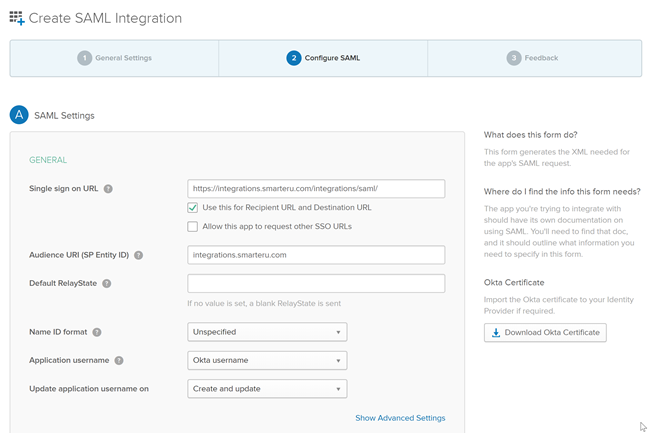
- Enter the values below for the the settings.
Setting | Value |
|---|---|
Single Sign On URL | https://integrations.smarteru.com/integrations/saml/ |
Audience URI (SP Entity ID) | integrations.smarteru.com |
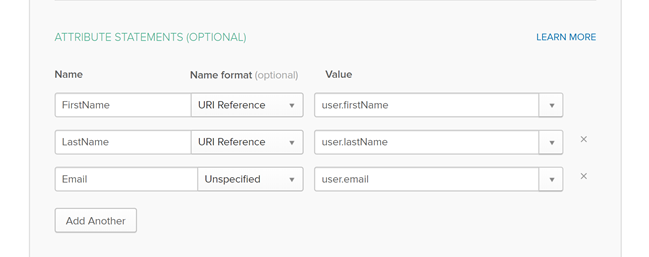
- Scroll down to the Attribute Statements section and add the following attribute statements.
Name | Name Format | Value |
|---|---|---|
FirstName | URI Reference | user.firstName |
LastName | URI Reference | user.lastName |
Unspecified | user.email |
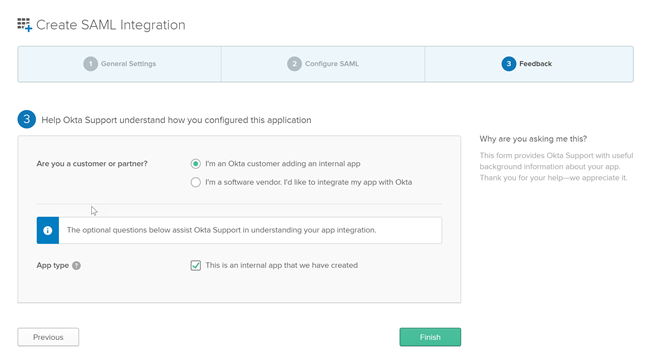
- Click Next. Step 3 of the Create SAML Integration workscreen displays.
- On the Step 3 of the Create SAML Integration workscreen:
- Select the I'm an Okta customer adding an internal app option.
- Check the This is an internal app that we have created checkbox.
- Click Finish.
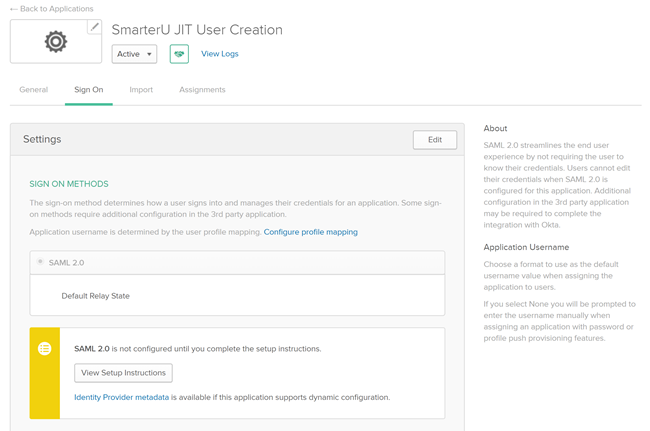
The Sign On Settings for the application you just created display.
NEXT STEP: Copy IDP Metadata from Okta
Copying IDP Metadata from Okta
To copy the IDP metadata from Okta:
- From the Sign On Settings for the application, click View Setup Instructions.
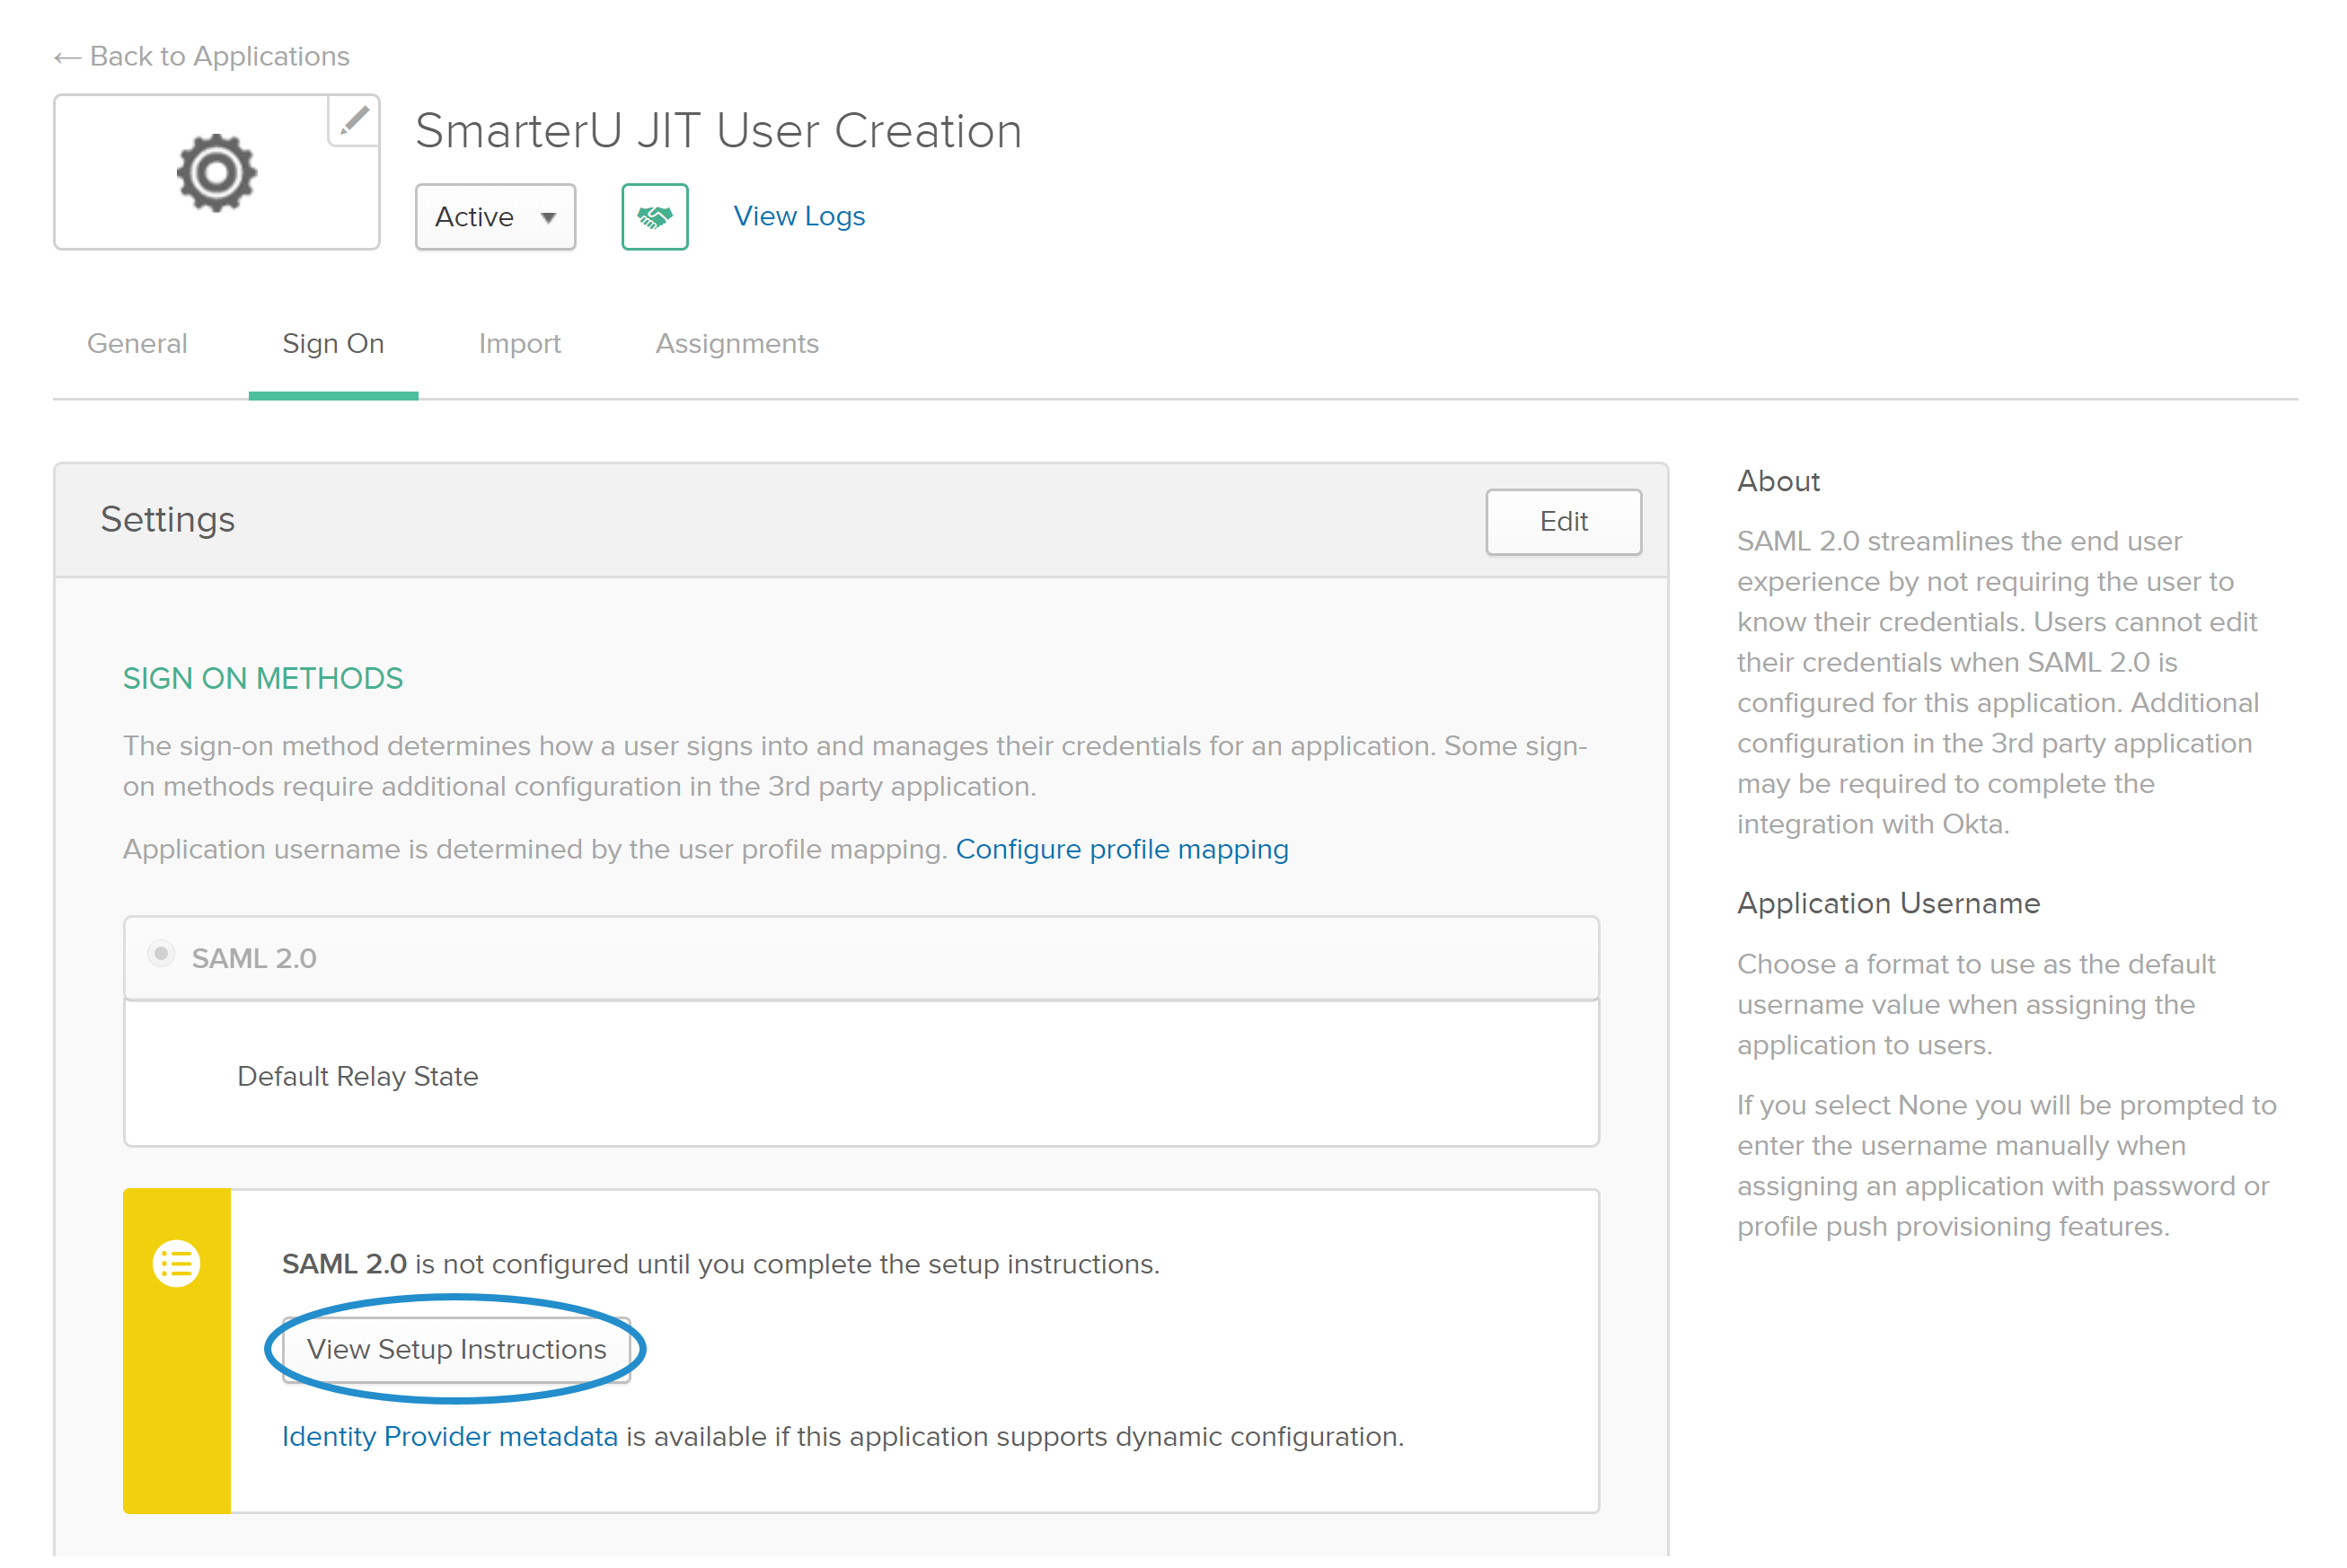
A page displays all the information you need to enable SAML and Just-In-Time user creation. Toward the bottom of the page is the IDP metadata.
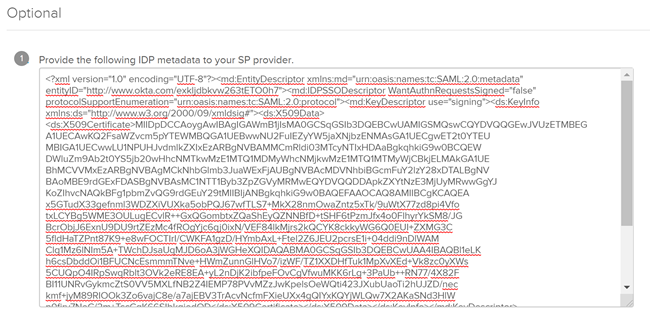
- Copy the IDP metadata.