SmarterU’s design team can create a custom-branded template package to ensure that your online courses have a similar look and feel that reflects your organization's branding. The template package includes layouts that enable you to display your online course content in a consistent manner.
Contact our Success Desk for information on purchasing a custom-branded template package.
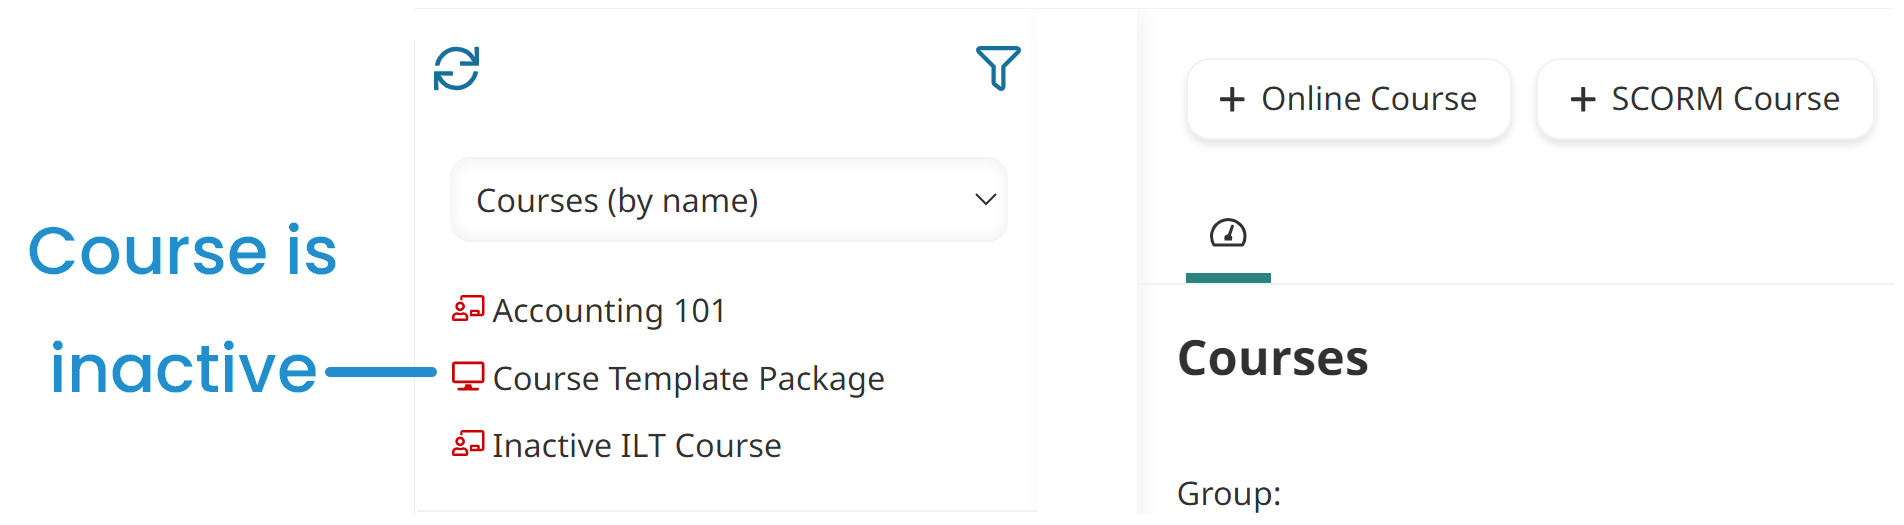
The layouts provided in a template package are available in the Course Template Package course. The Course Template Package course will typically be in your list of inactive courses. To display this course, you will need to filter the list to include courses with an Inactive status.
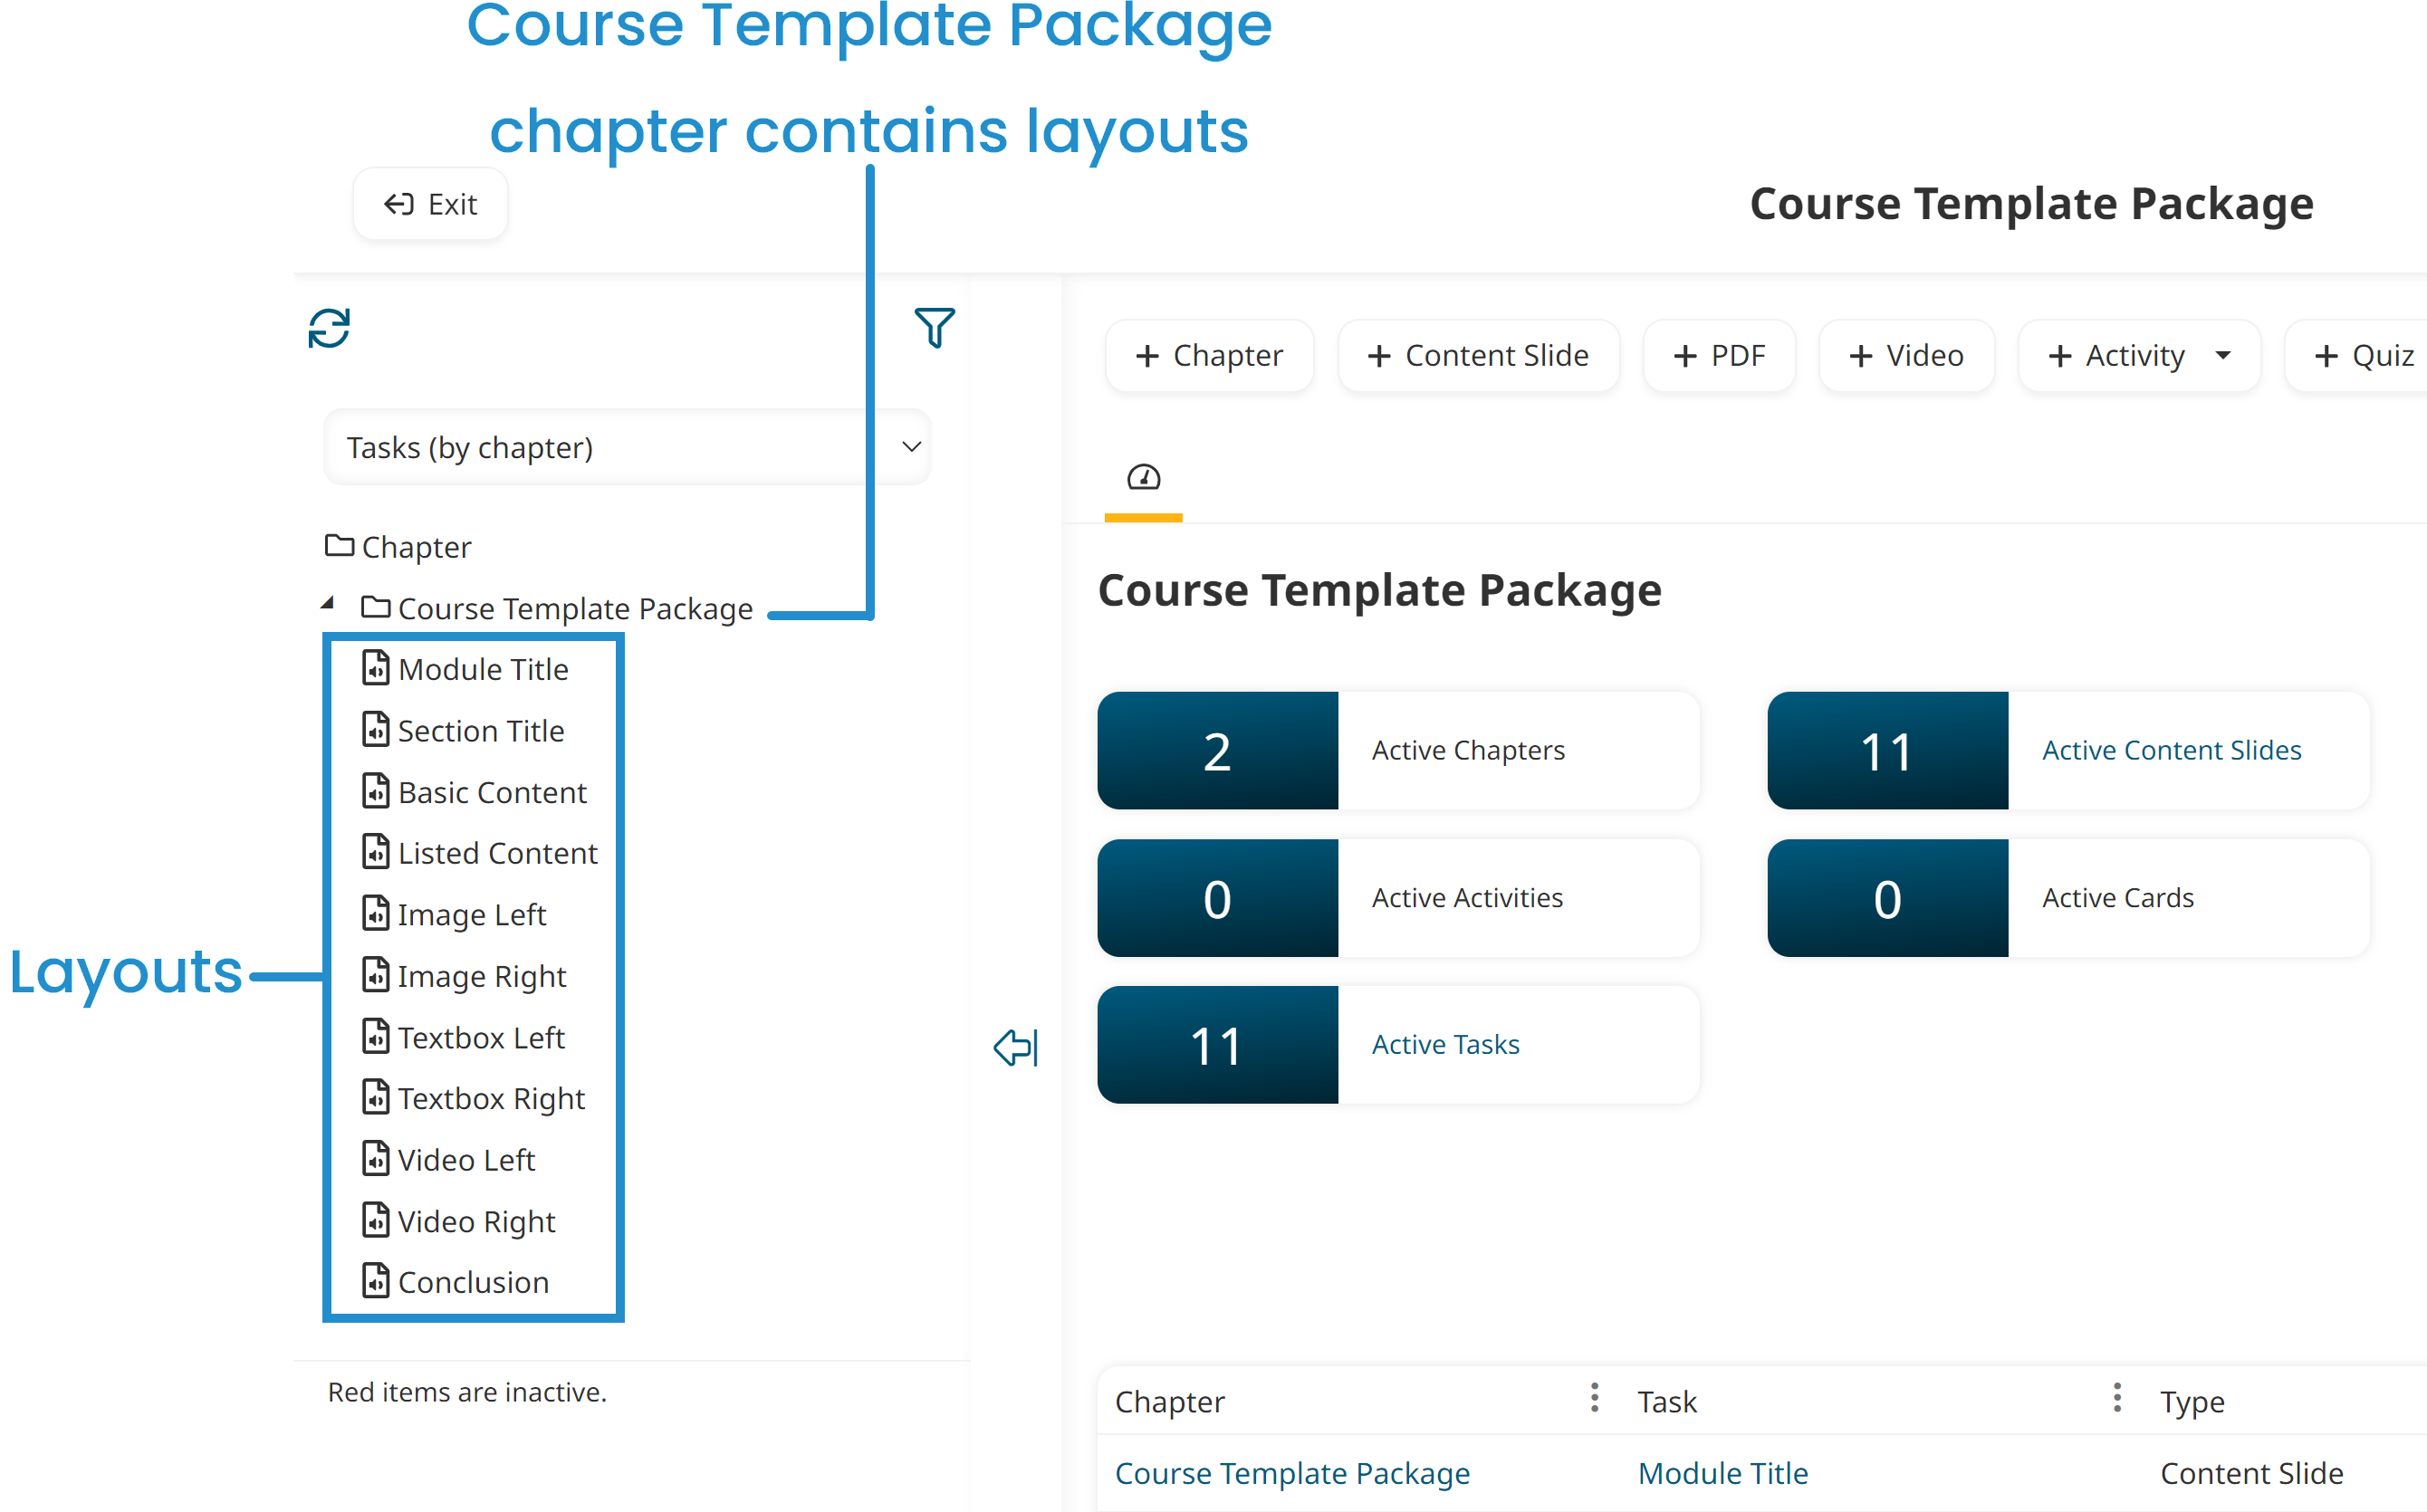
The Course Template Package chapter in the course includes all the layouts. A layout is how the text, images, and other elements (e.g., shapes, headers, etc...) are arranged and formatted on the content slide.
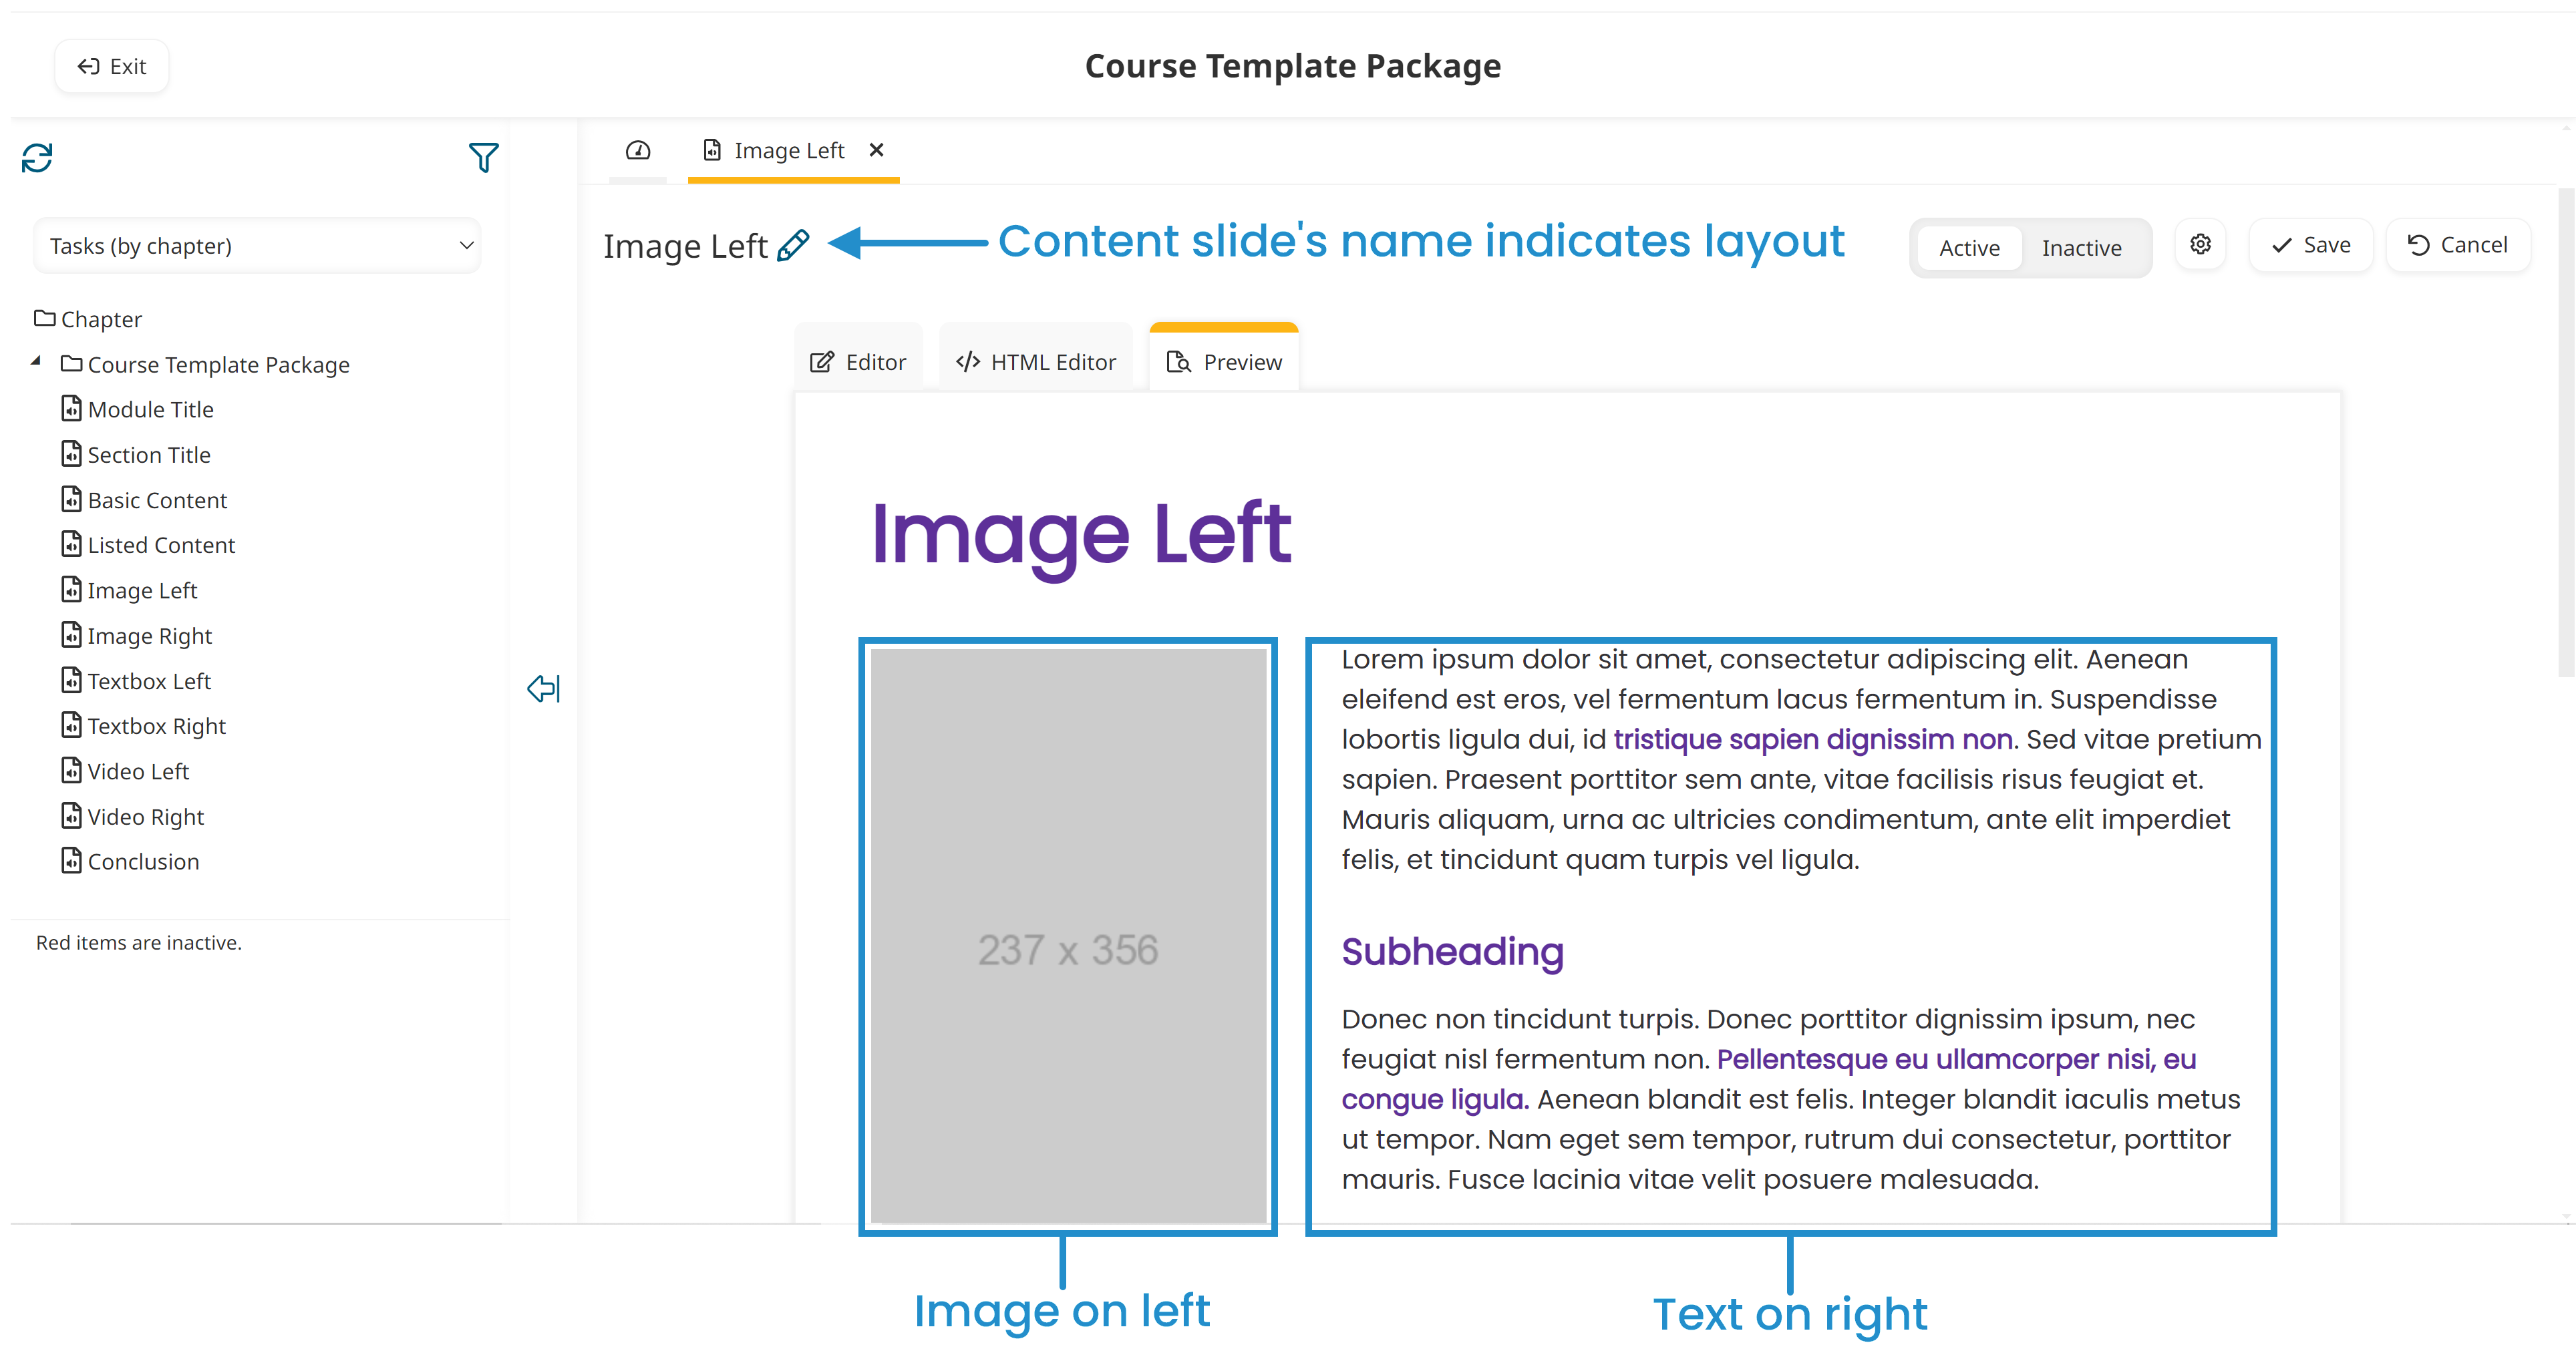
The content slide's name indicates the layout. For example, the Image Left content slide displays an image on the left and the text of the content slide on the right.
If you need the branding used in your course templates updated, we recommend that you contact our Success Desk for assistance.
The layouts included are described below.
To use the custom-branded online course template package that you’ve purchased, you’ll need to copy the layouts to your course. After you’ve copied the layouts to your course, you can use the layouts in your online course’s content slides.
Module Title
The Module Title is designed to be used at the beginning of your course.
Section Title
The Section Title is designed to be used at the beginning of each chapter/section in your course.
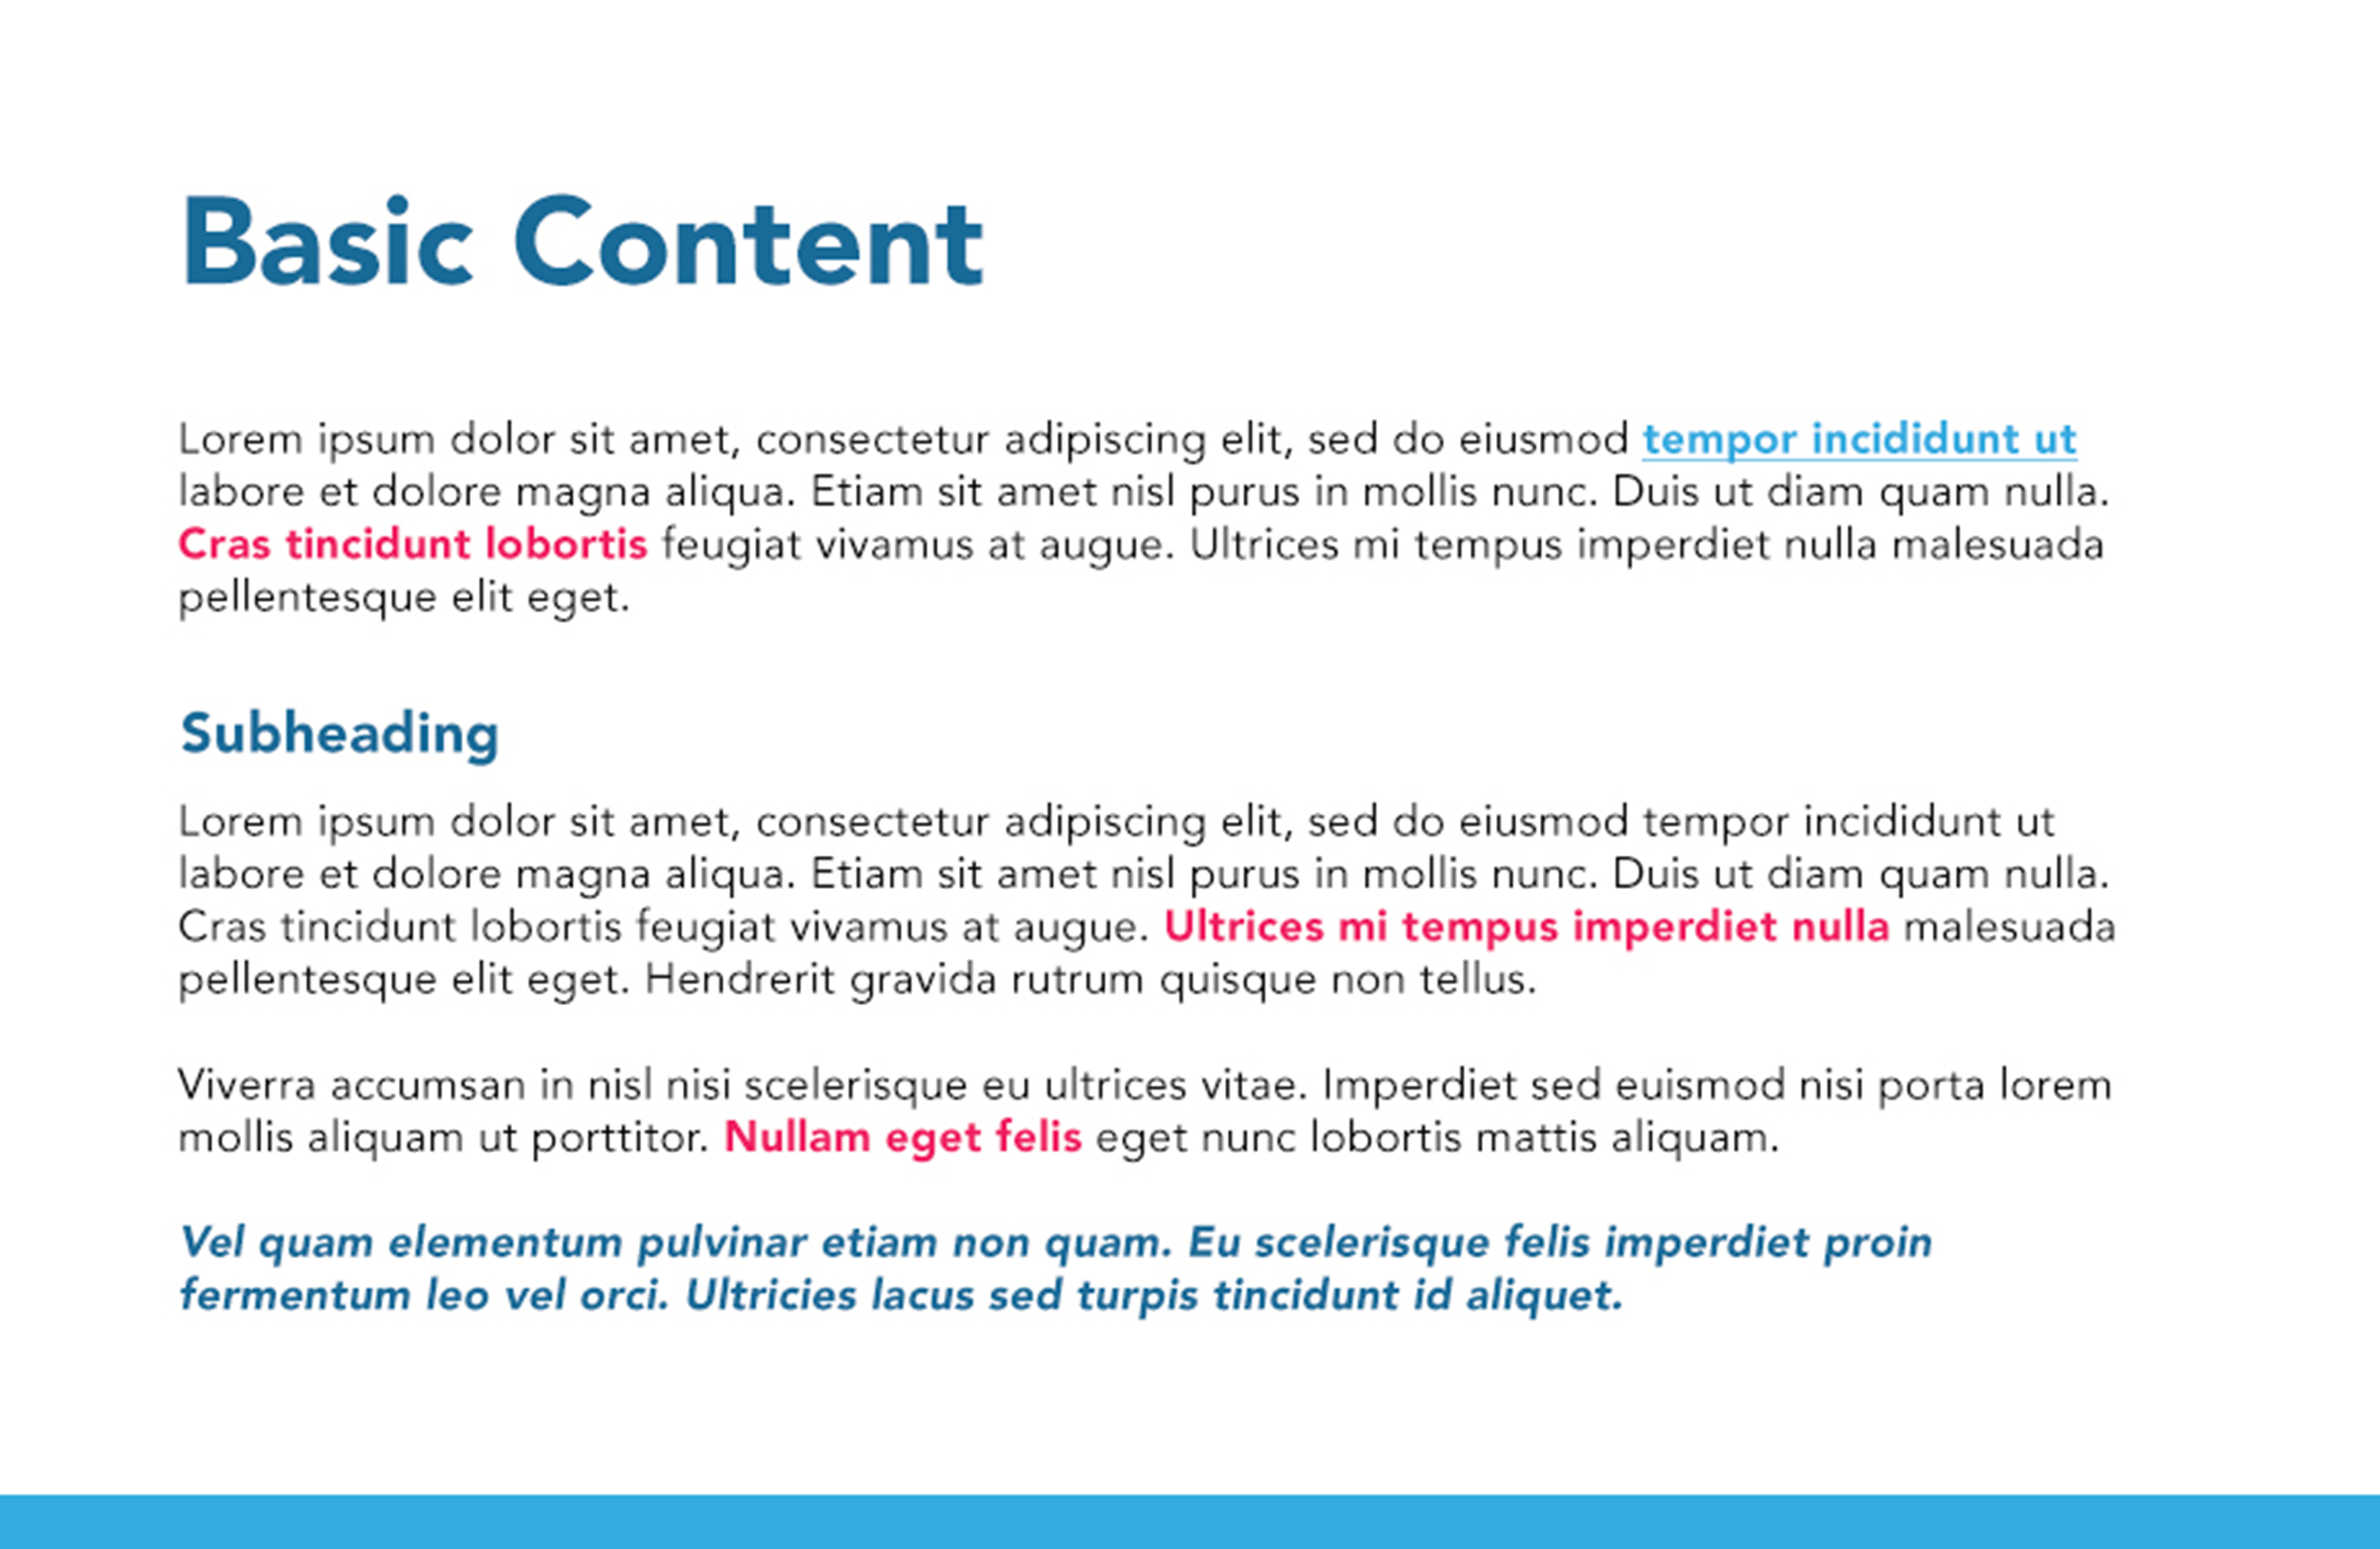
Basic Content
The Basic Content layout is designed to be used for content slides that contain only text.
Listed Content
The Listed Content layout is designed to be used for content slides that include an unordered list of items.
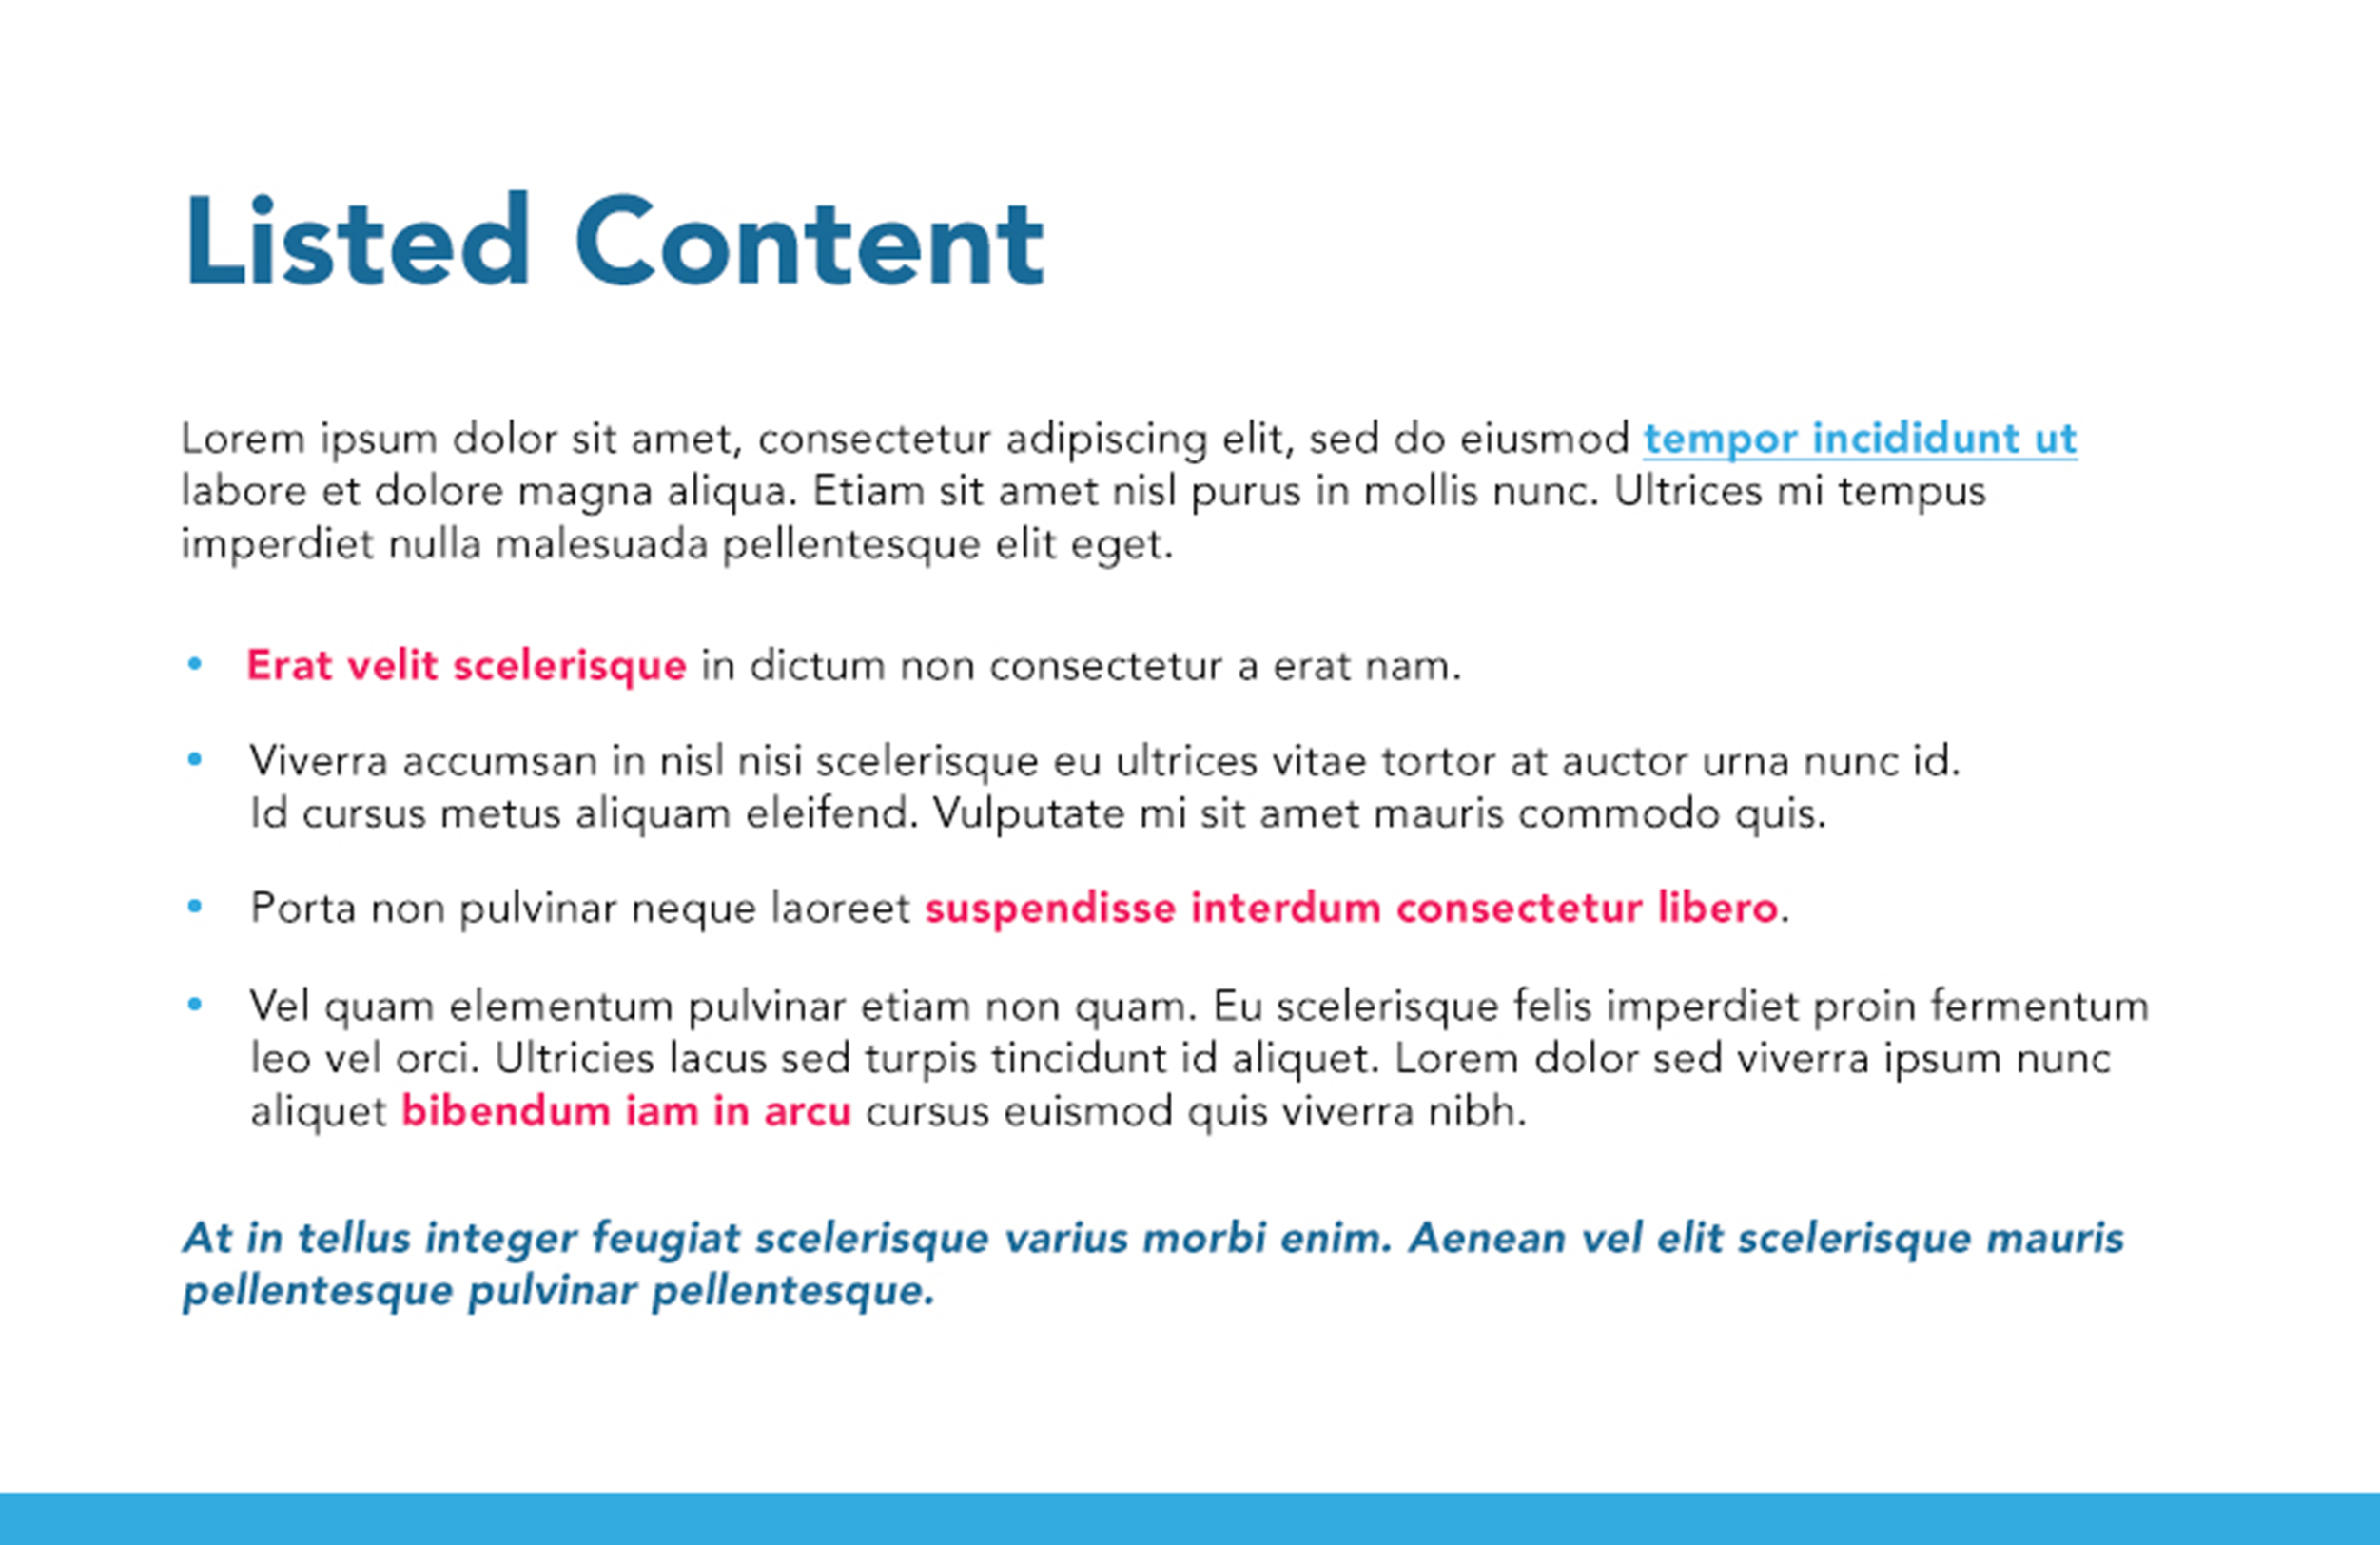
Image Left
The Image Left layout combines images and text. The layout enables you to display an image on the left side of the page with text on the right.
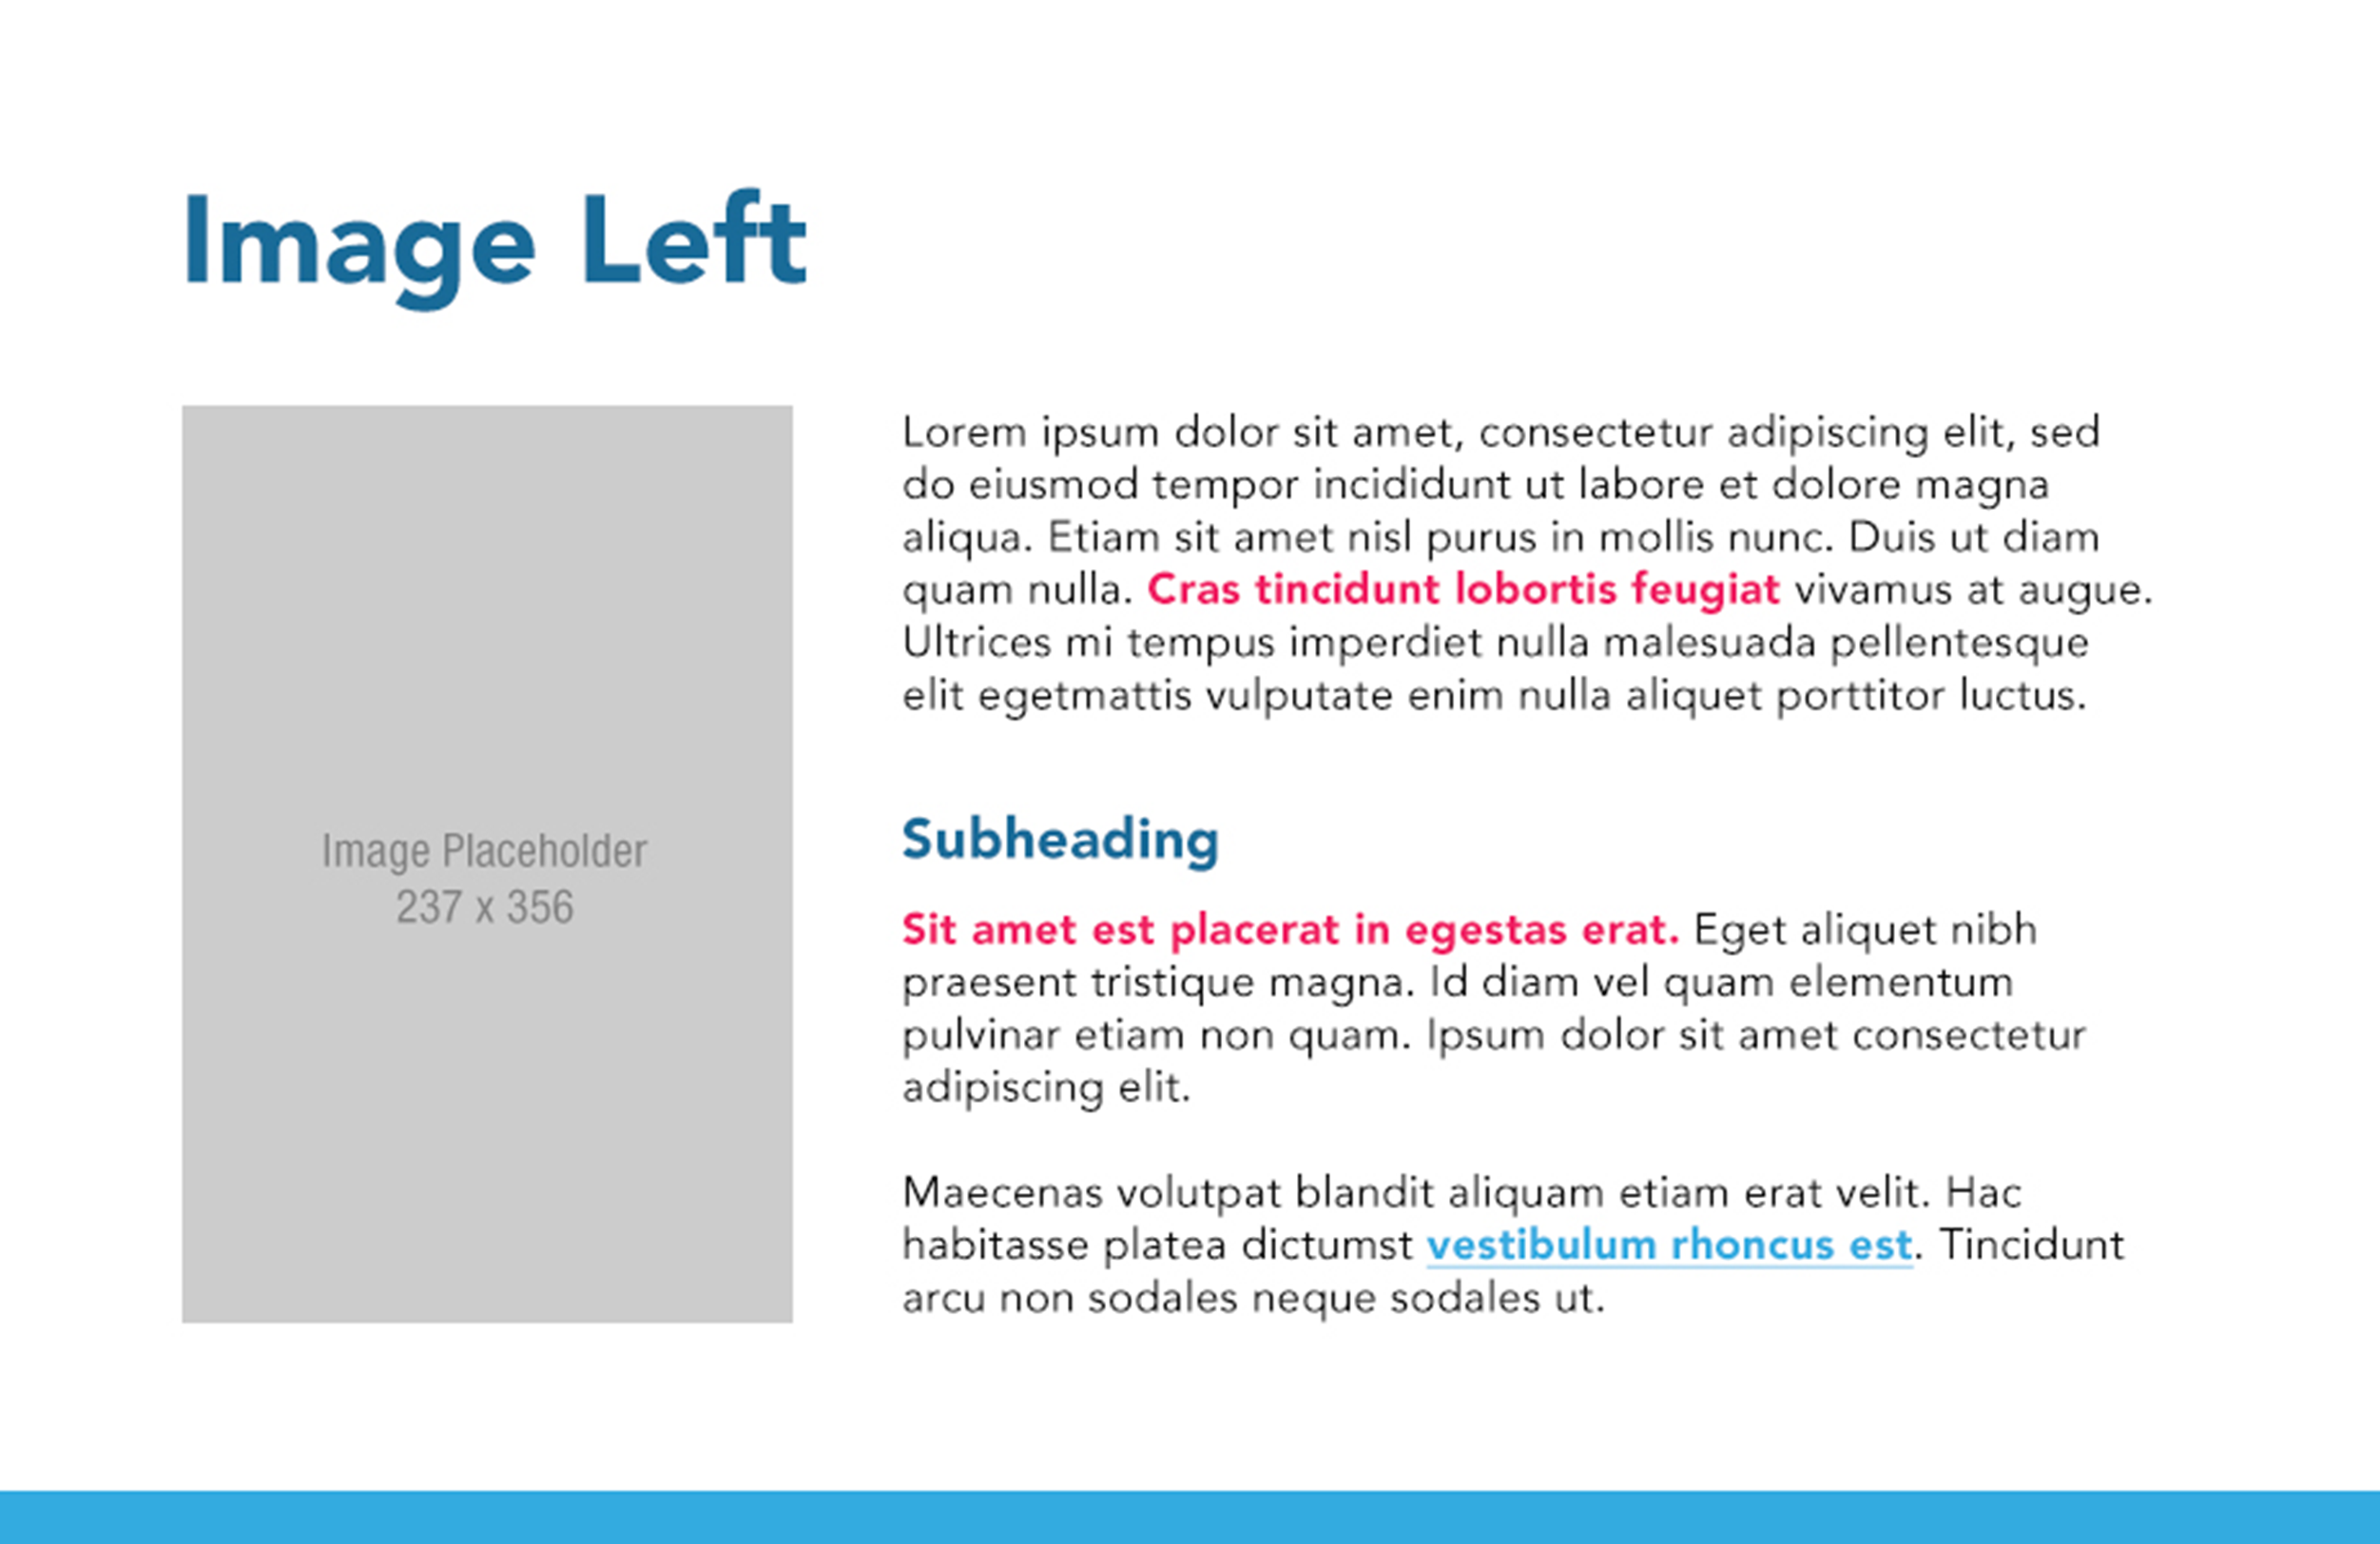
Image Right
The Image Right layout combines images and text. The layout enables you to display text on the left side of the page with an image on the right.

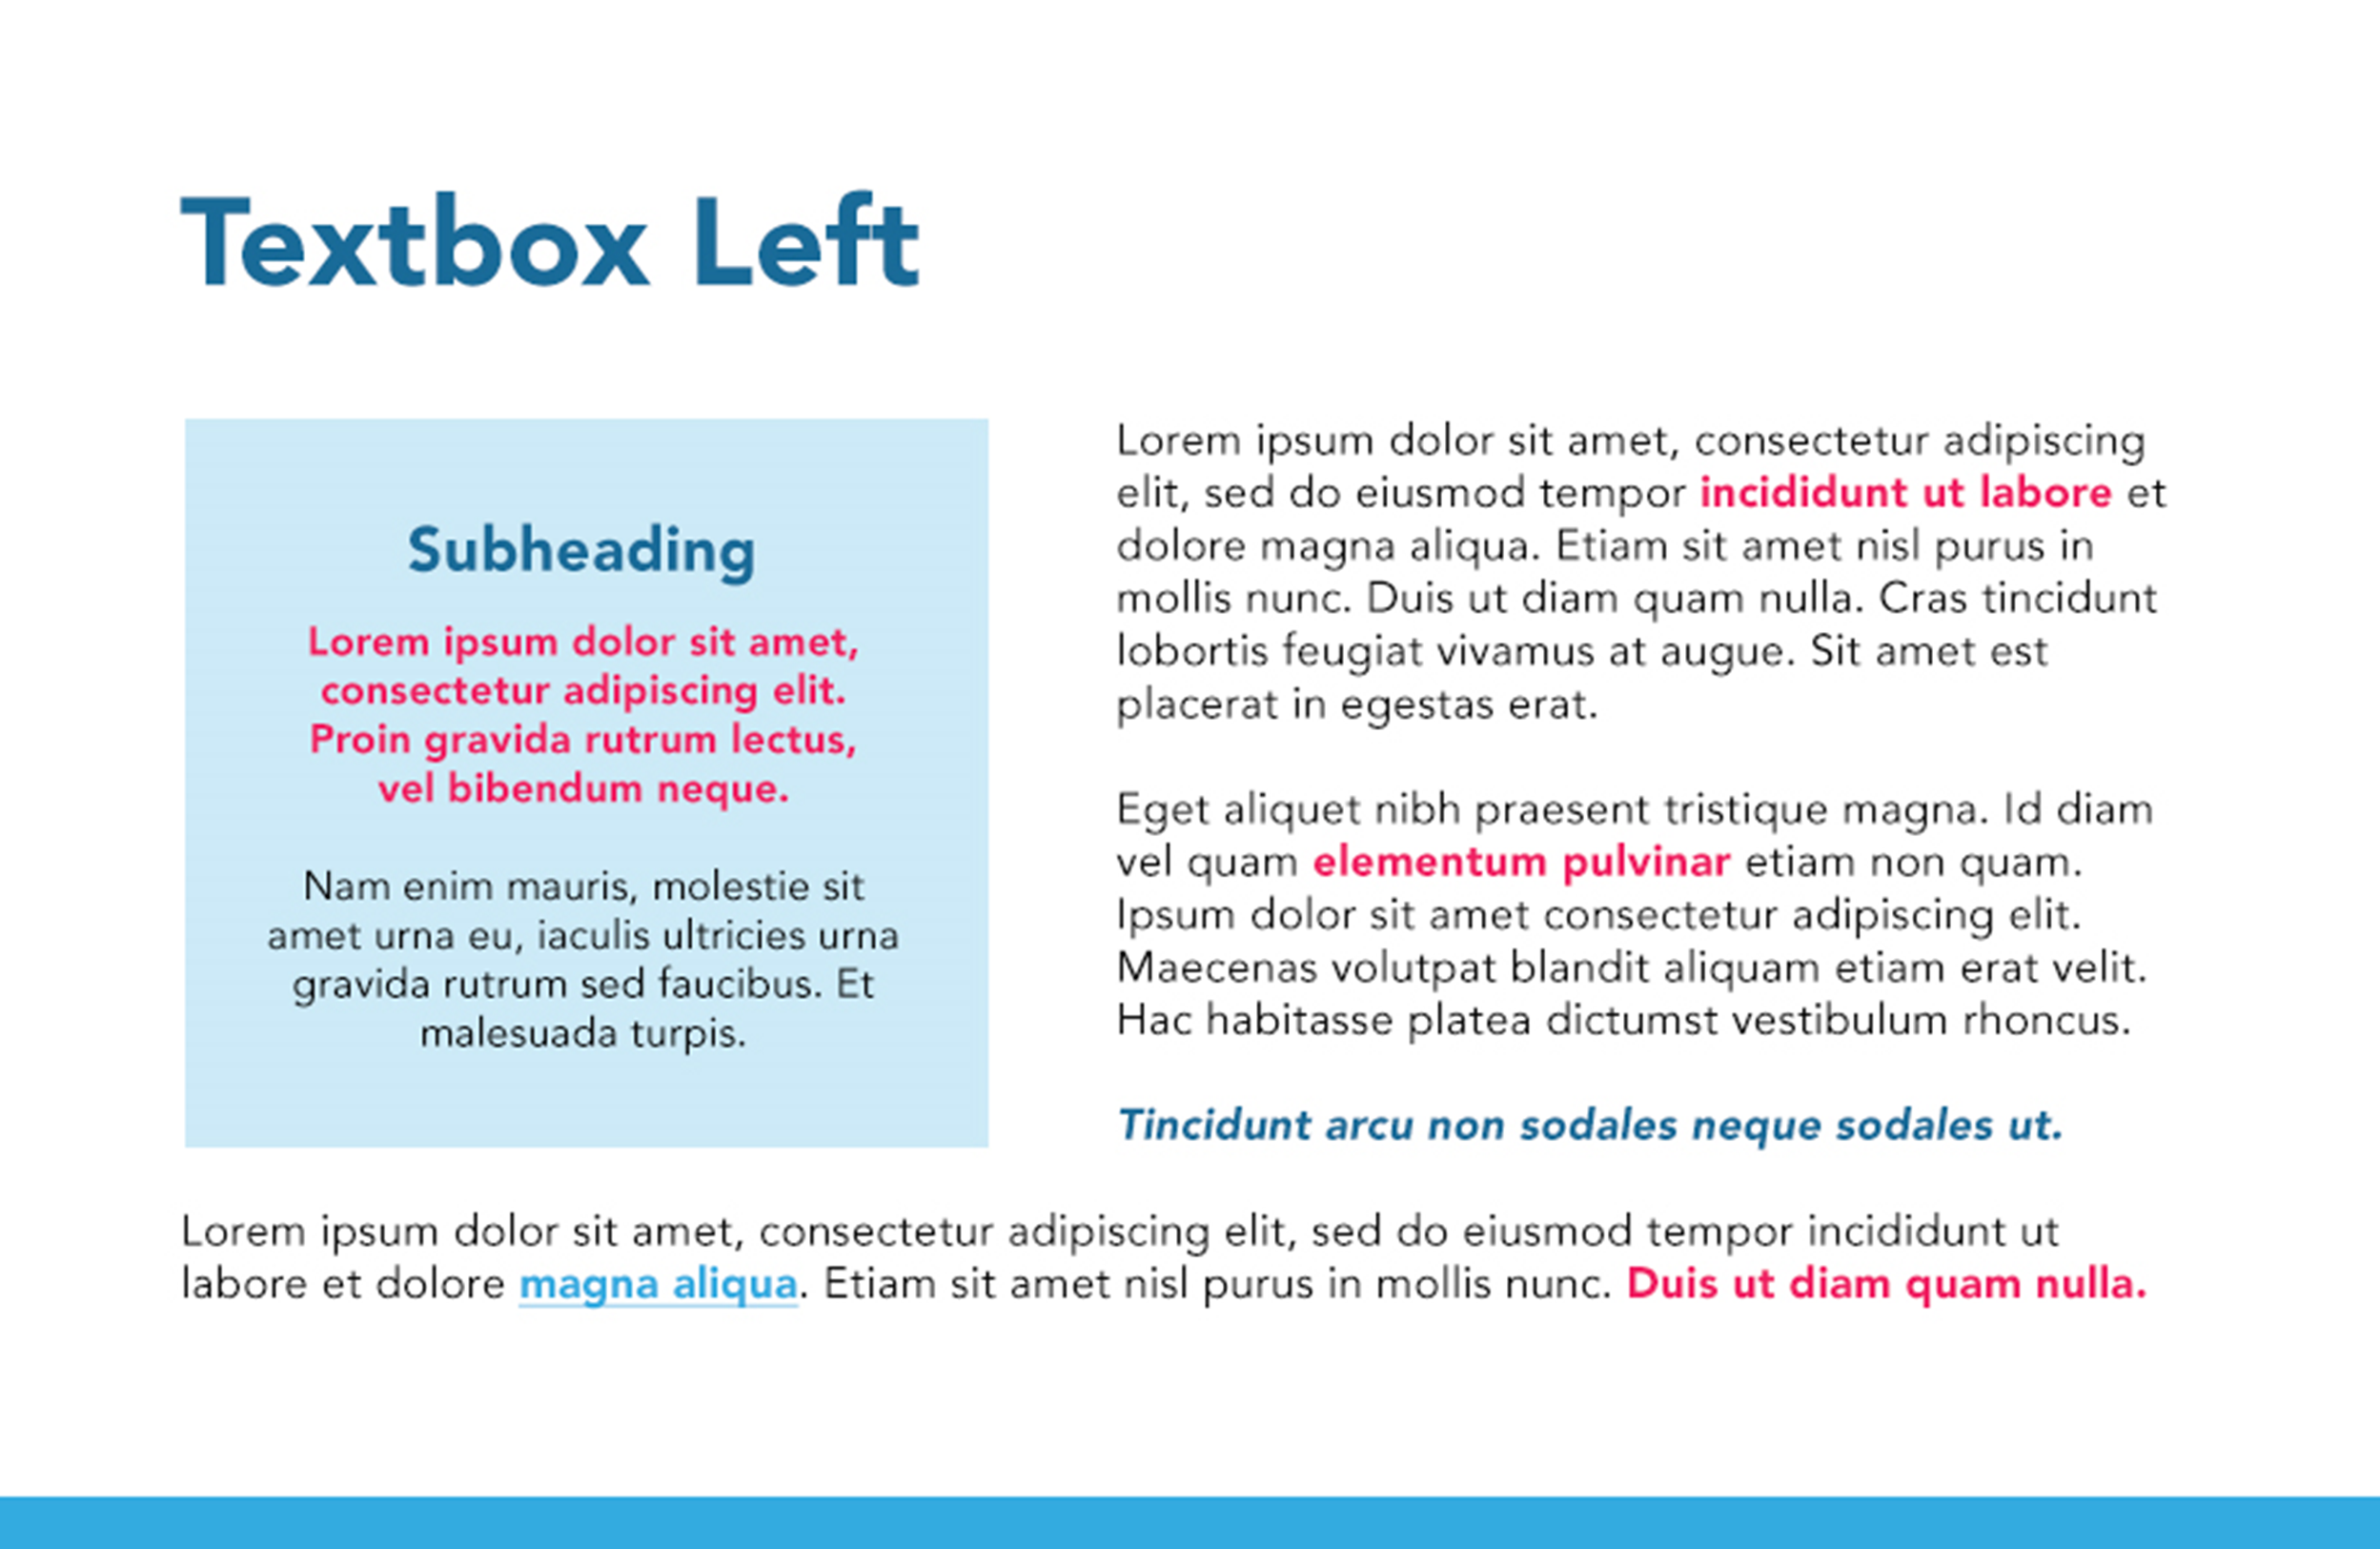
Textbox Left
The Textbox Left layout displays an inset for text on the left side of the page.
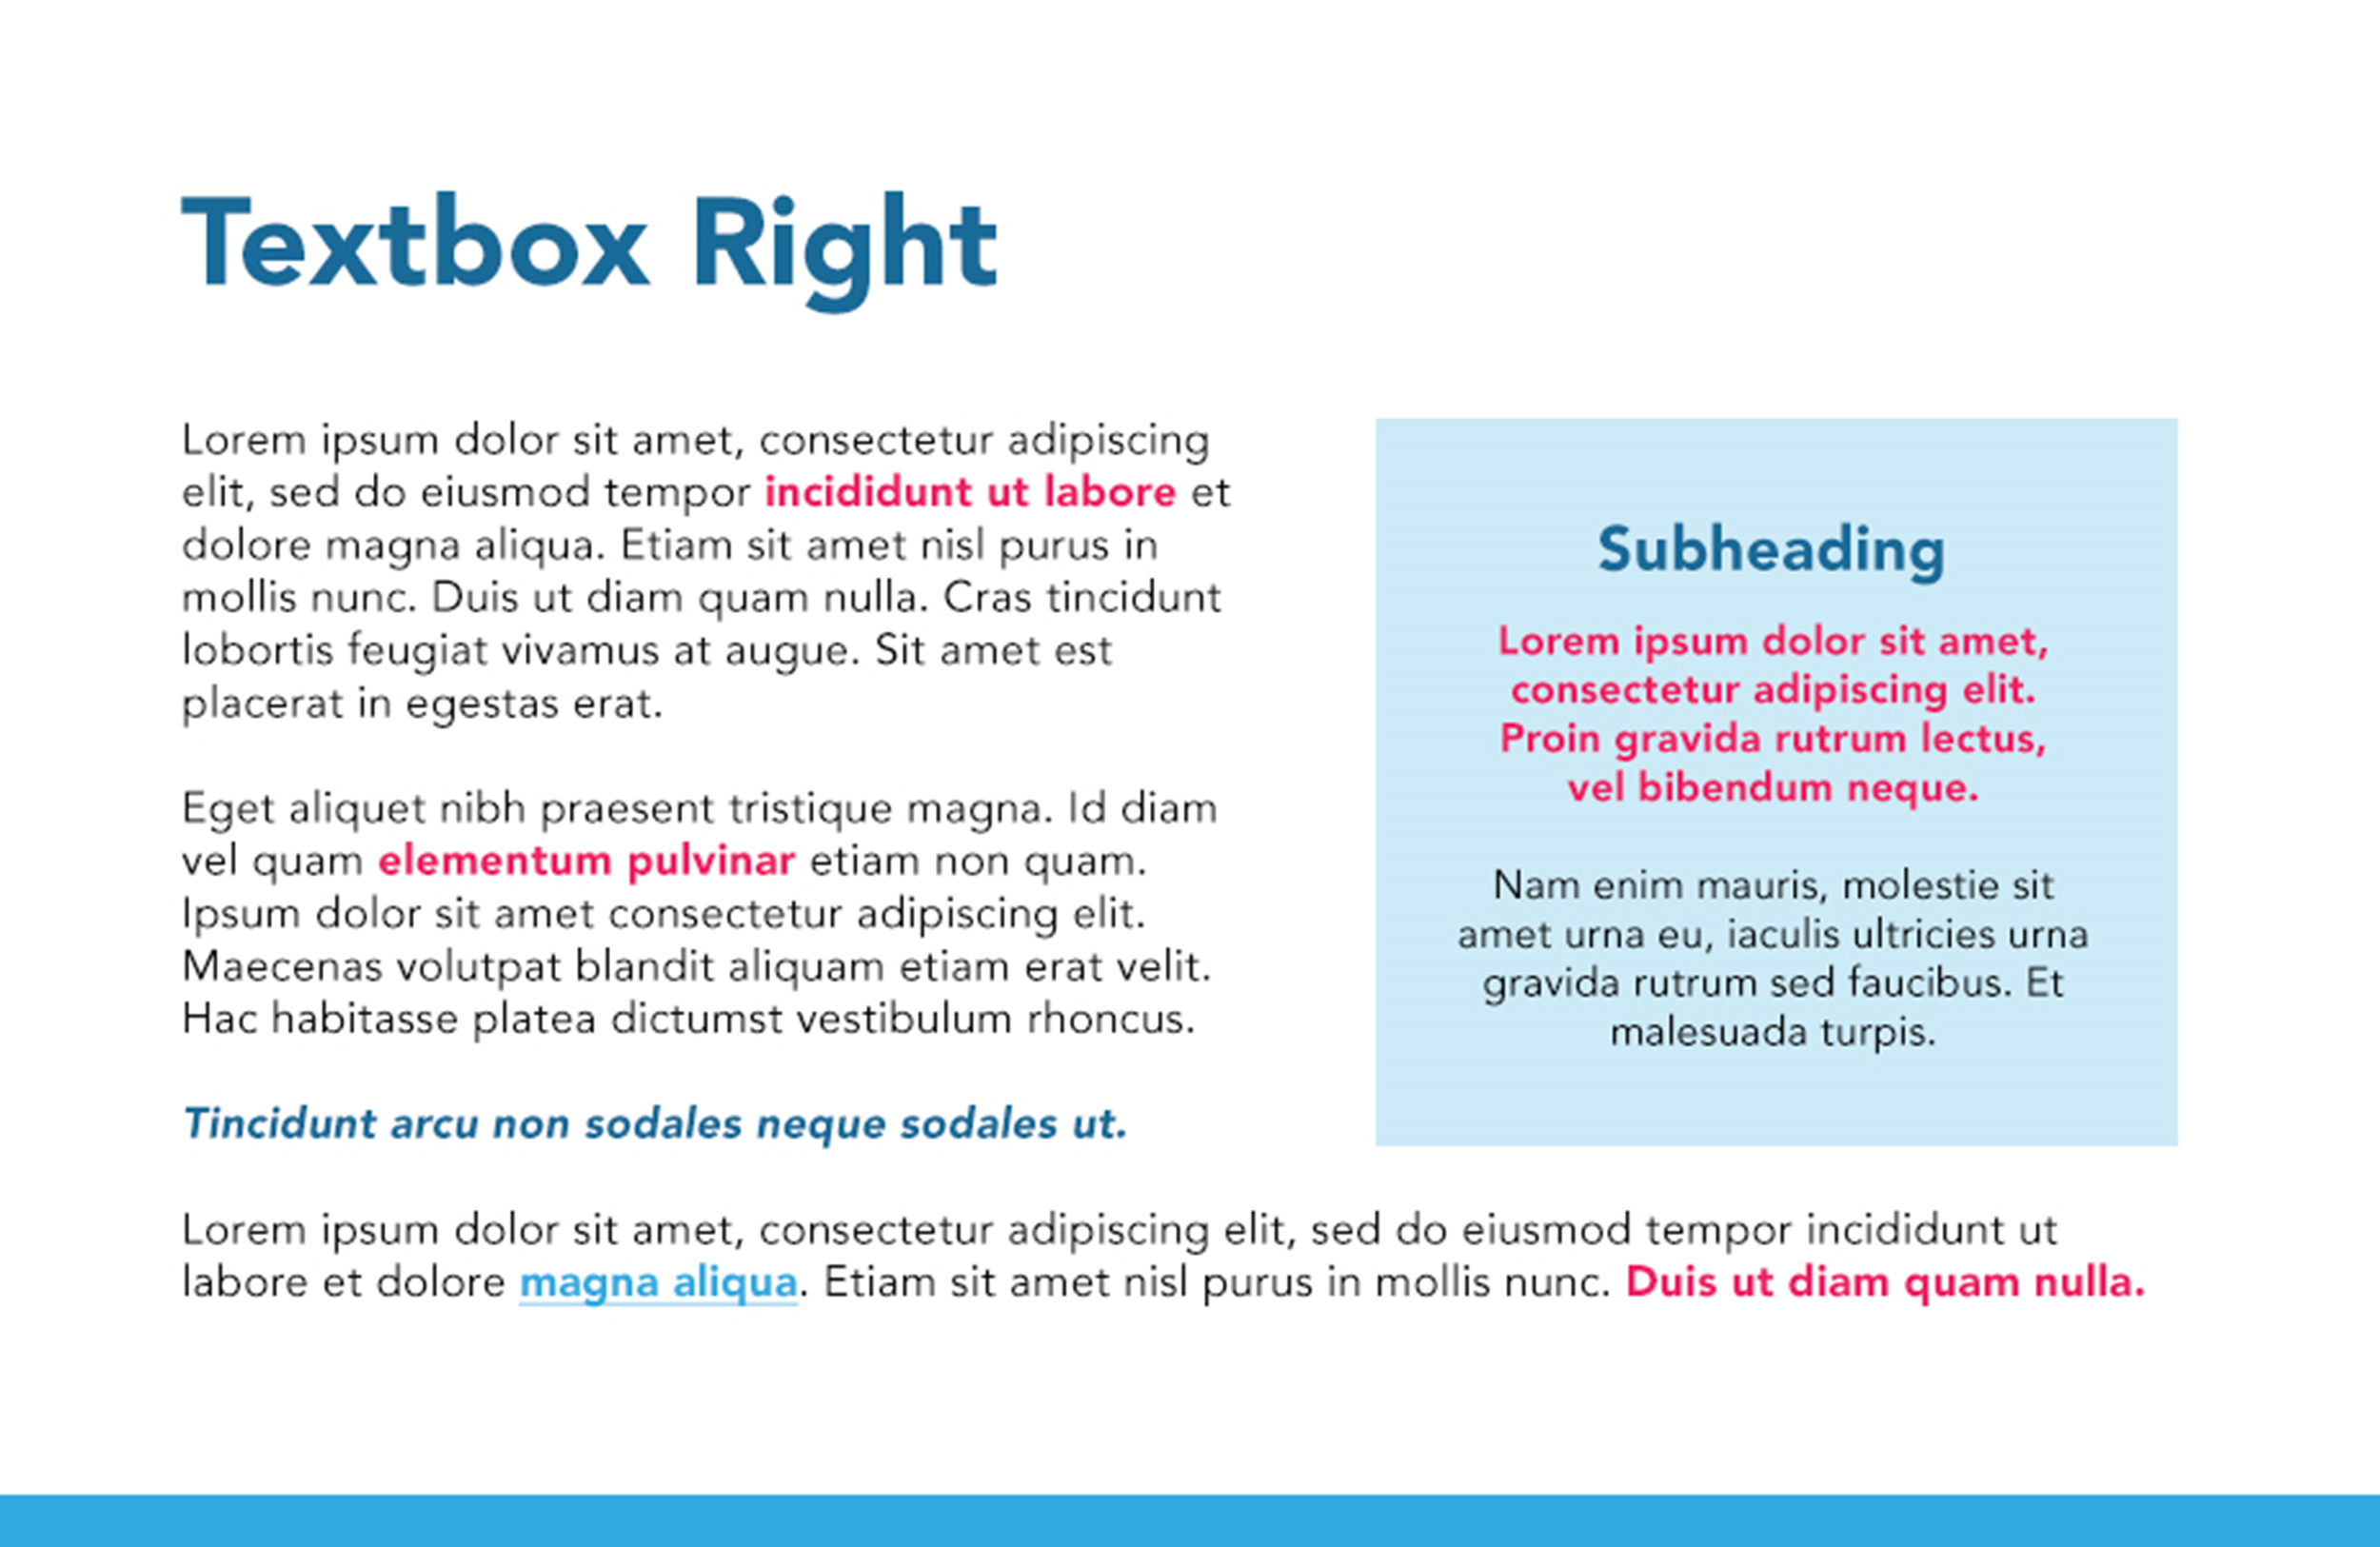
Textbox Right
The Textbox Right layout displays an inset for text on the right side of the page.
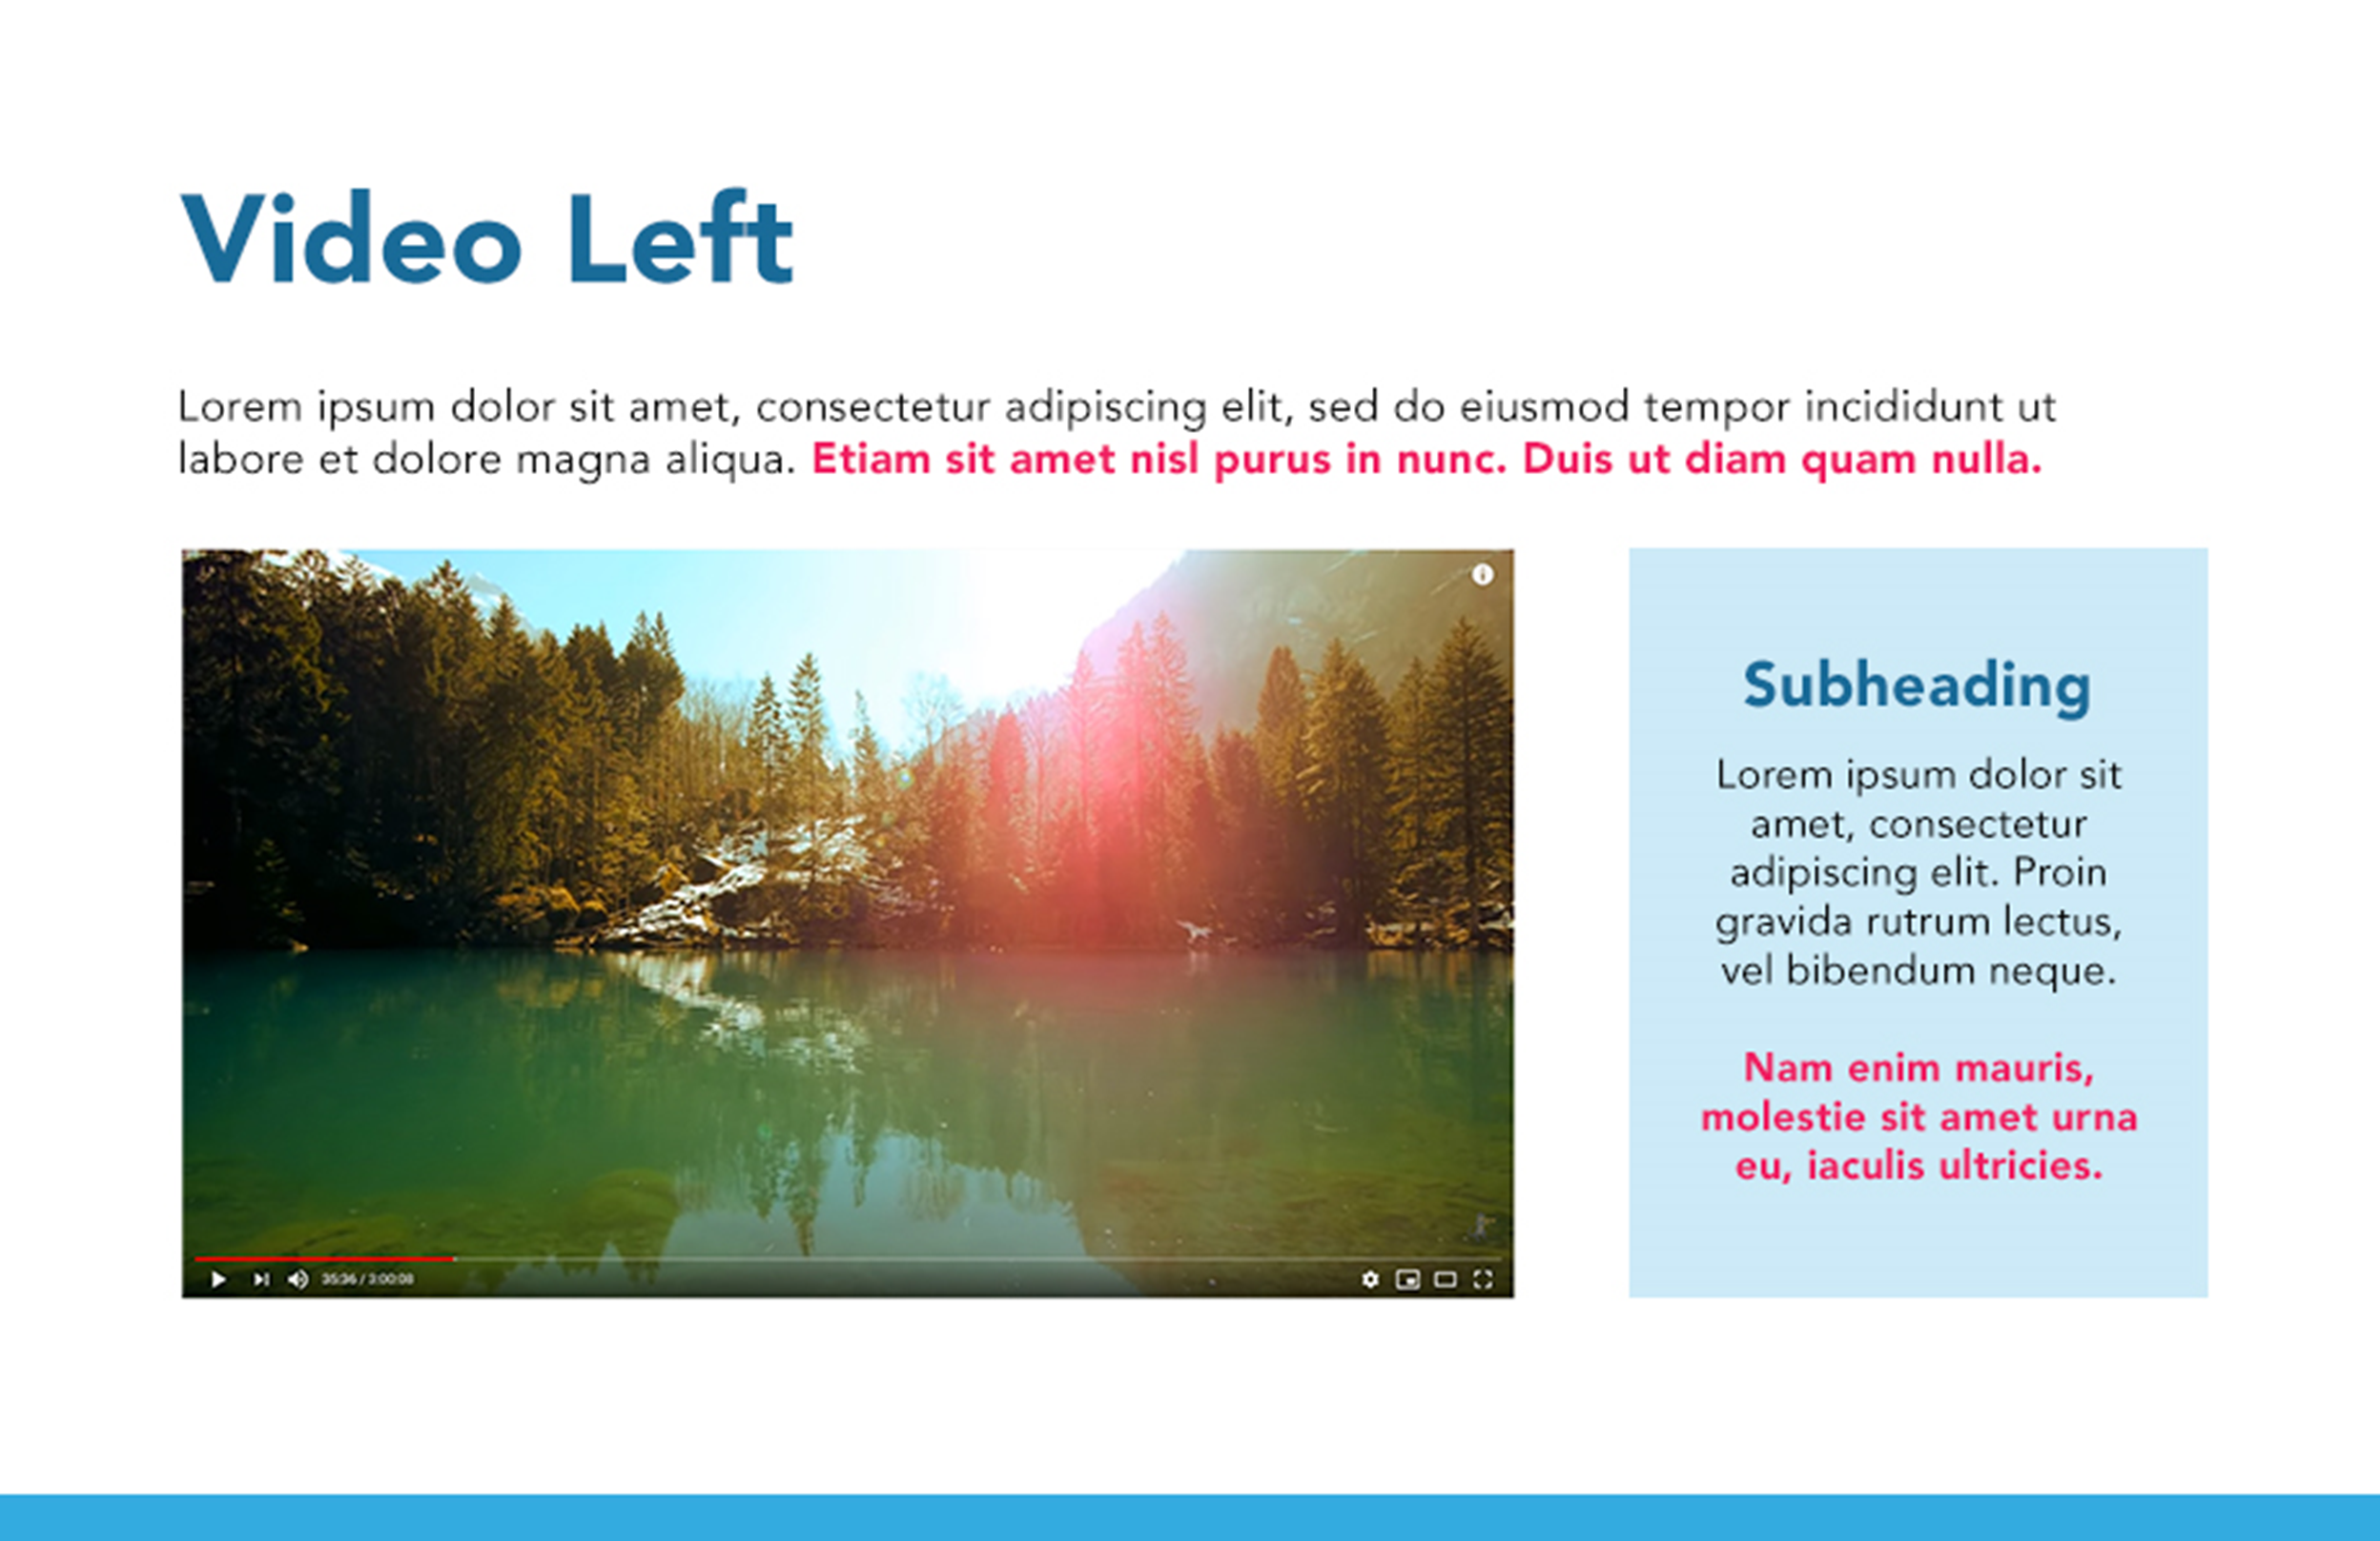
Video Left
The Video Left layout displays a video on the left side of the page with text on the right.
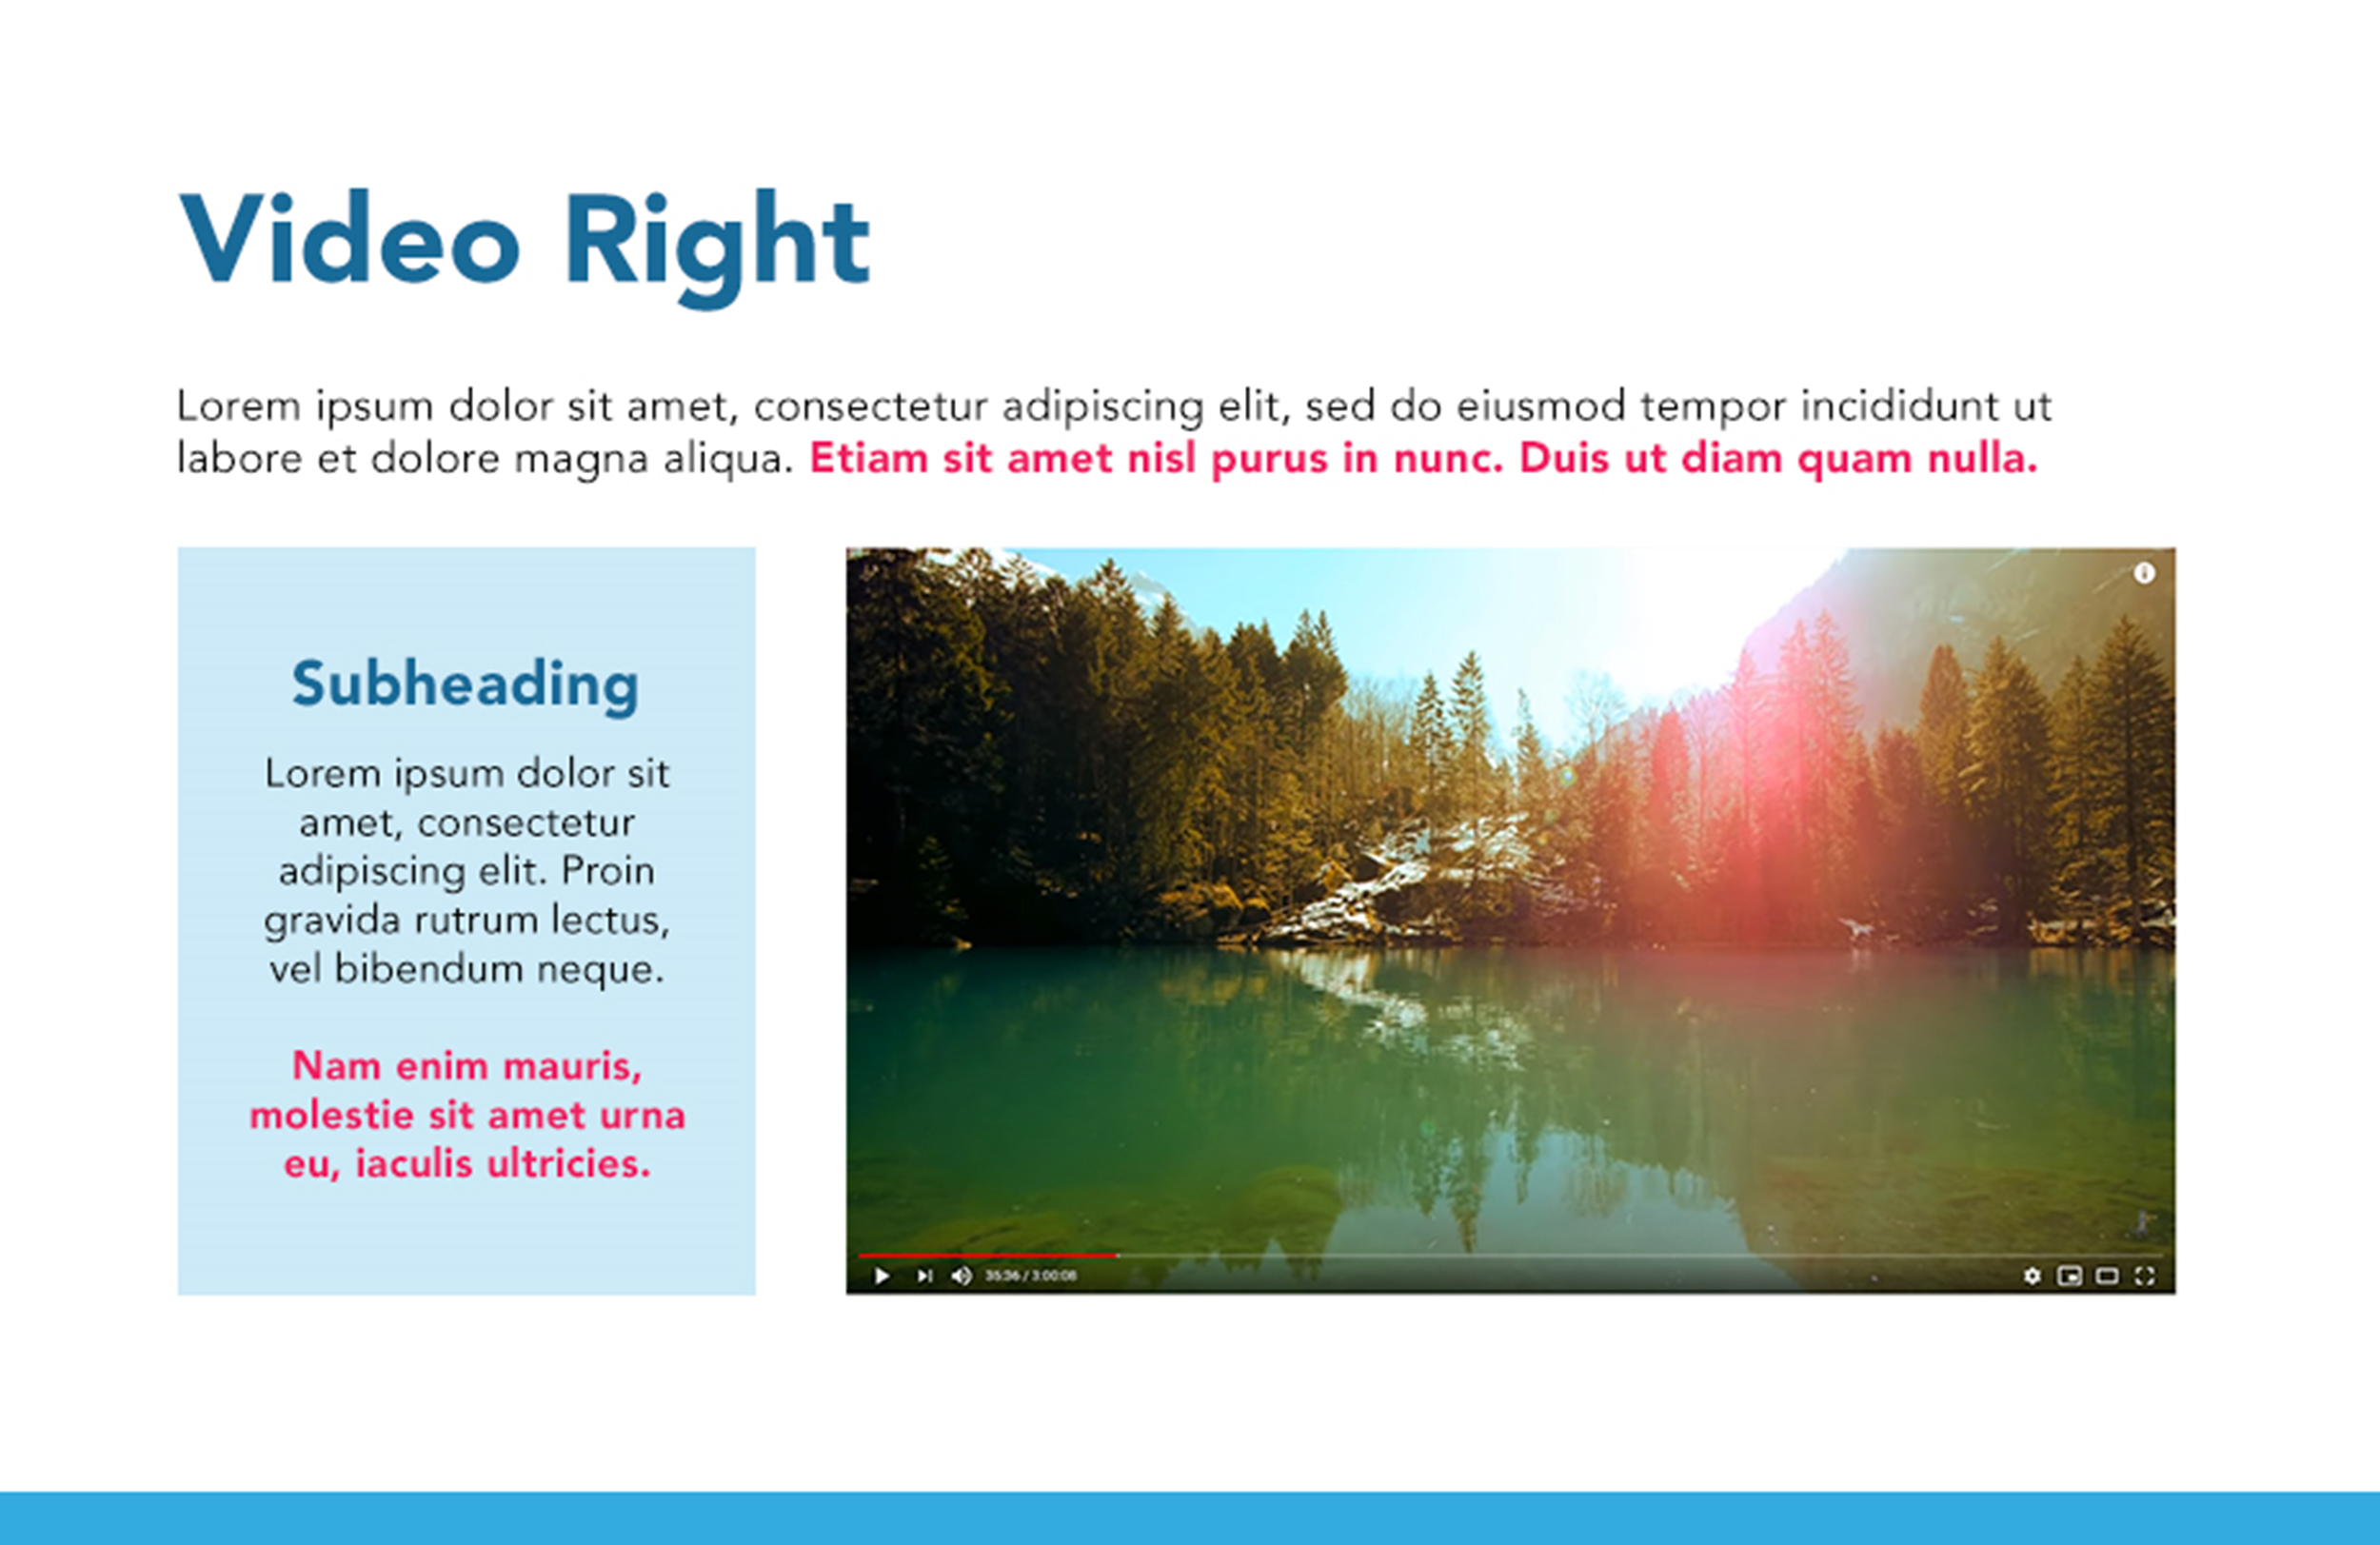
Video Right
The Video Right layout displays a video on the right side of the page with text on the left.
Conclusion
The Conclusion layout is designed to be used at the end of your course.