A content slide's audio settings enable you to either upload an audio file that will be played when the learner views the task, or enter text that will be narrated to learners.
Content slides with an audio file or narration display playback controls in the learner interface.
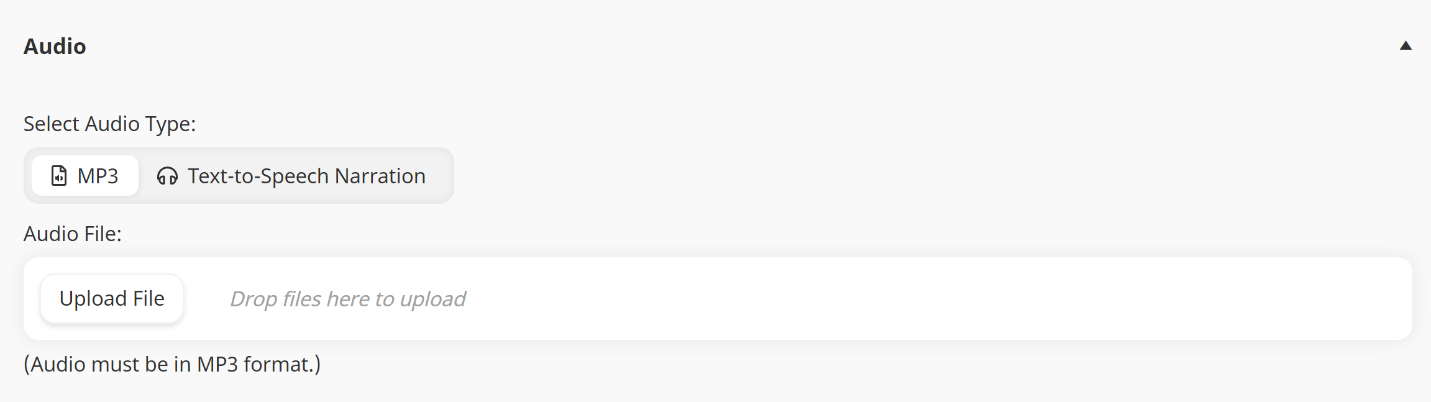
These settings are located in the Audio accordion of the Content Slide workscreen.
If you don't see the settings for the task, be sure the  button at the top of the workscreen is enabled. Depending on your screen size, the settings will display either on the right or at the bottom of the workscreen.
button at the top of the workscreen is enabled. Depending on your screen size, the settings will display either on the right or at the bottom of the workscreen.Adding Audio to a Content Slide
Refer to SmarterU File Uploads for file specifications.
To add an audio file to a content slide:
- From the Content Slide workscreen, expand the Audio accordion.
- From the Select Audio Type setting, select MP3.
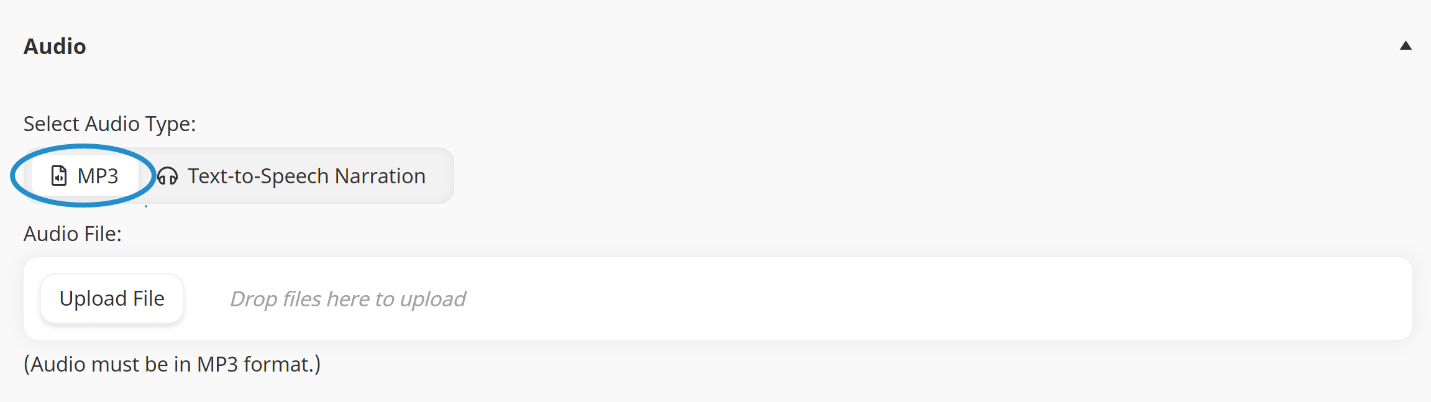
- Click Upload File.
- Upload the file by doing the following:
- Navigate to the file's location.
- Select the file.
- Click Open.
- Click Save.
Adding or Editing a Content Slide's Narration
- To add narration, the account's Enable Text-to-Speech setting must be enabled.
- The content slide will use the Voice and Effect settings specified for the online course.
To add or edit a content slide's narration:
- From the Content Slide workscreen, expand the Audio accordion.
- From the Select Audio Type setting, select Text-to-Speech Narration.
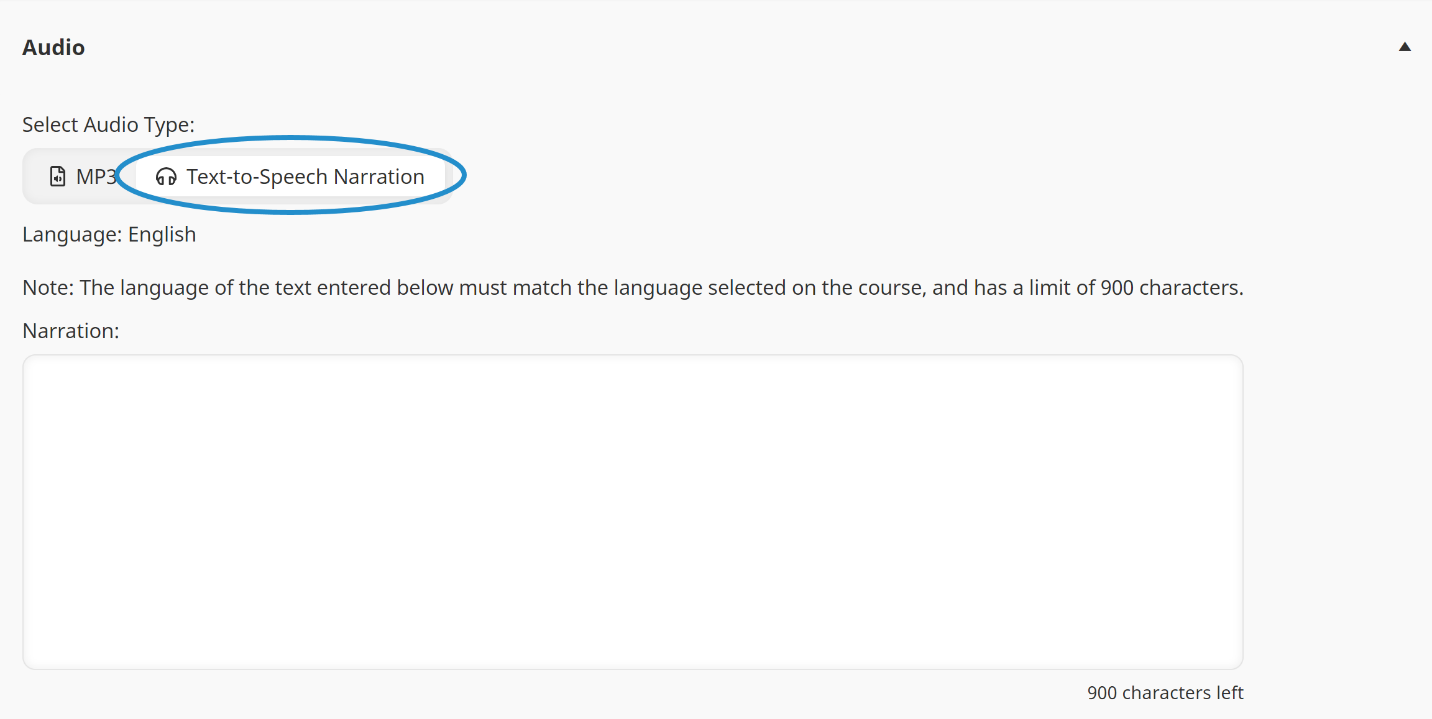
- In the Narration field, enter the text that you want narrated. Learners will be able to view the narration text that you enter.
When entering the narration text, do NOT include HTML. If you are copying your narration text from another source, you can paste it by pressing CTRL+SHIFT+V.
- Click Convert and Preview.
- The Convert and Preview button only displays after you've entered text in the Narration field.
- Each time you edit the text to be narrated, you'll need to click Convert and Preview to hear your changes.
- Click Save.