SmarterU’s Enrollment Report makes it easy to see which users are enrolled in courses. The report has a number of filters that make it easy for you to find the enrollments you’re looking for. But what if you want to identify the users who have NOT completed a course?
Although there isn’t a report to show which users have not completed a course, you can follow the steps detailed below to identify and enroll them:
- Export course enrollments and group users from SmarterU.
- Combine the groups’ users.
- Identify group users who’ve completed the course.
- Assign the users to a new team.
- Enroll the team in the course.
- Deactivate the team.
Part 1: Export Course Enrollments and Group Users from SmarterU
In this part of the process, we’ll export the following data from SmarterU:
- The users who have completed the course.
- The users in each group that the course is assigned to.
- Create a custom Enrollment Report to show the users who completed the course. To do this, you’ll need to filter the report for the course name and the Completed status.
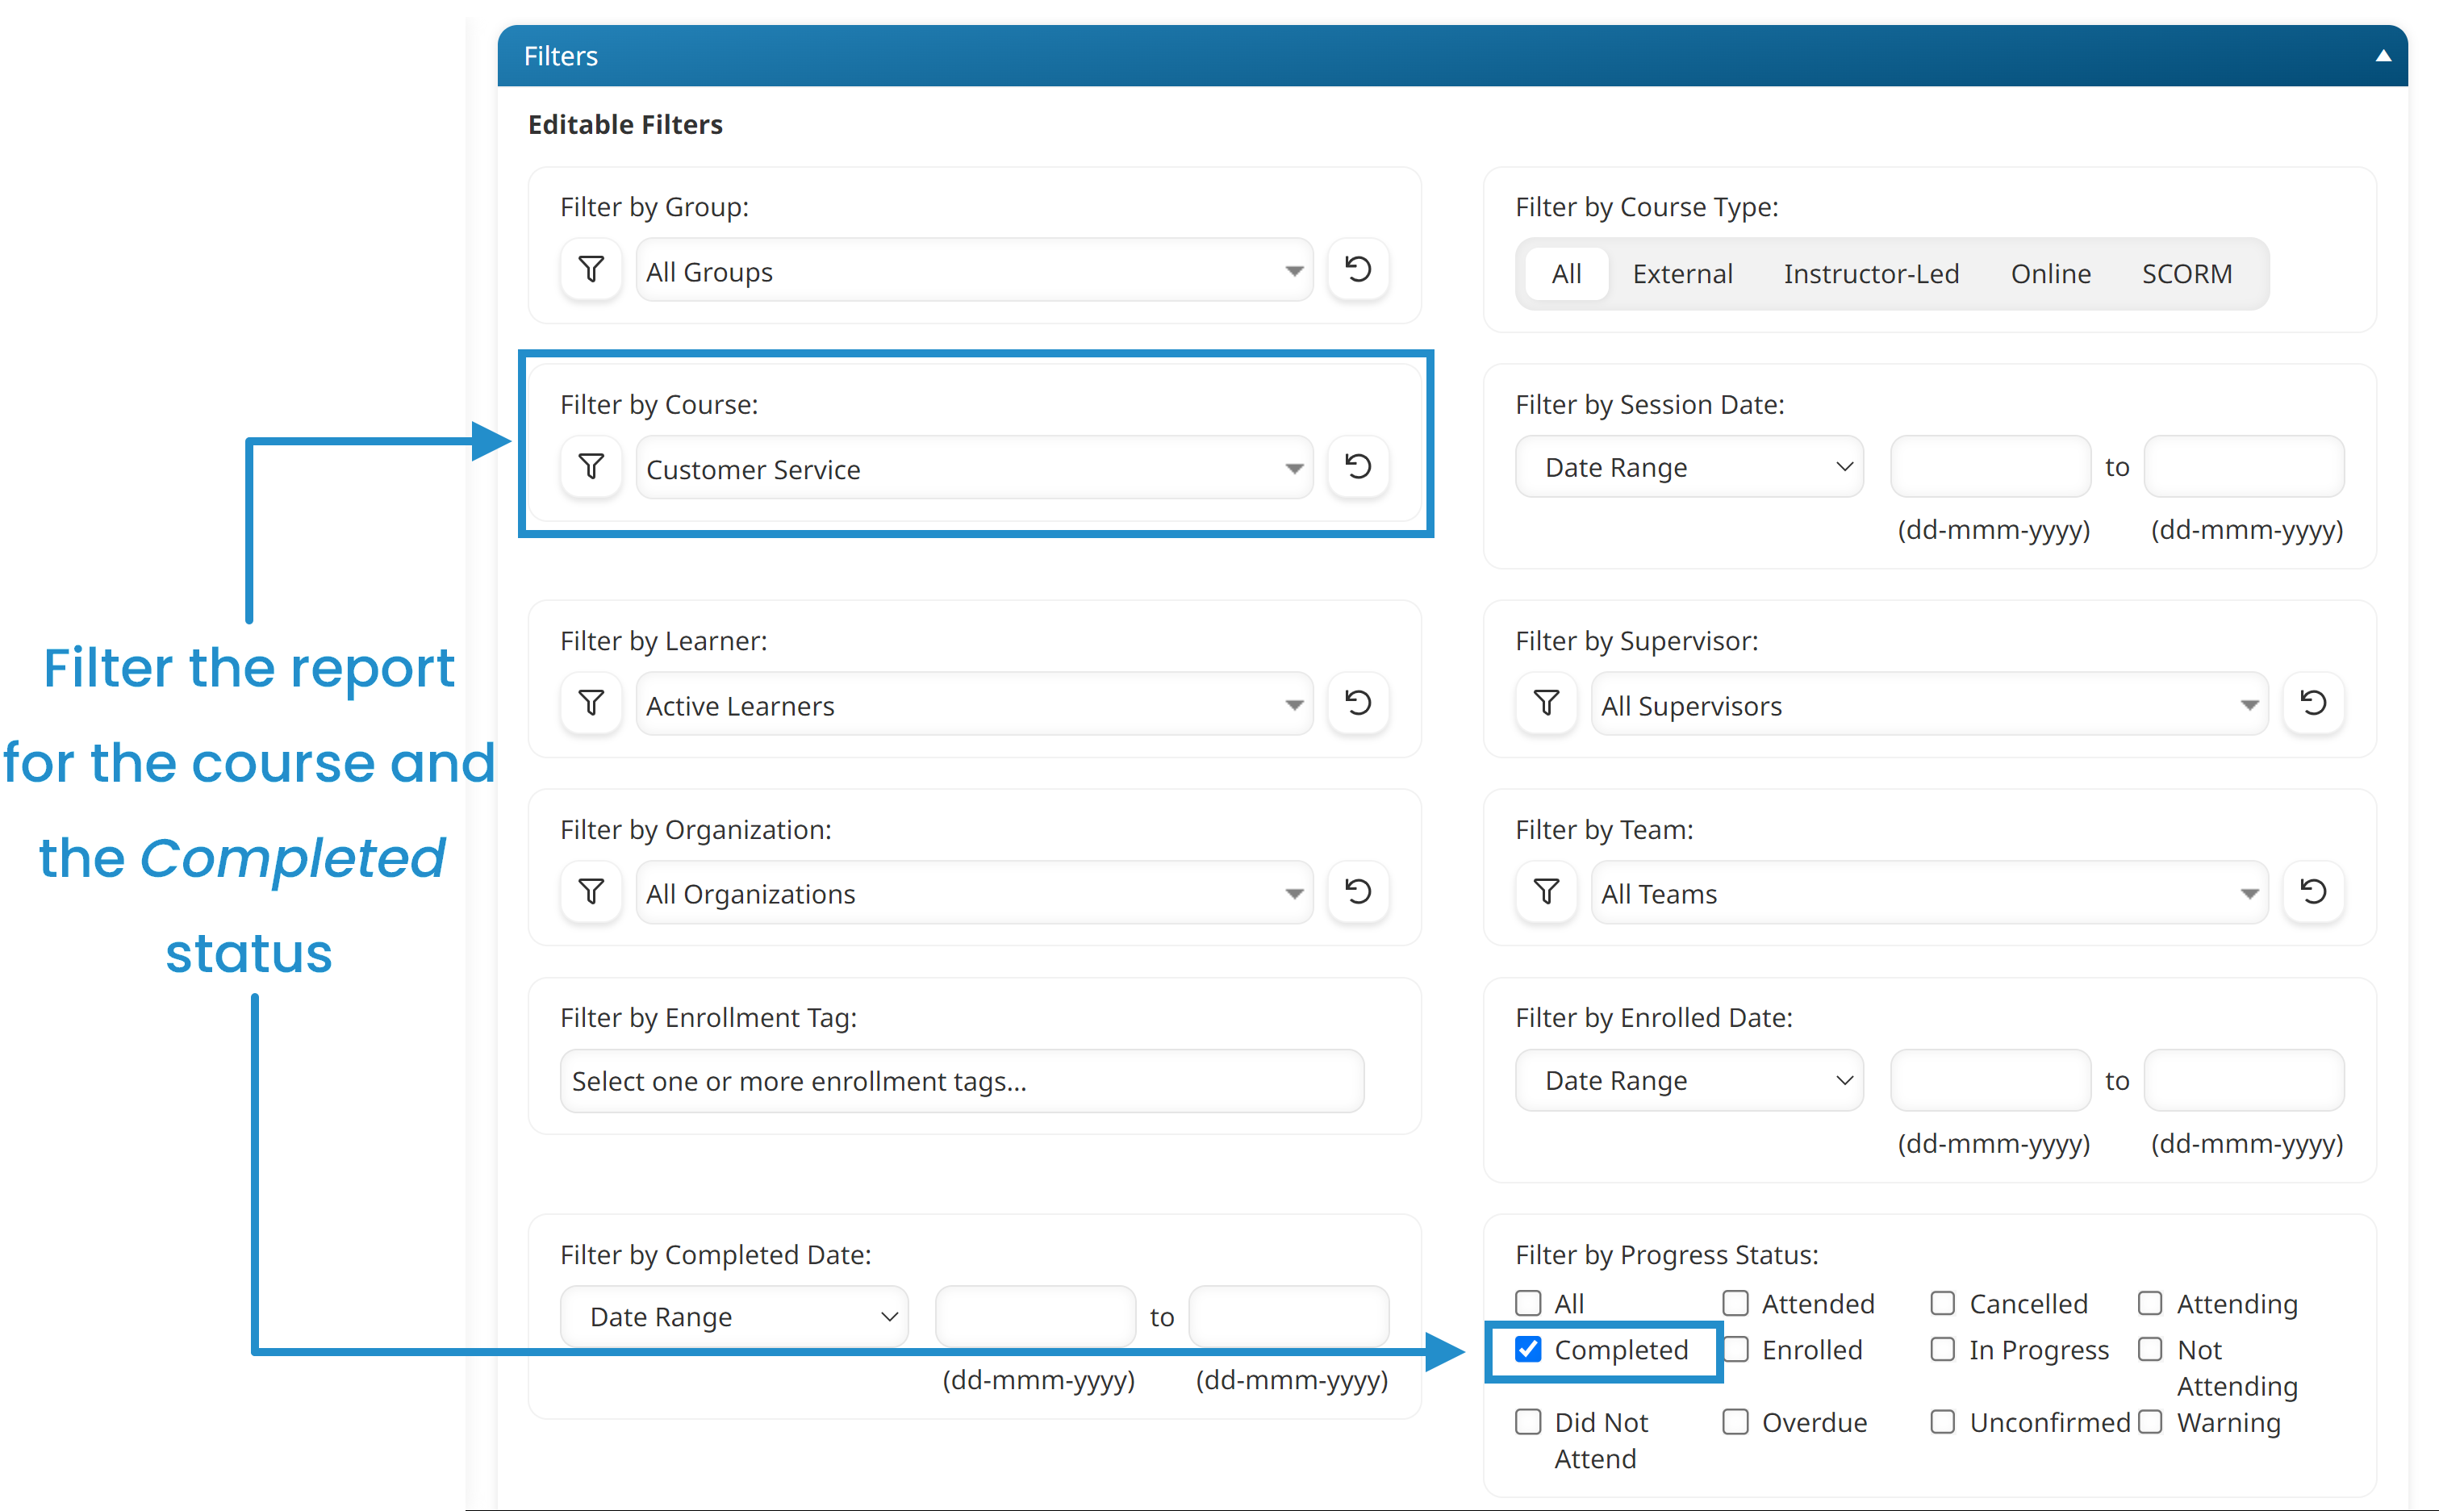
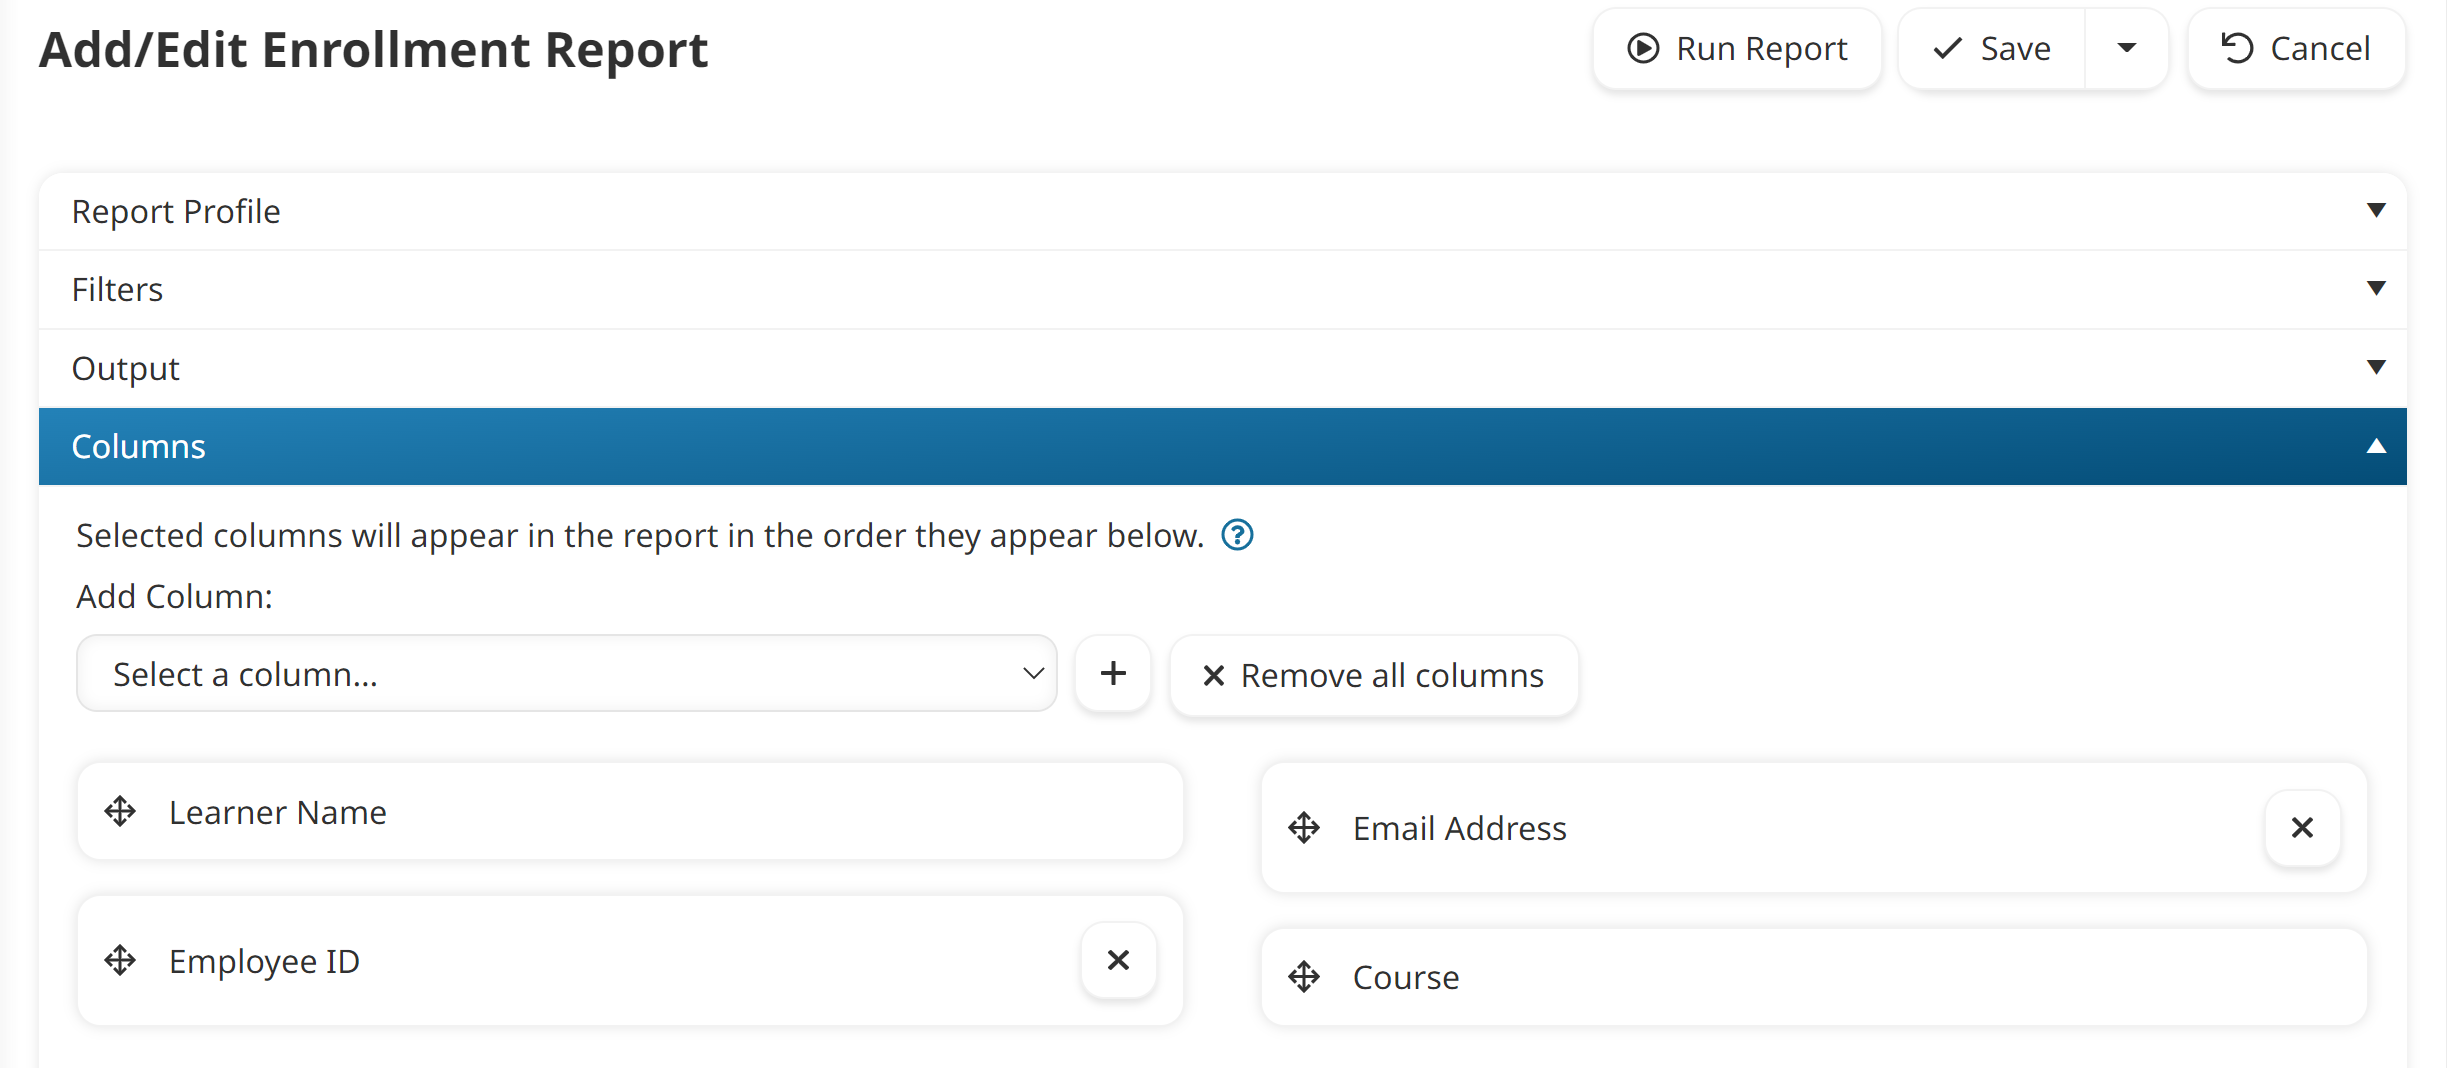
In addition to the learner’s name and course, be sure to include the user’s email address and employee ID as columns in the output.
- Export the Enrollment Report’s results to a CSV file.
- Determine which groups the course is assigned to. To do this, edit the course’s settings and expand the Groups accordion. The groups that the course is assigned to display in the grid.
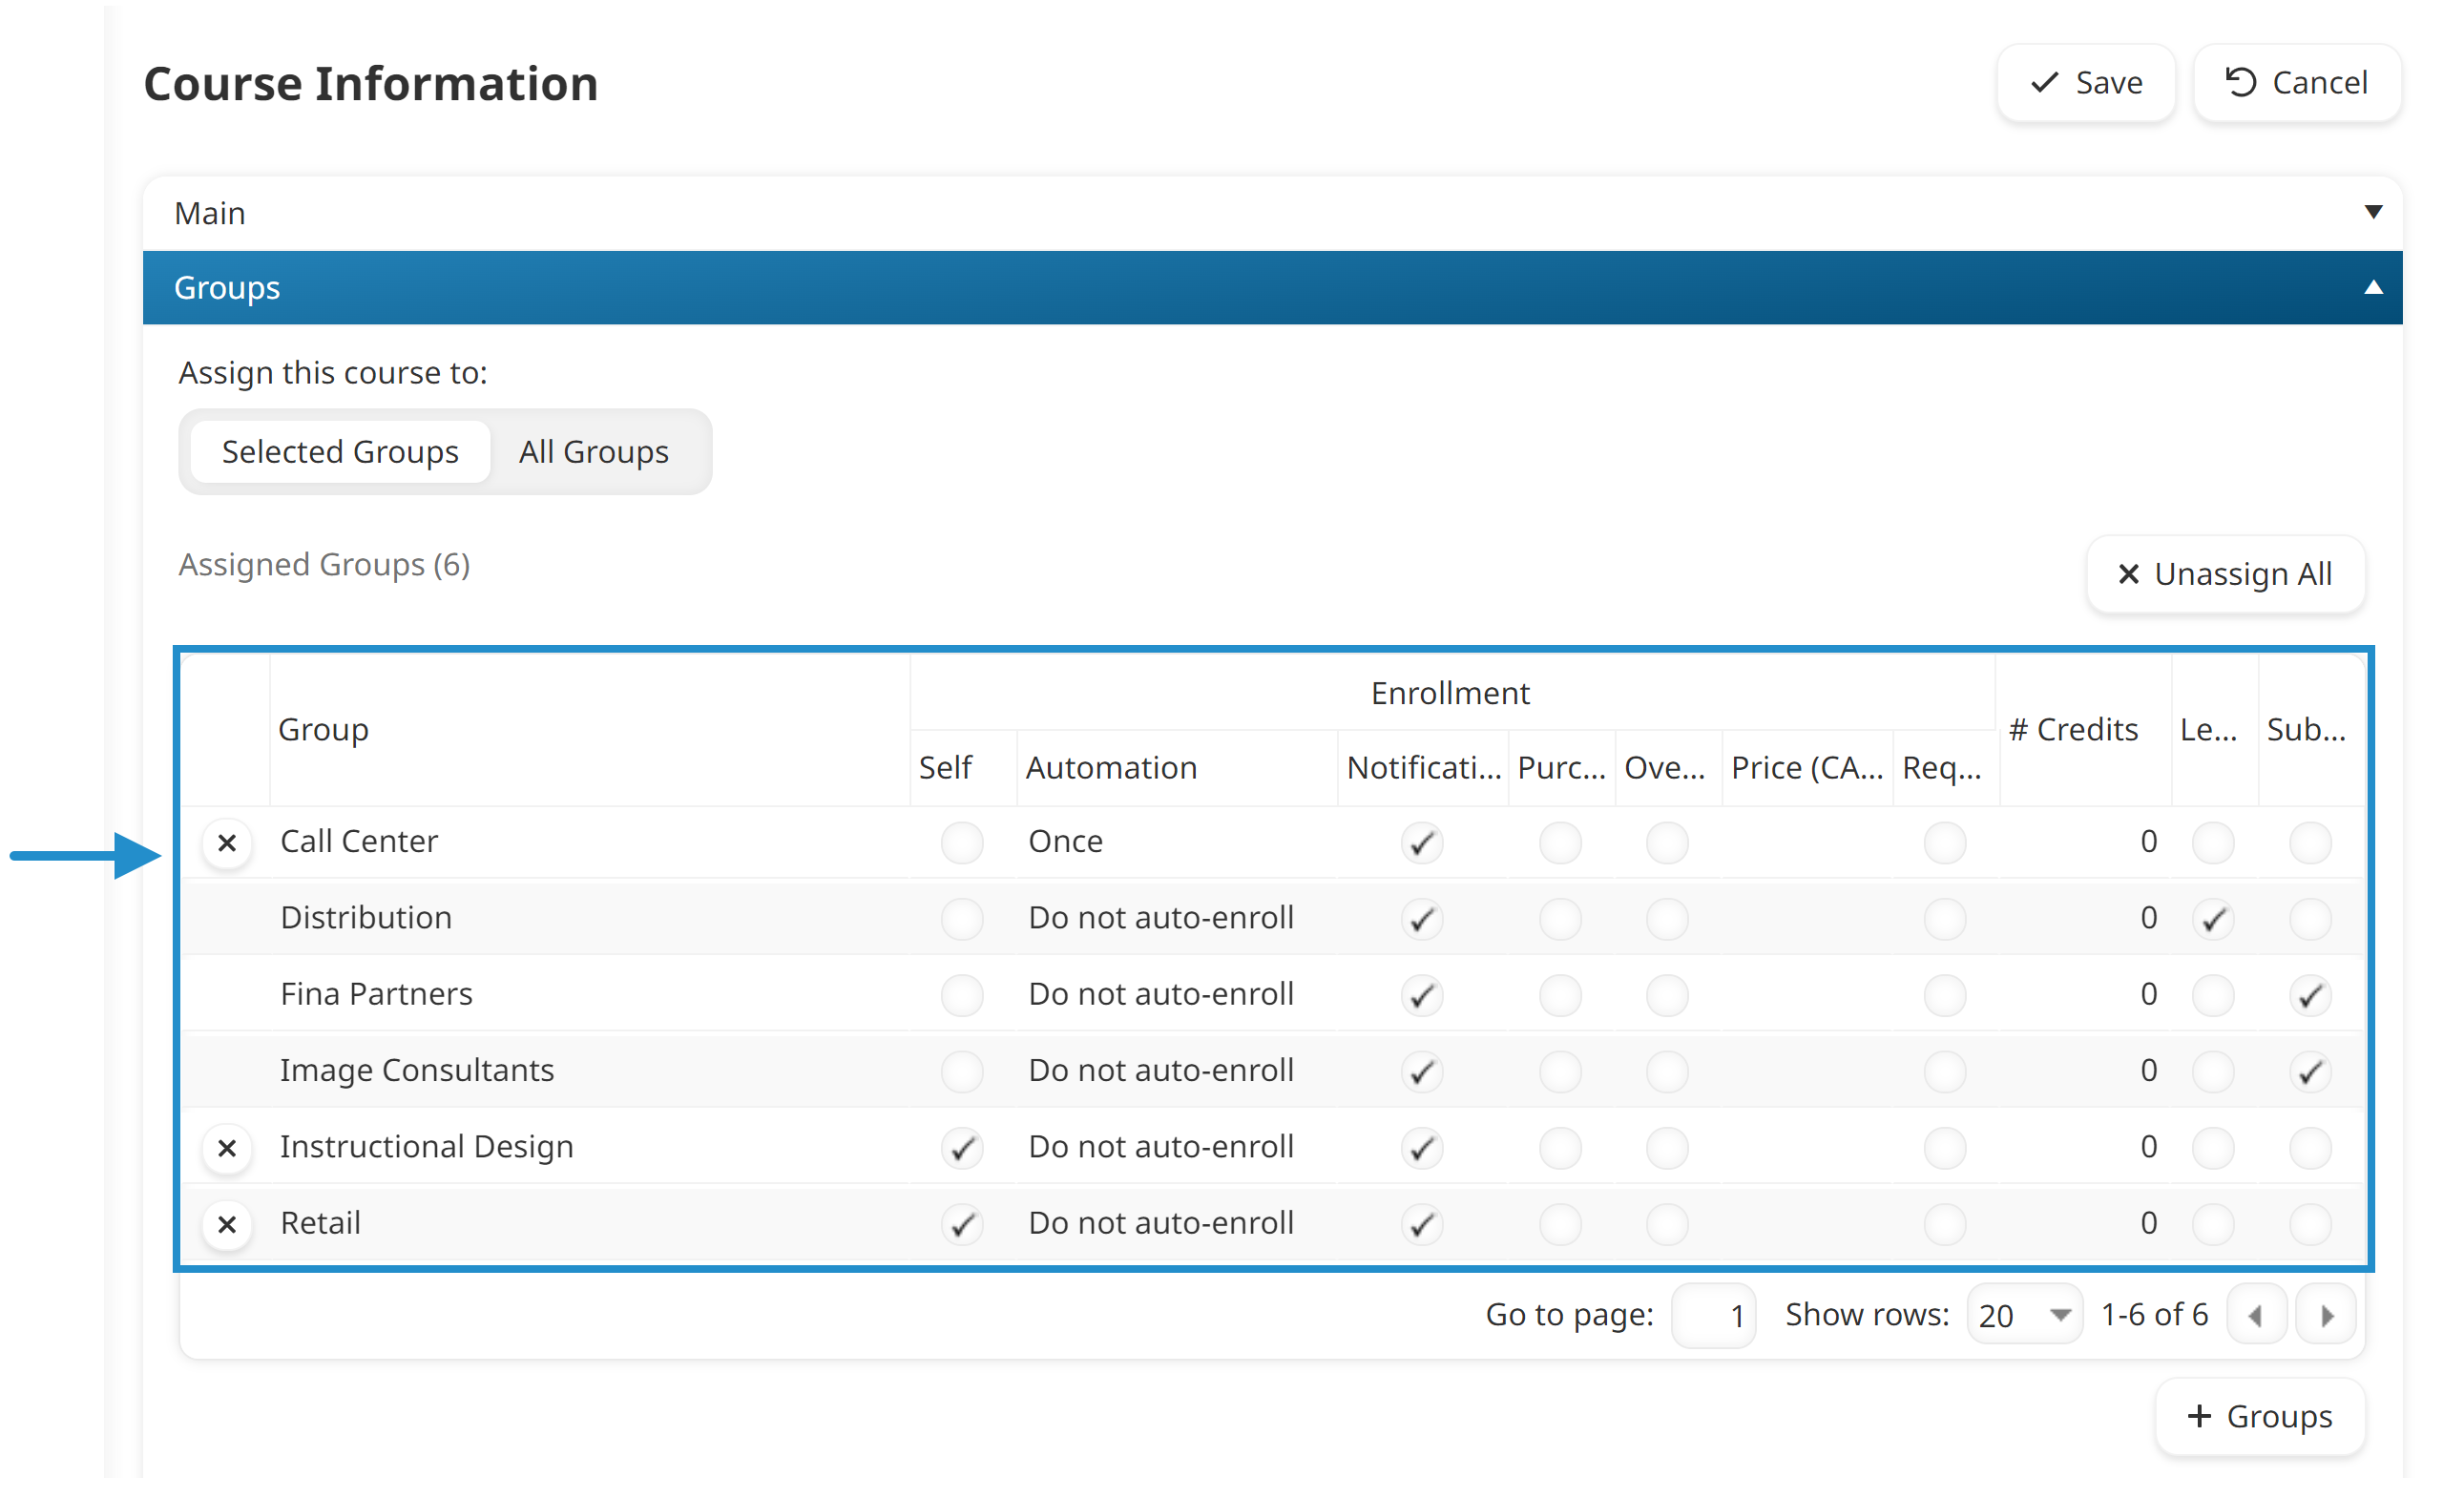
In our example, the Customer Service course is assigned to six groups:
- Call Center
- Distribution
- Fina Partners
- Image Consultants
- Instructional Design
- Retail
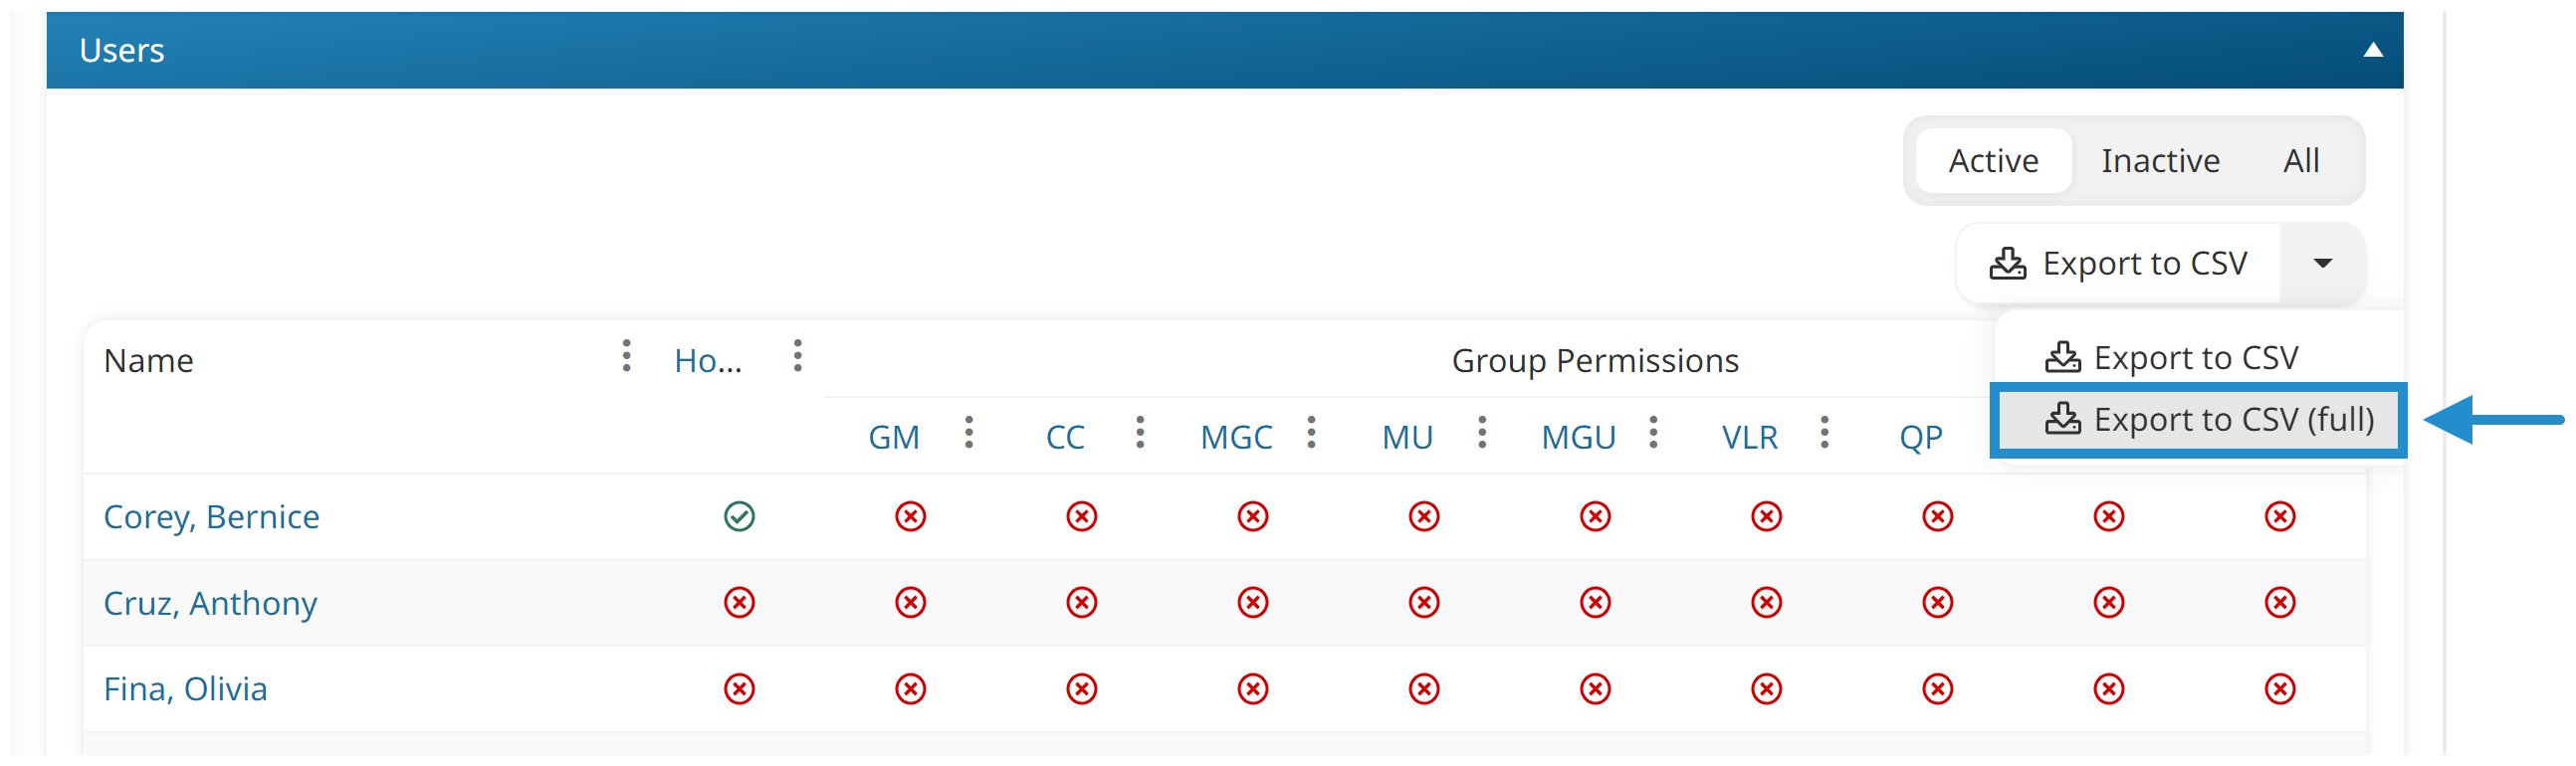
- After identifying the groups that the course is assigned to, you’ll need to view each group and export the group’s users to a CSV file. Be sure to select the Export to CSV (Full) option so that the file includes the users’ email addresses and employee IDs.
In our example, we would export the group users for the following groups:
- Call Center
- Distribution
- Fina Partners
- Image Consultants
- Instructional Design
- Retail
- When you receive the emails from SmarterU with the exports, be sure to save the files to your computer.
Part 2. Combine the Groups’ Users
In this part of the process, we’ll combine the users from all the groups that the course is assigned to into a single worksheet. After we’ve combined the users into a single list, we’ll remove users who are listed multiple times (i.e., users who belong to more than one group).
- Create a new Excel workbook.
- Copy the user names, email addresses and employee IDs from each group’s users export file and paste them into the same worksheet in the Excel workbook.
At this point, the worksheet should have a list of all users in all groups that the course is assigned. If a user is assigned to more than one of these groups, they’ll be listed multiple times.
The following steps will identify the users who are assigned to more than one group and eliminate the duplicate entries for those users.
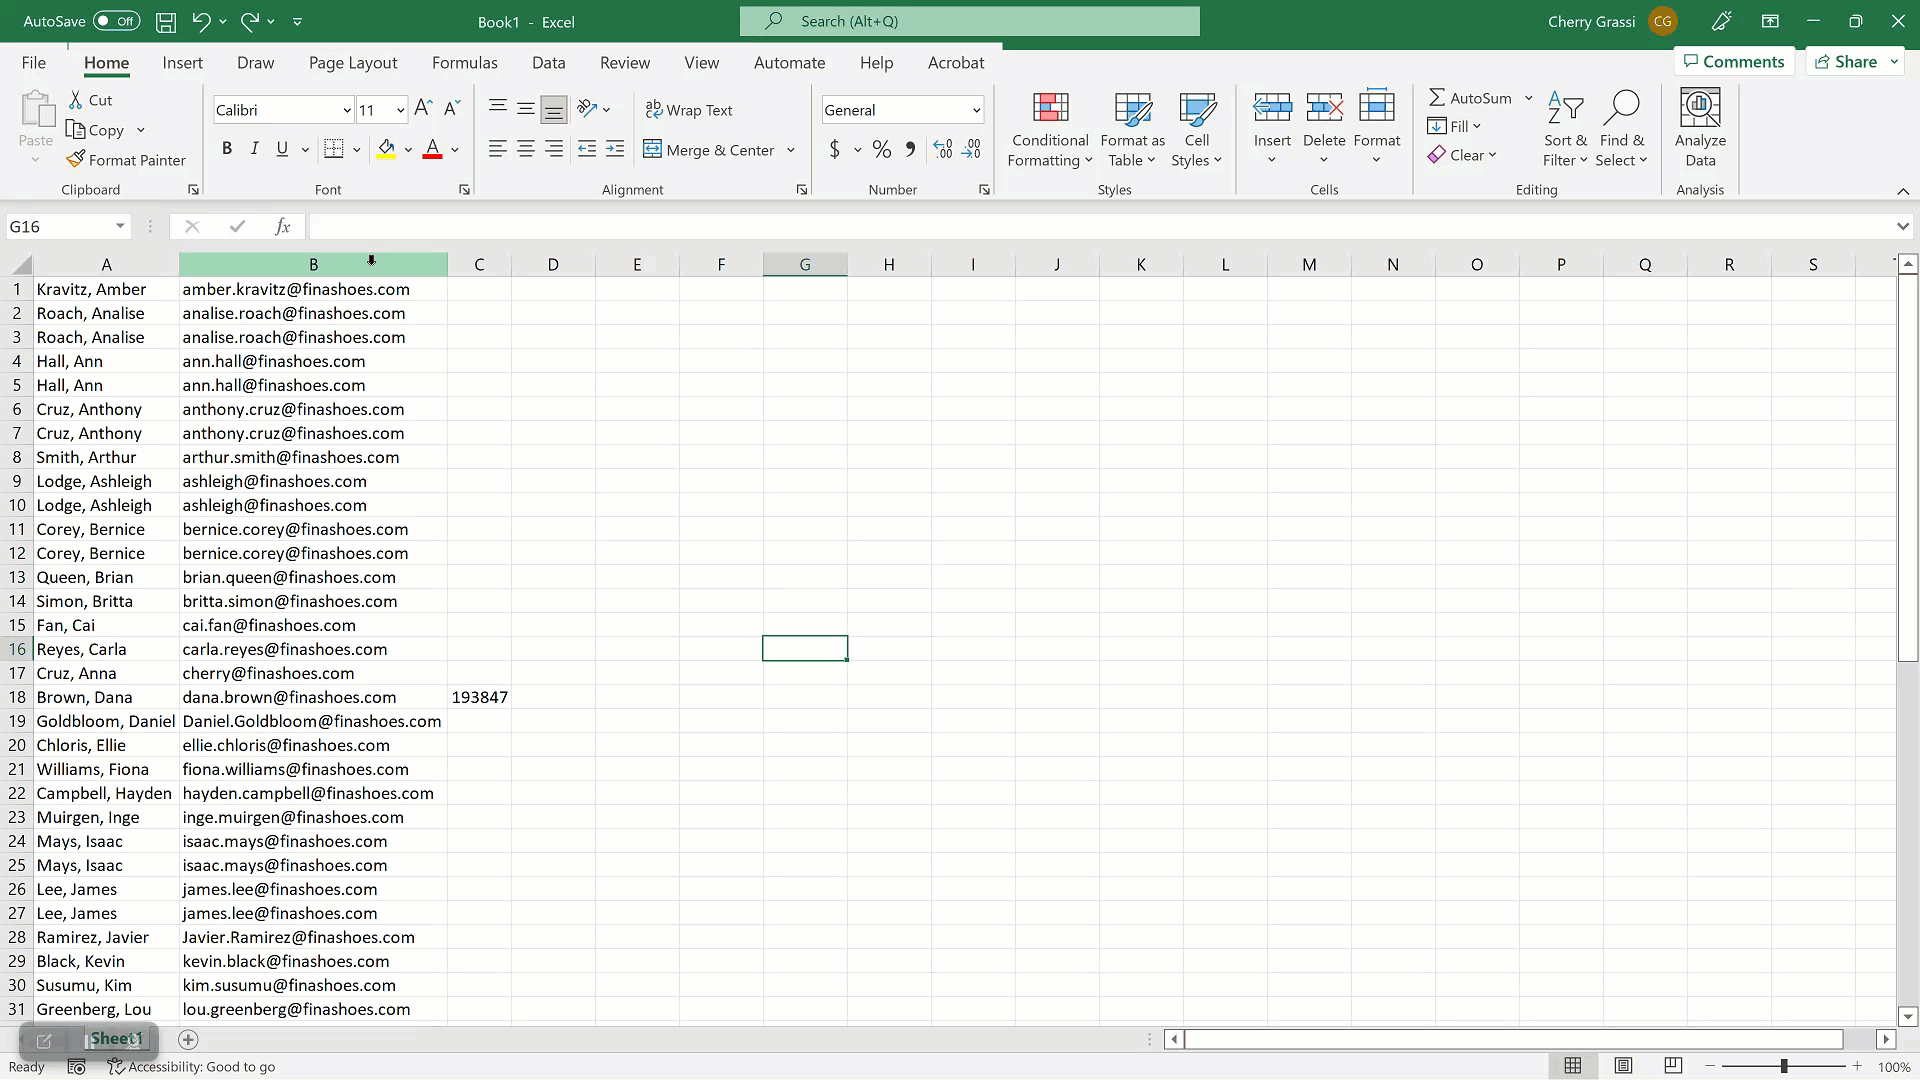
- Sort the data in the worksheet by the column that your account uses to uniquely identify users (i.e., email addresses or employee IDs).
- Select the column that your account uses to identify users.
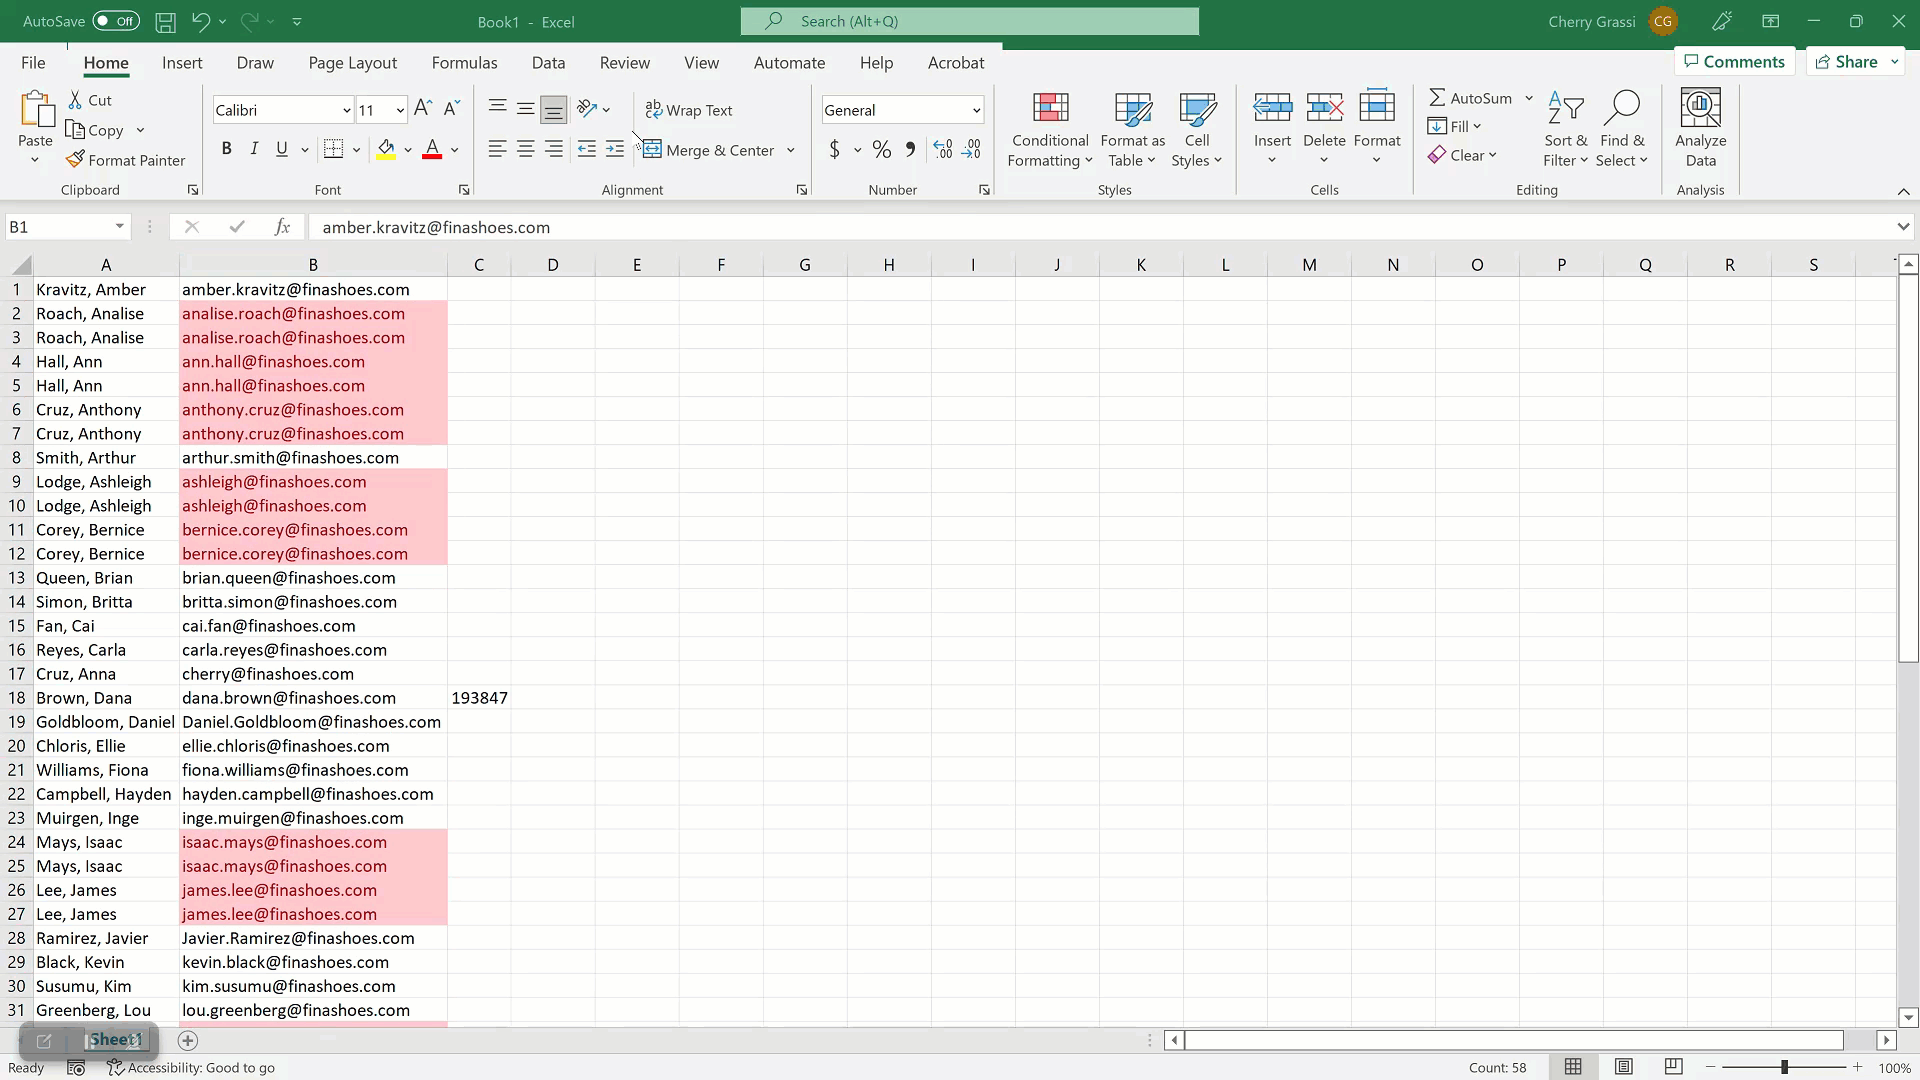
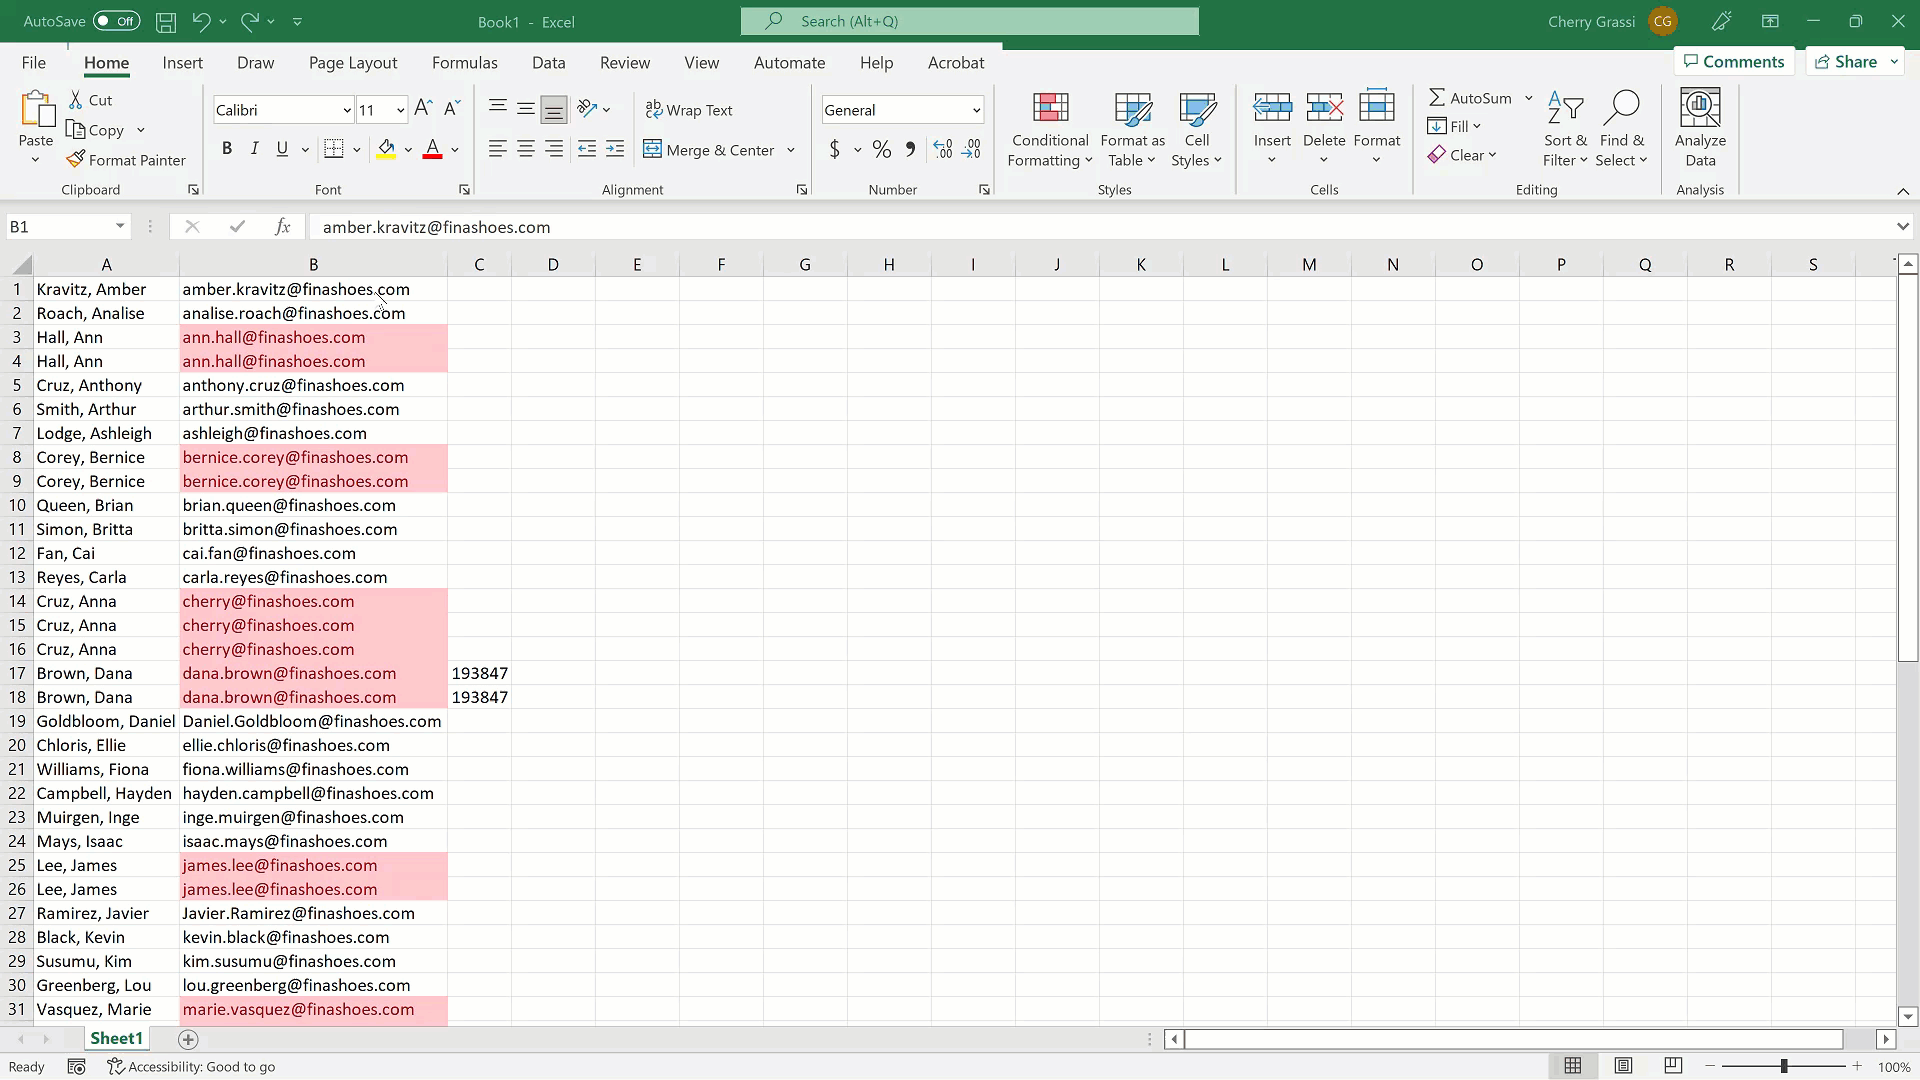
- Use Excel’s conditional formatting feature to highlight duplicate values.
- Use Excel’s Remove Duplicates feature to delete duplicate rows for the highlighted users so that each user is only listed in the worksheet once.
Part 3. Identify Group Users Who’ve Completed the Course
In this part of the process, we'll merge the list of users who completed the course with the users from the groups to identify the users who have not completed the course.
- Open the Enrollment Report’s CSV file. This is the Enrollment Report export that you generated in Part 1.
- Copy the user names, email addresses and employee IDs from the Enrollment Report’s CSV file to the worksheet that lists all users.
- Sort the data in the worksheet by the column that your account uses to uniquely identify users (i.e., email addresses or employee IDs).
- Select the column that your account uses to identify users.
- Use Excel’s conditional formatting feature to highlight duplicate values.
- Perform a custom sort on the data so that the highlighted rows are listed at the top.
- Delete all highlighted rows.
The remaining users are those who have not completed the course. You may want to note the number of users who have not completed the course.
Part 4. Assign the Users to a New Team
In this part of the process, we’ll create a new team for the users who have NOT completed the course. Although we could add the team and its users manually, we’ll use SmarterU’s user import feature.
- Delete the column containing the user’s full name.
- In the column to the right of the user’s email address or employee ID, enter the name of the team that you want to add the users to.
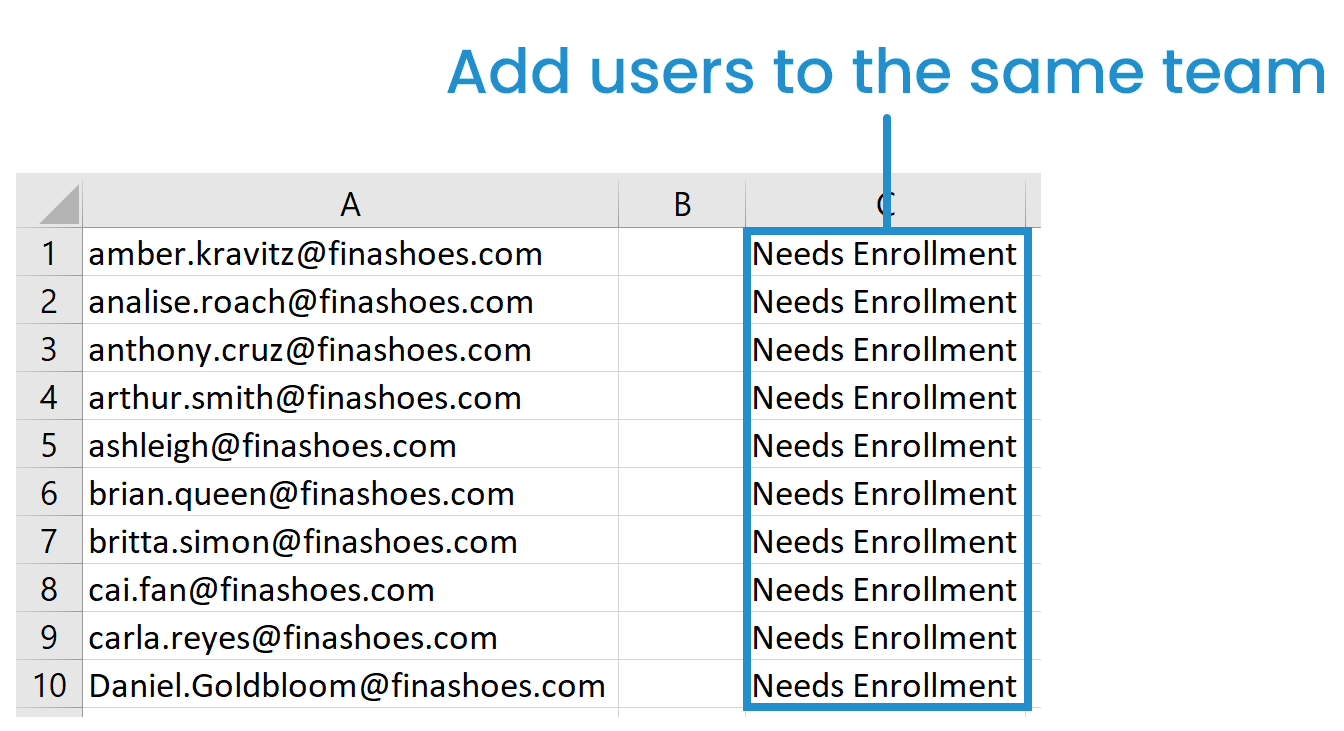
- Save the file as a CSV.
- Use SmarterU’s user import functionality to add the users to the new team. When you map the CSV file’s data to SmarterU’s fields, be sure to map the team name to the Team (Add) field.
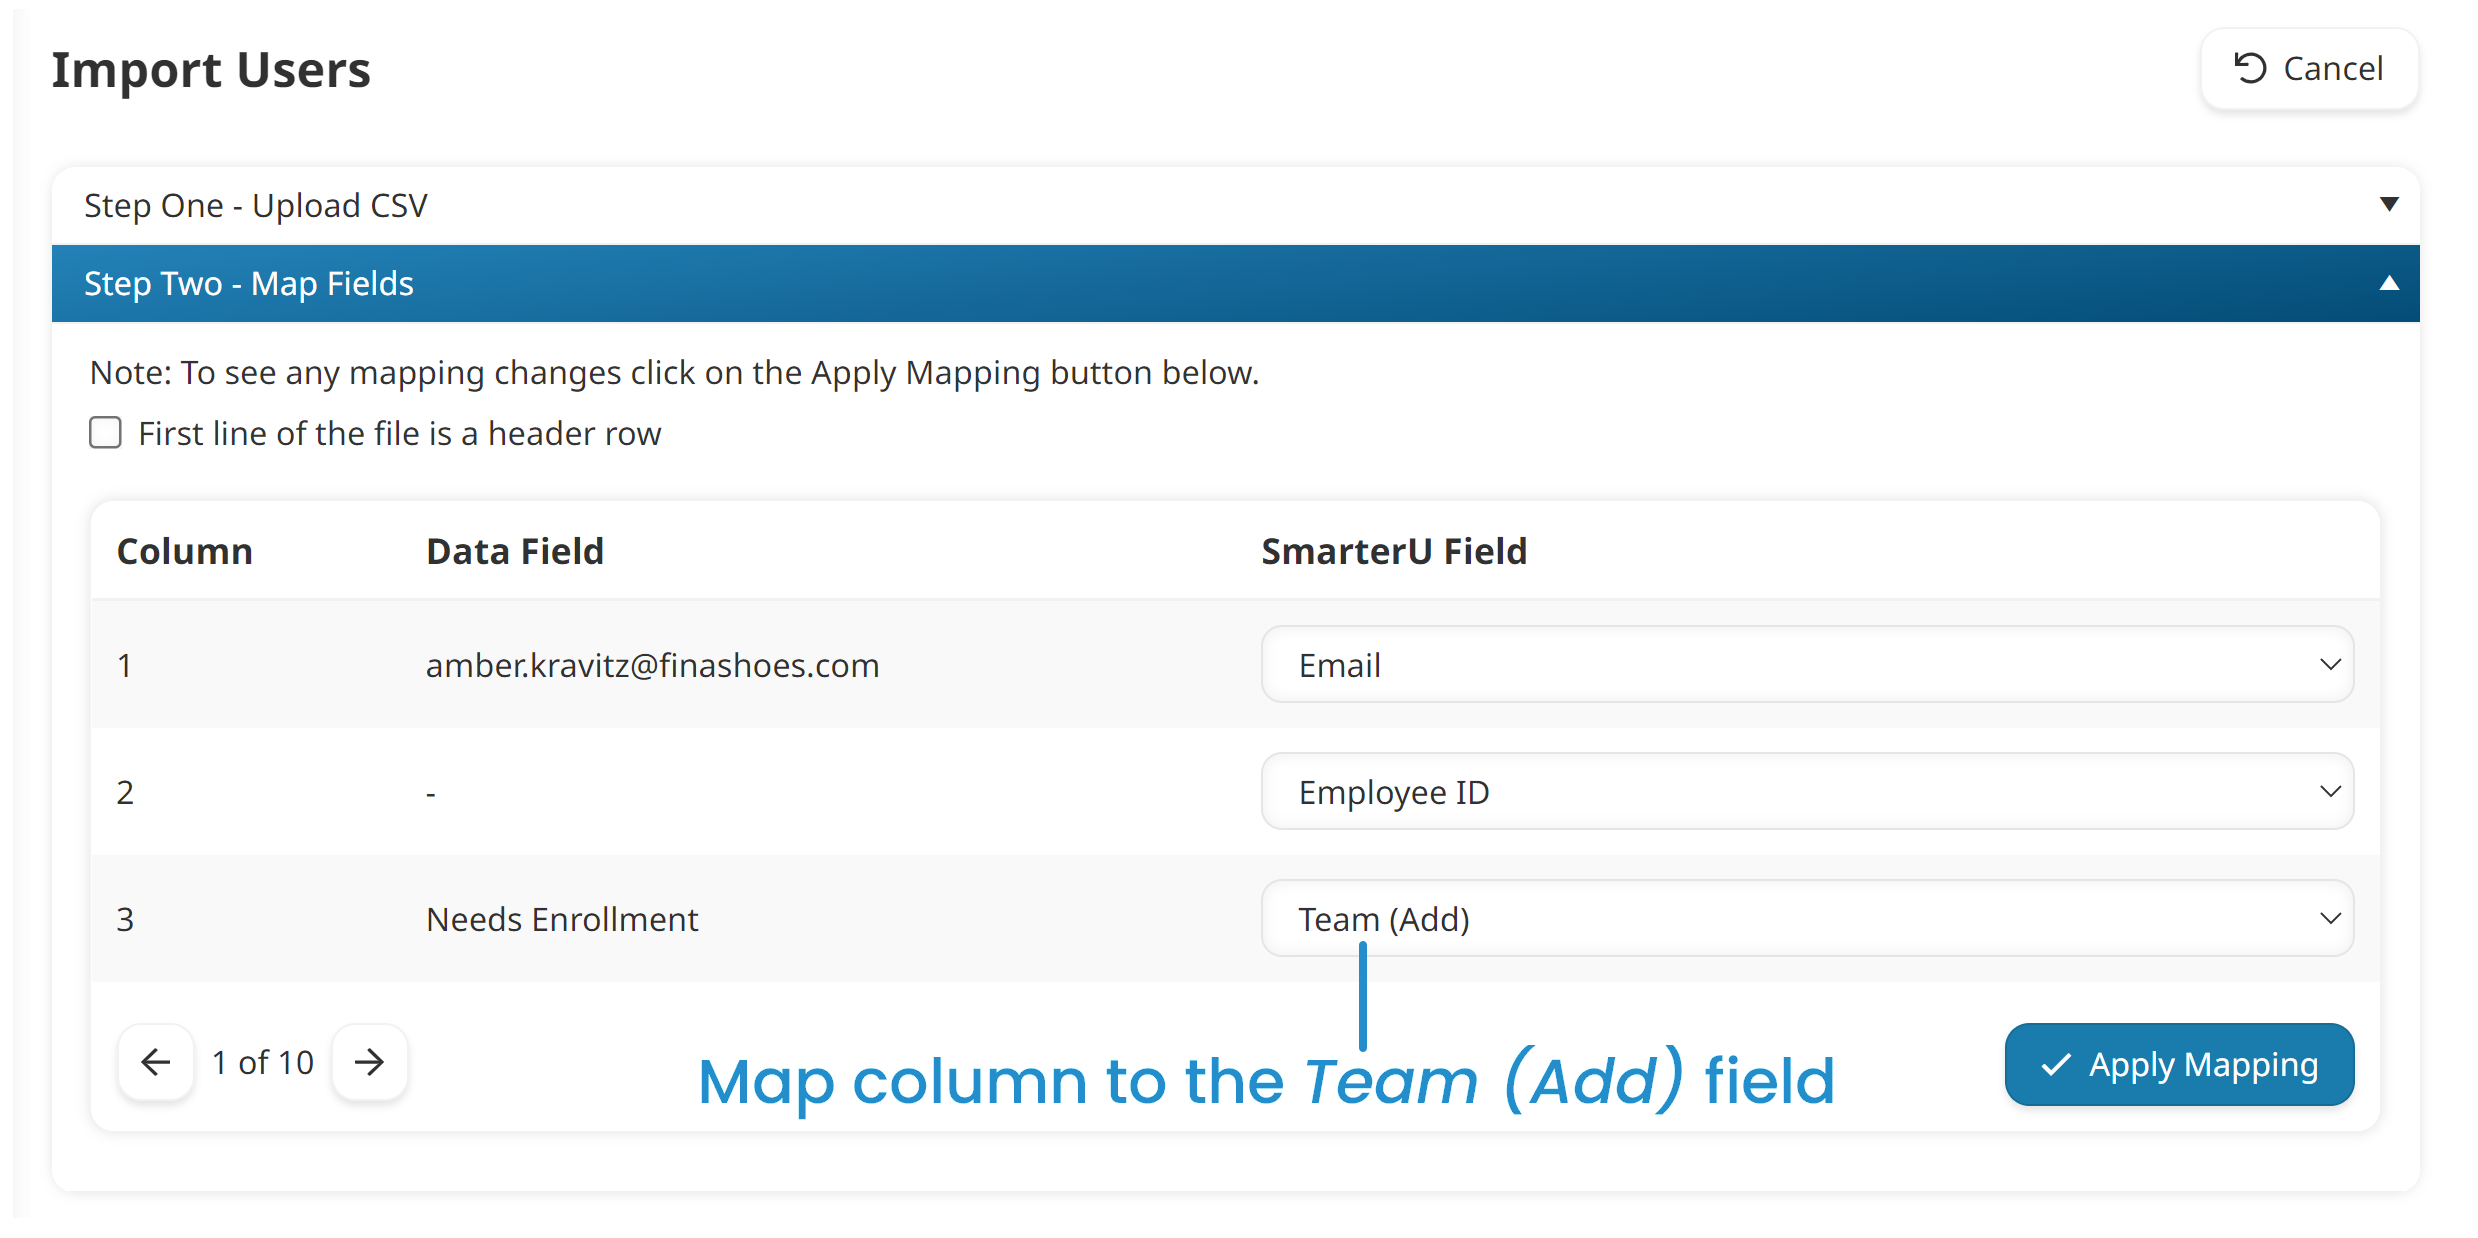
If you’re adding the users to a new team, you’ll also need to verify that you want to create the team.
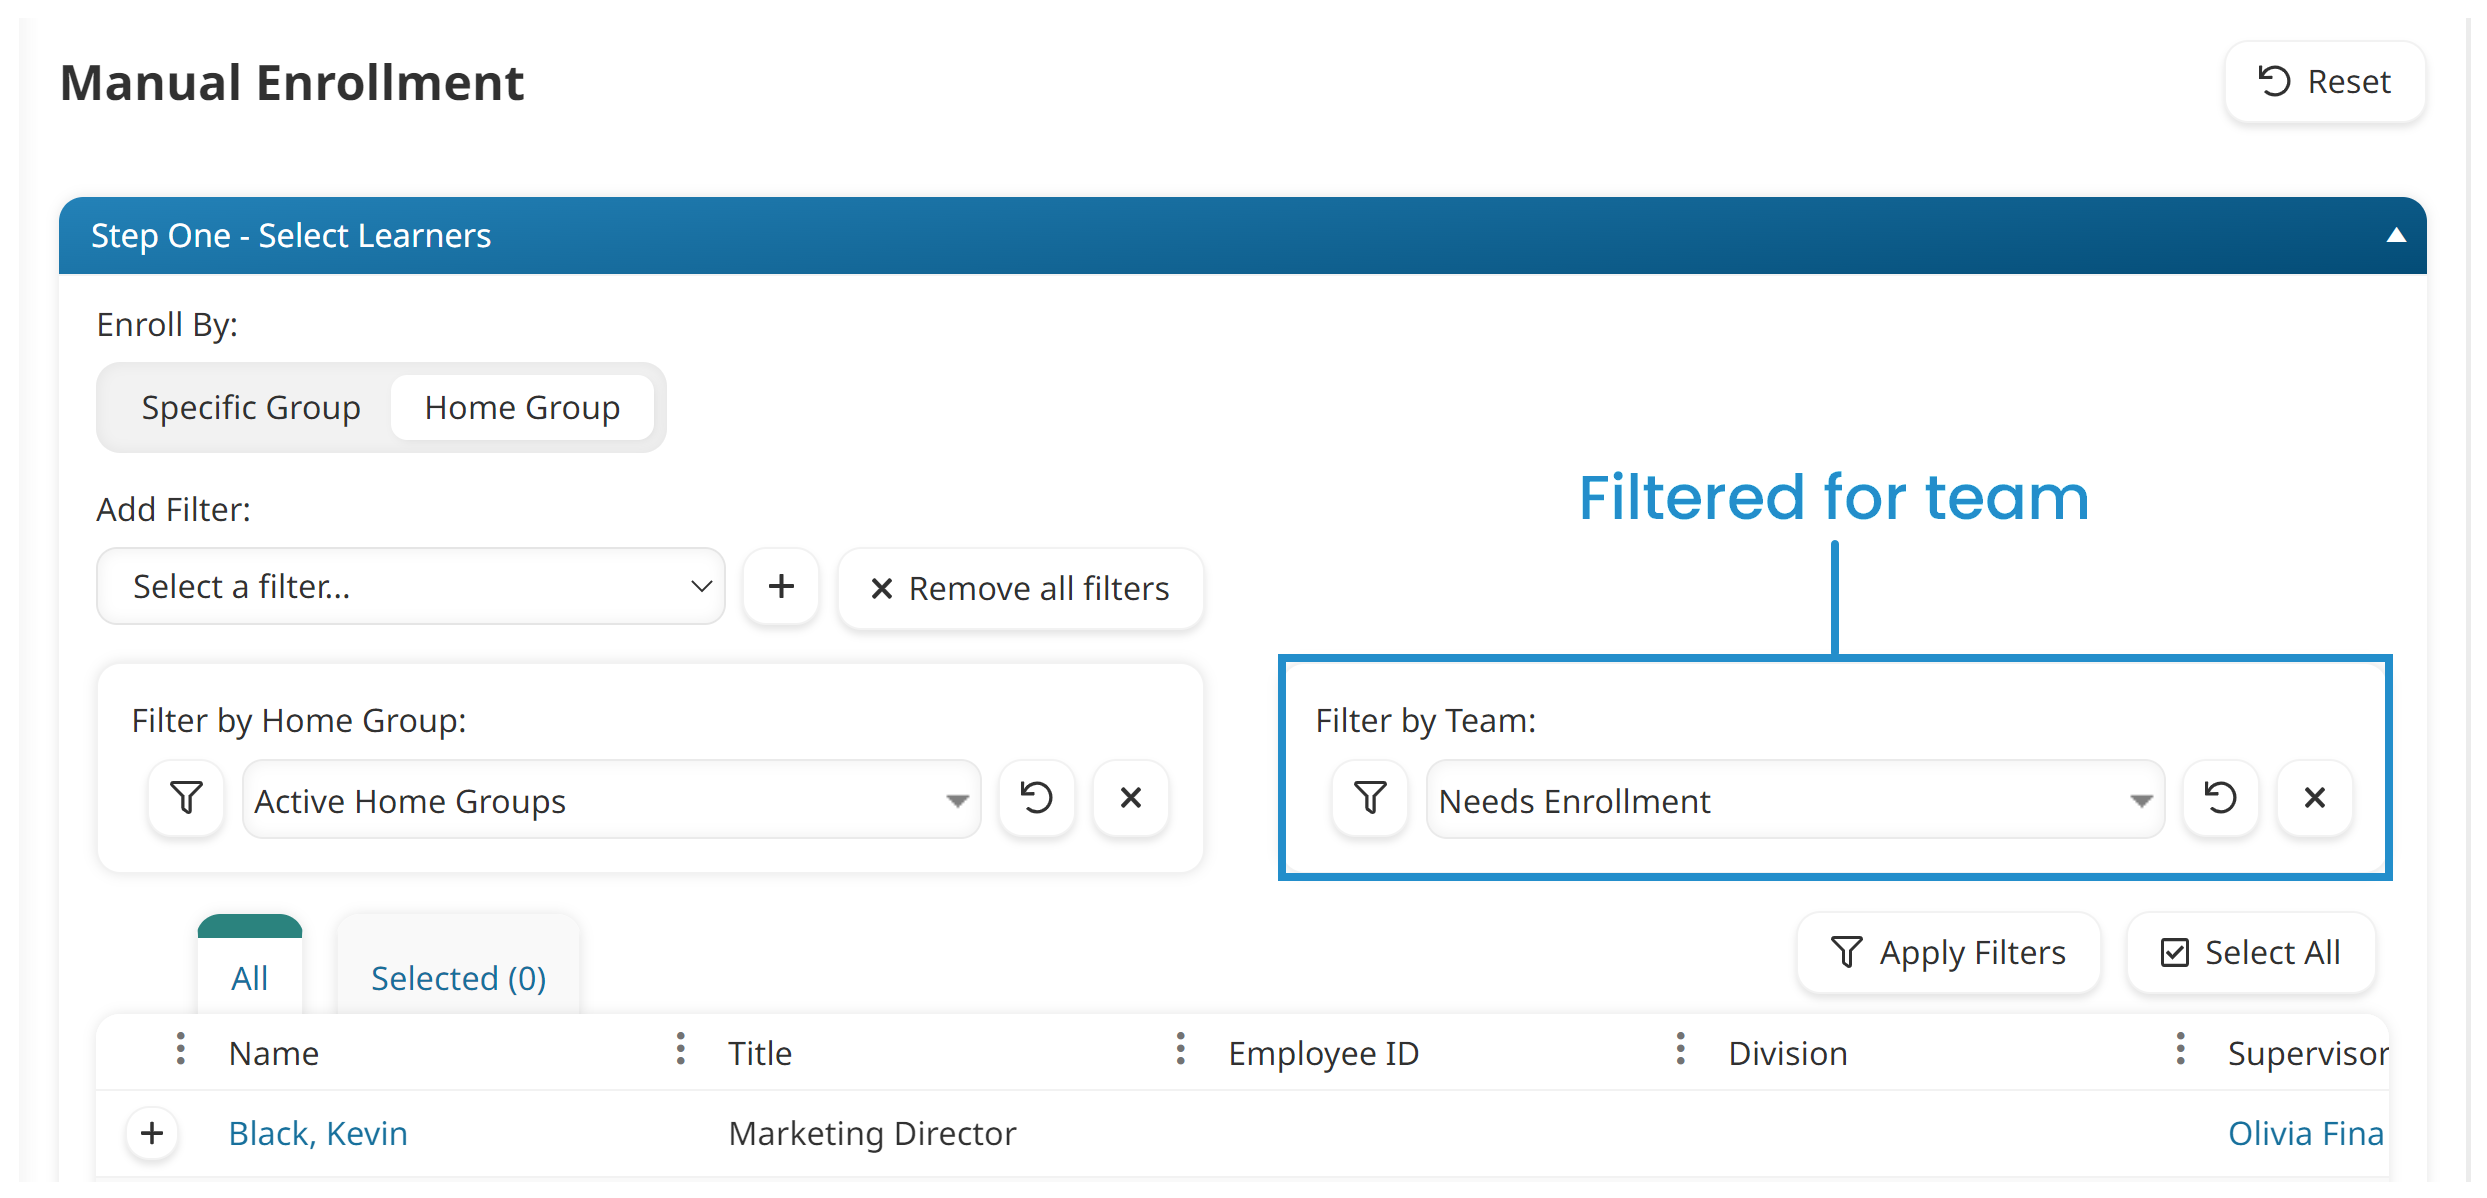
Part 5. Enroll the Team in the Course
Now that the users who have not completed the course belong to a team, we can manually enroll the team’s users in the course.
Part 6. Deactivate the Team
In this part of the process, we’ll remove all users from the team and de-activate the team.
- Edit the team.
- Remove all users from the team.
- Change the team’s status to Inactive.