If you plan to include an action in a batch confirmation, you'll first need to determine if it requires an attachment. If it does, you'll need to upload the file before you can confirm the action.
Identifying Actions That Need an Attachment
To identify actions that need an attachment before they can be confirmed:
- From the Admin menu, select User Admin.
- Select Action Approval. The Action Approval workscreen displays.
In the grid, the Confirmation Attachment column displays one of three icons.
| The action does NOT require the confirming user to upload a file. |
| The action requires the confirming user to upload a file, and the user has not uploaded a file. |
| The action requires the confirming user to upload a file, and the user has uploaded a file. |


The actions that display a  in the Confirmation Attachment column are those that require you to upload a file.
Uploading an Action's File
To upload a file for an action, do the following from the Action Approval workscreen:
- Click the
 that's displayed in the action's Attachment column. The Confirm Action window displays with the Attachments accordion expanded.
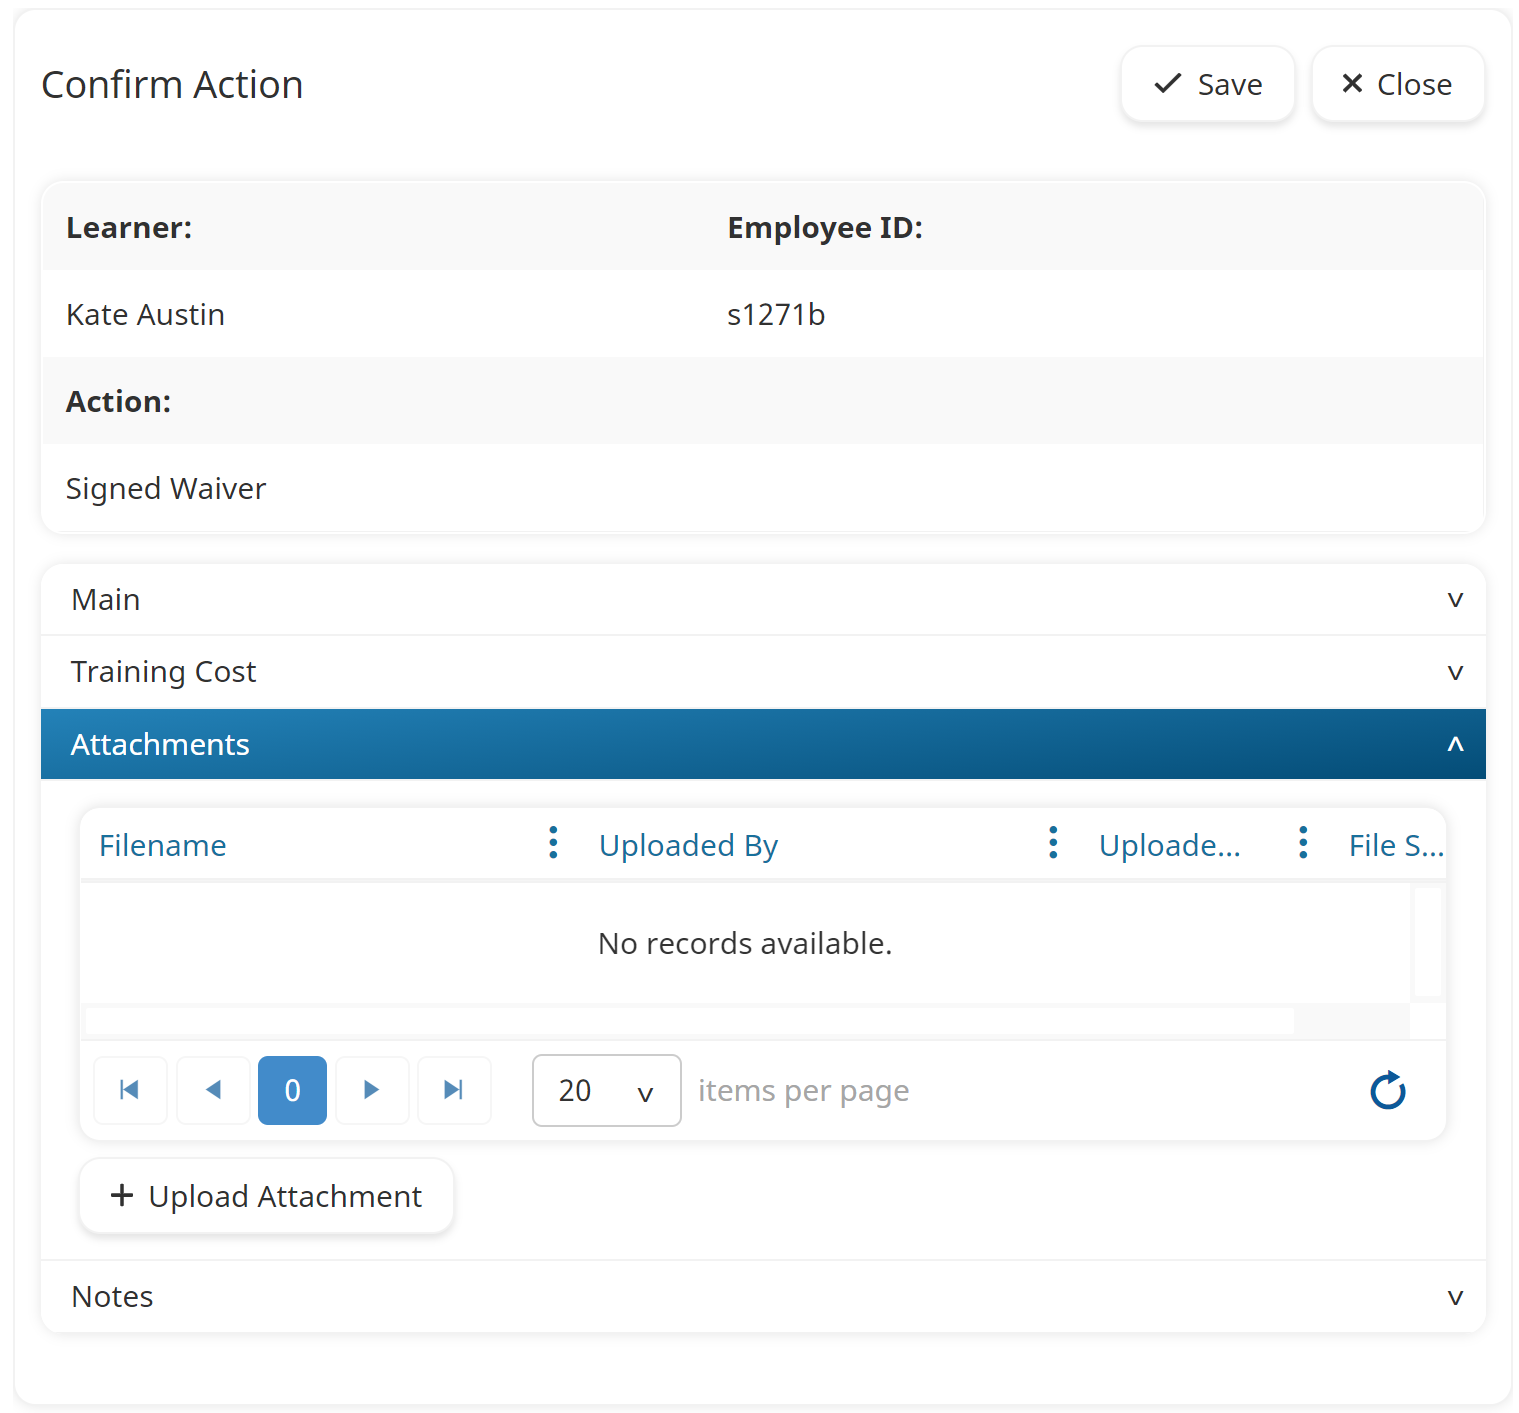
- Click Upload Attachment. Refer to Supported File Types for a list of supported file types.
- Navigate to the location of the file.
- Click Open.
- Click Save.
After a file has been uploaded for the action, you can preview the file by clicking its filename.