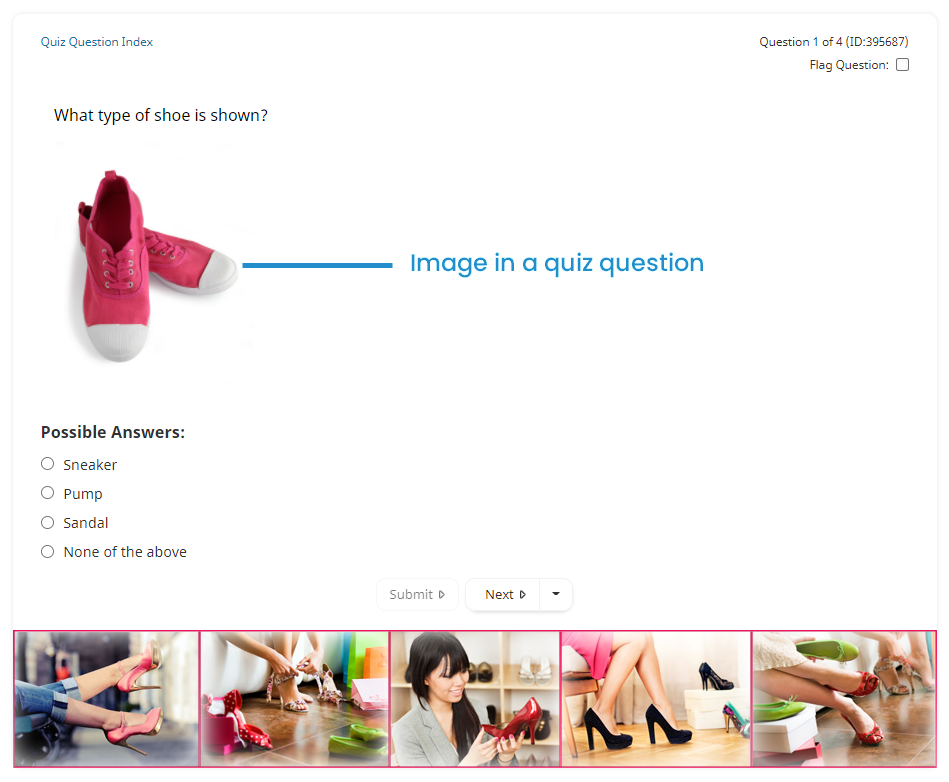
You can use the WYSIWYG editor to include images in your content. For example, you can include an image in an online course's quiz question.
Adding an Image to Content
Be sure that image files do NOT contain an ampersand (&) in their name. Although the WYSIWYG editor allows you to upload files with an ampersand in the name, the image cannot be previewed or added to a course.
We recommend resizing and cropping your image to the desired size prior to uploading the image's file. Refer to SmarterU File Uploads for image file specifications.
To add an image to your content:
Position your cursor on the location in your content where you would like to add the image.
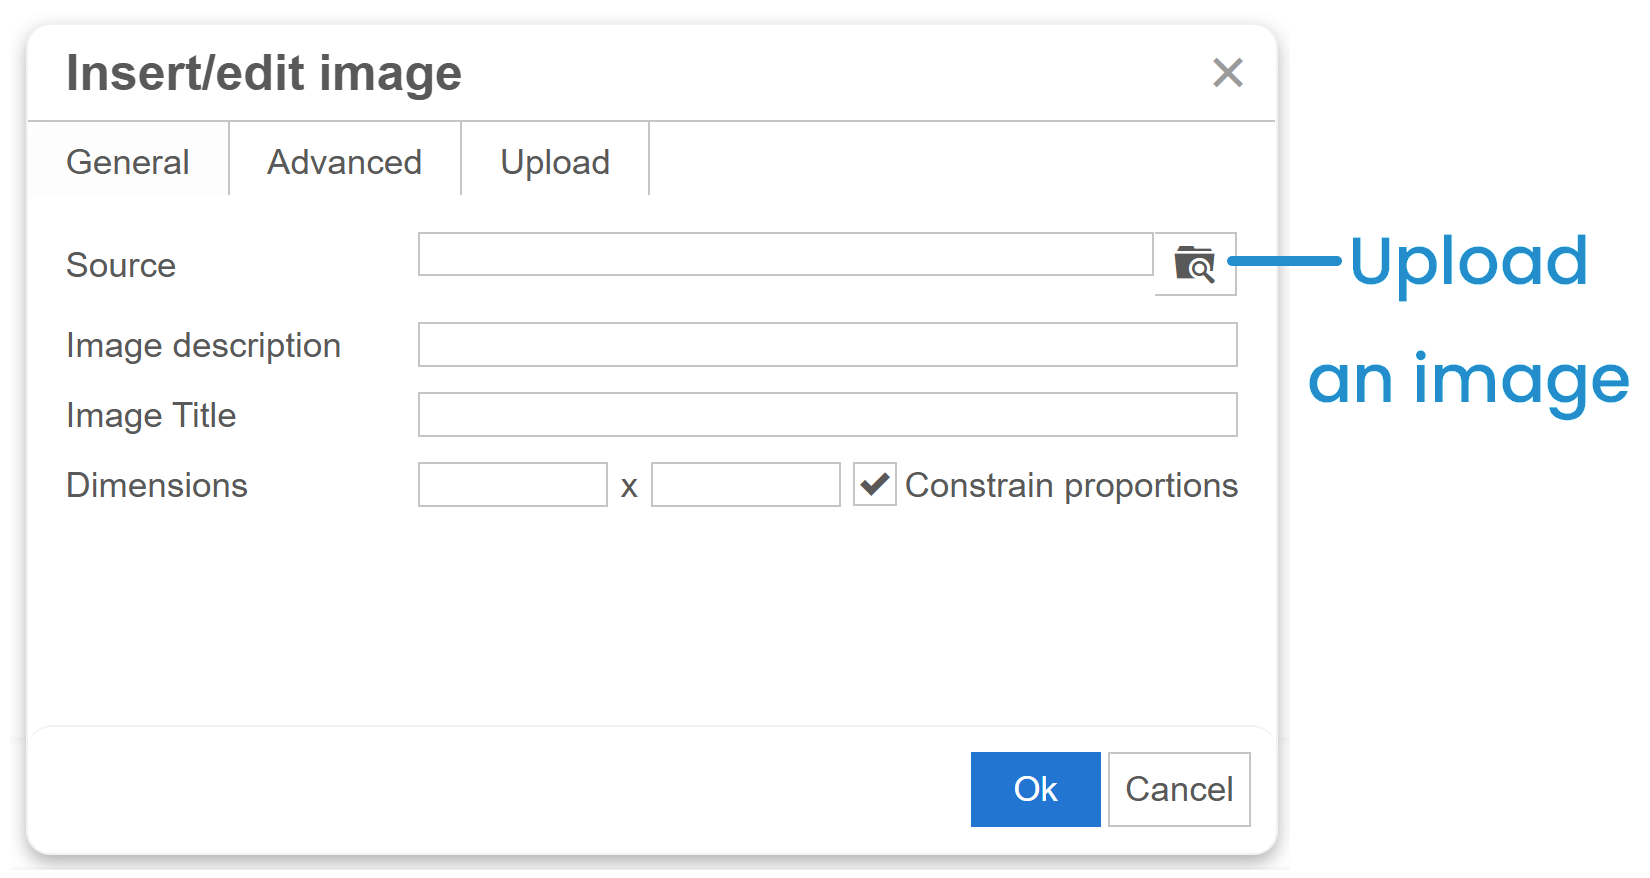
Click
 on the WYSIWYG toolbar to insert an image. The Insert/Edit Image window displays.
Click
 to upload an image.
The File Manager window displays.
Use the File Manager to upload your file's image.
Click OK.
Click Save.
Replacing an Image
To replace an existing image in your content:
Click the image you would like to replace.
Do one of the following:
From the WYSIWYG toolbar, click
 .
.Right-click the image and select
 .
.
The Insert/Edit Image window displays.
Click
 . The File Manager window displays.
Use the File Manager window to upload your file's image.
Click OK.
Click Save.