As an LMS administrator, managing your organization’s resources can feel like a constant balancing act. You need learners to read important documents, such as safety procedures, expense policies, or job aids, during training. However, when those files live in separate systems or scattered folders, learners often miss them entirely, submit outdated forms, or flood your team with questions about where to find documents.
Connecting your learners directly to critical resources without disrupting their learning flow is easy in SmarterU LMS. By storing your files centrally in your knowledge base, you can make important resources accessible exactly when and where they matter most.
Here’s how you can set up direct links to your knowledge base files from your online courses, custom menus, and knowledge base articles.
Want SmarterNews delivered to your inbox? Subscribe today!
Simplify Access for Learners
First, let’s look at how direct file links create a better experience for a learner.
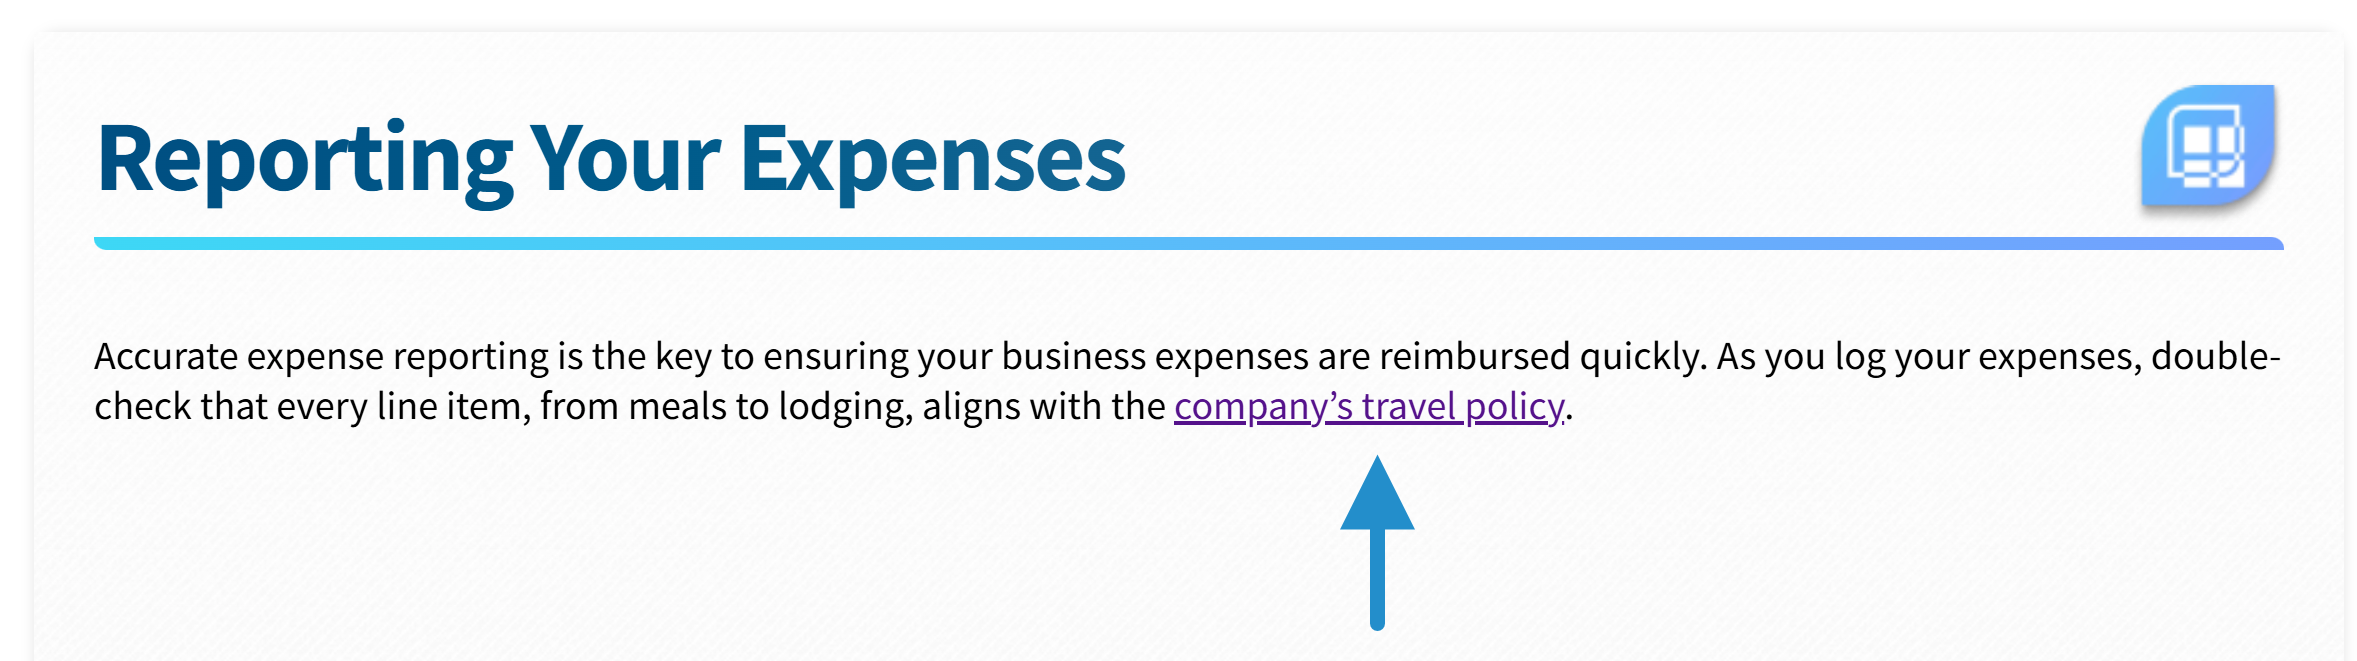
Jamie is a new team member taking an online course on expense reporting. When Jamie reaches a slide that mentions the company's official travel policy, a link in the lesson text opens the PDF instantly. Jamie reviews the policy, closes the tab, and continues the training without missing a beat or losing momentum.
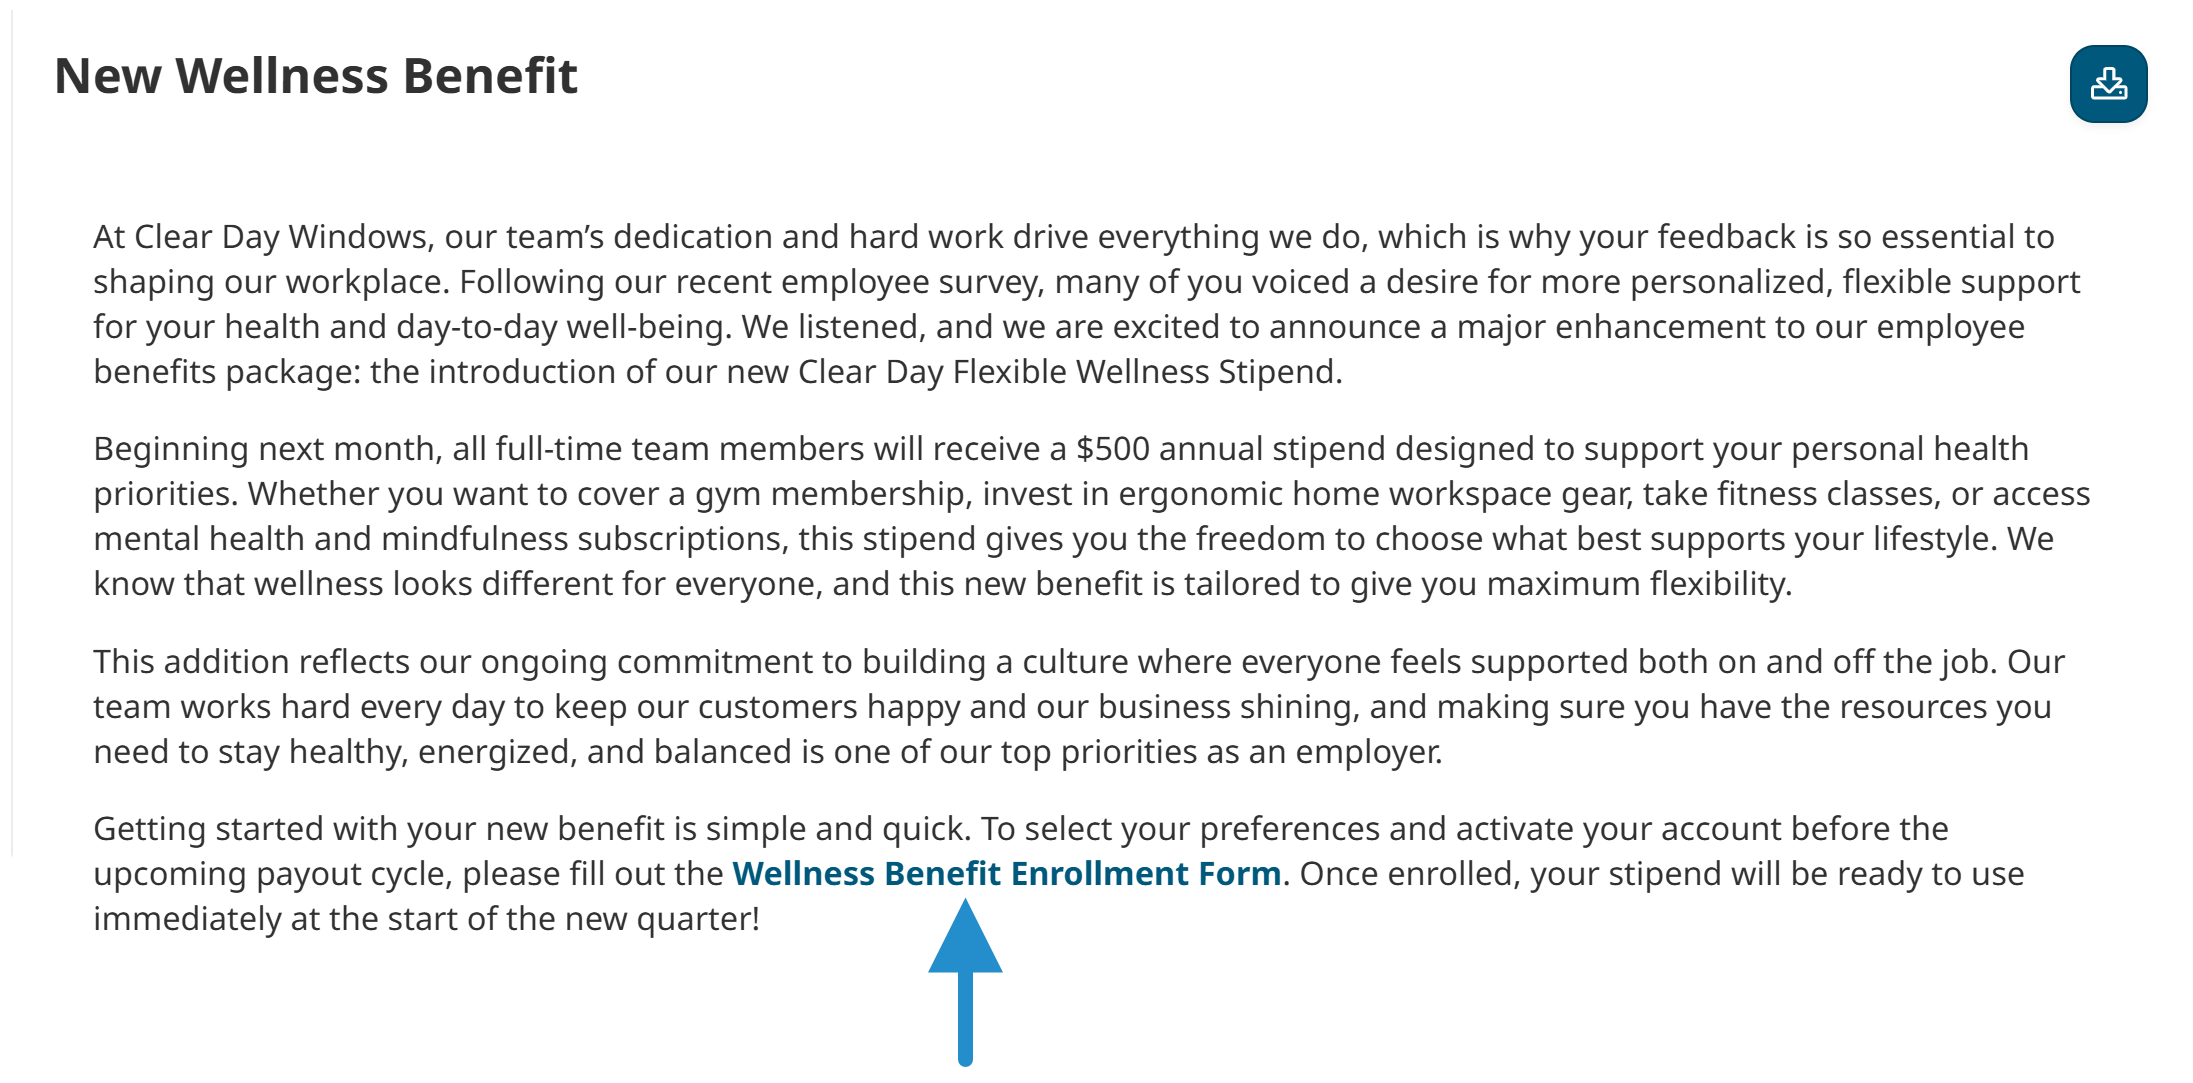
The same convenience also applies outside of course slides. For instance, if Jamie reads a knowledge base article about employee benefits, she can open the enrollment form by clicking a link in the article’s text.
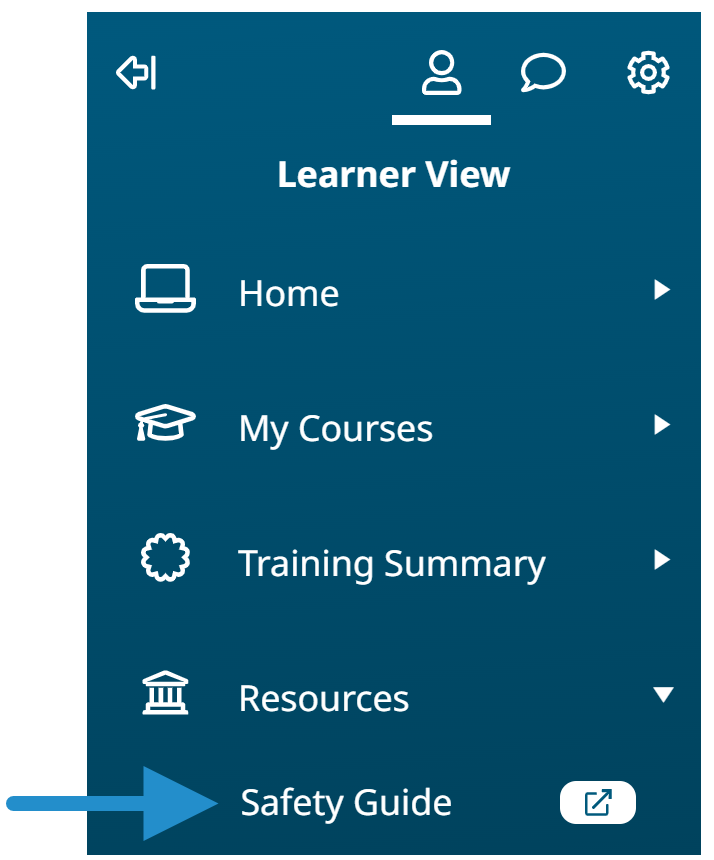
Or, if Jamie needs to quickly access the company’s safety guide, she can click a menu item to open the PDF in a single click.
Maintain One File Instead of Five Copies
When documents are linked right where they’re needed, learners stay engaged, and you and your team spend less time answering questions about a file’s location.
An additional benefit is simpler upkeep. When you update a resource that lives in one place, learners automatically see the new version wherever that link is used. There’s no tracking down where you embedded the old PDF, and there’s no version mismatch between the course and the knowledge base.
Add the File
The first step is to add a file to your SmarterU knowledge base and allow linking to it. To do this, follow these steps:
Navigate to your knowledge base.
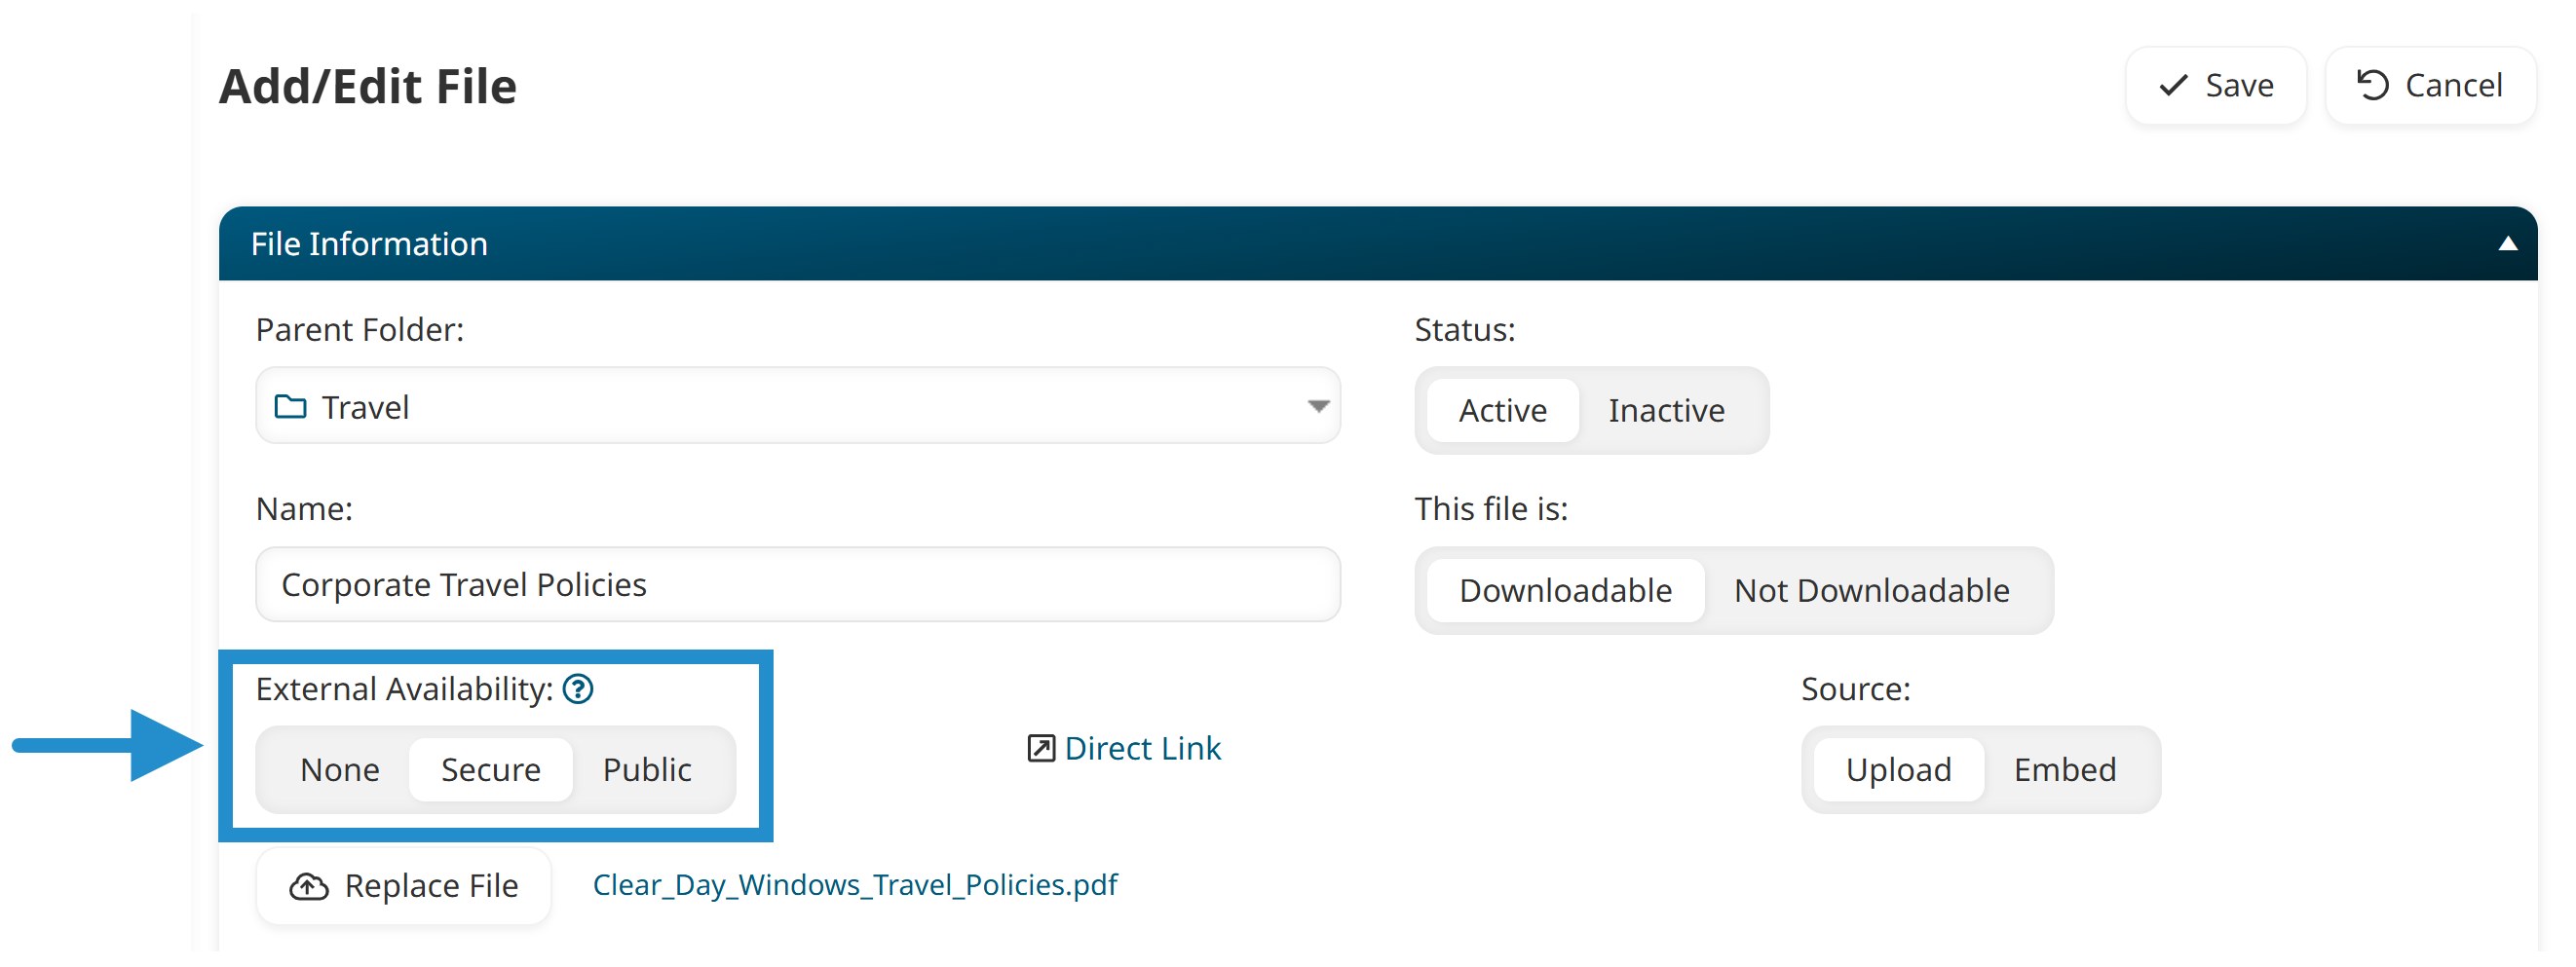
Set the file’s External Availability setting to Secure or Public:
Secure: Learners can access the file from a link, provided they are actively logged into SmarterU and have permission to view the file or folder it’s in.
Public: Anyone with the link can view the file, even if they’re not signed into SmarterU. This option is helpful if you want to add a link to the file in a course created with a third-party tool.
Click Save.
Now that you've added the file, you can start linking to it.
Copy the File’s Link
To copy the file’s link:
View the file in your knowledge base.
Right-click the
 icon in the Link column.
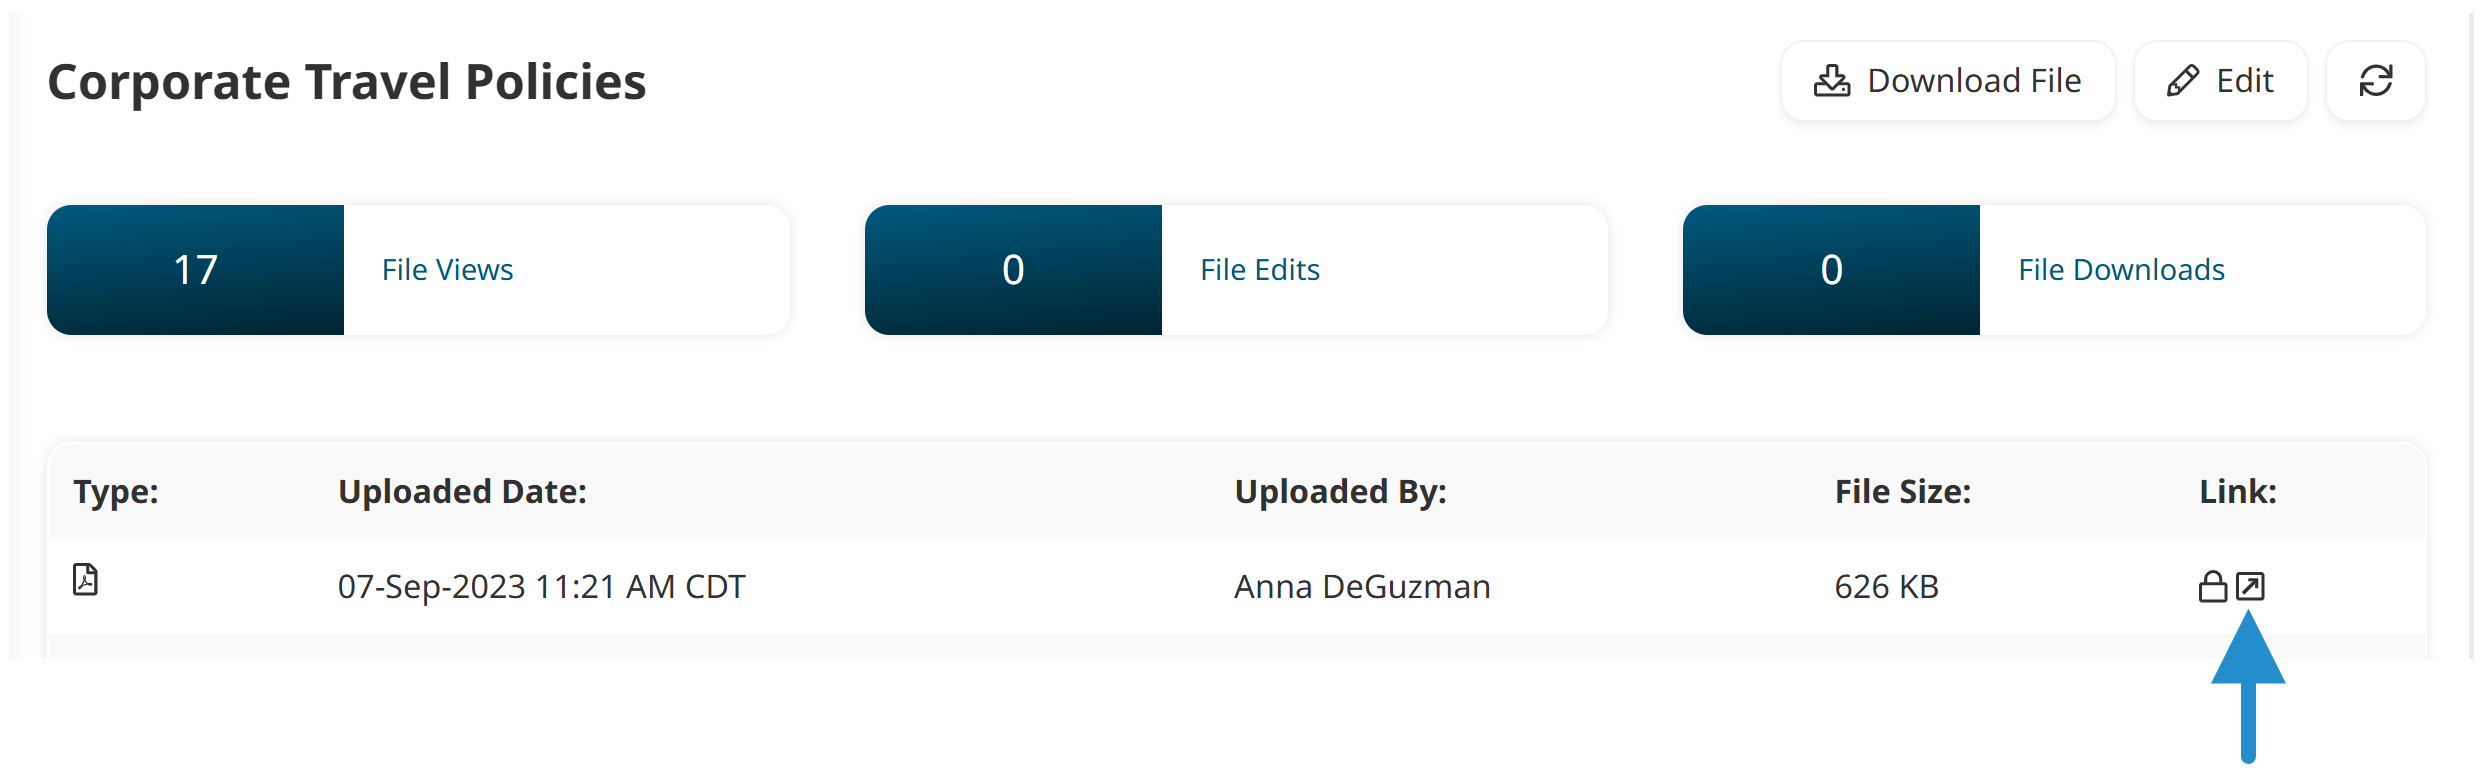
Select the option to copy the file's address or link.
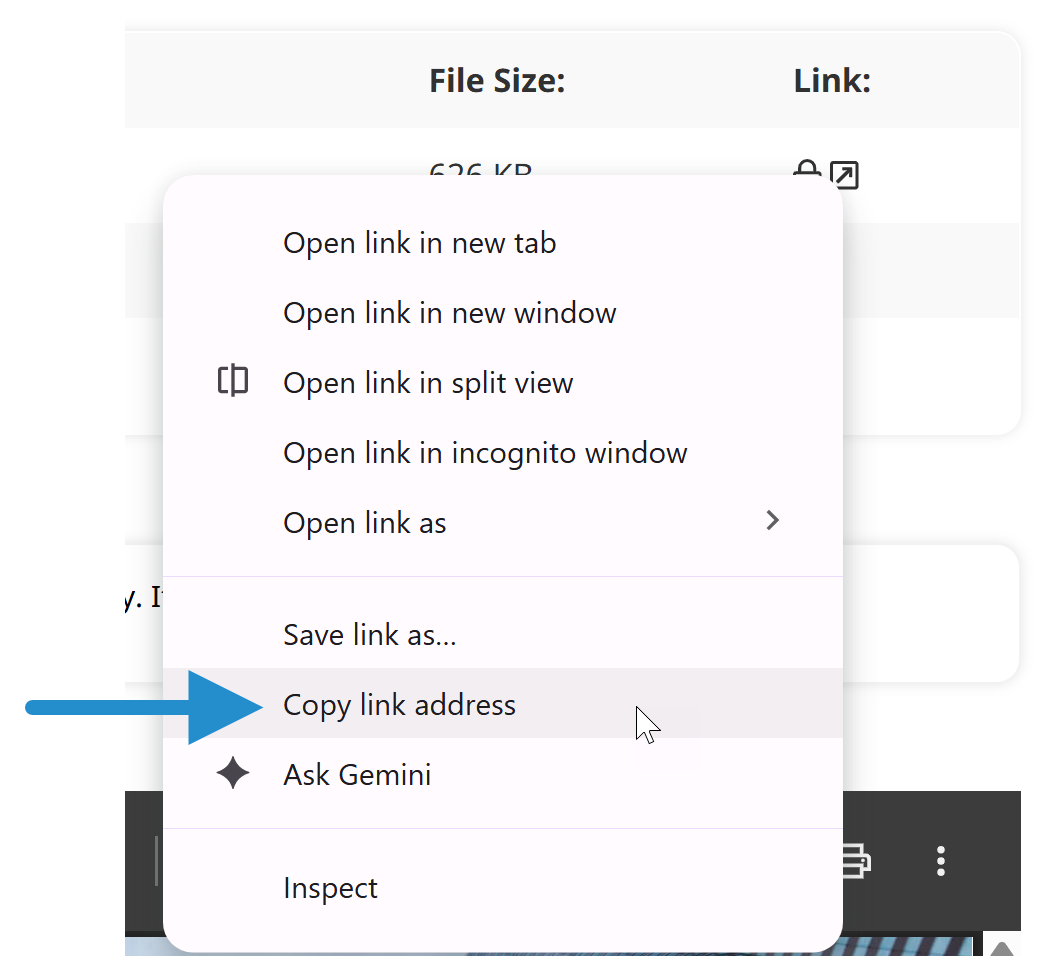
The option to copy the file’s link may look different depending on the browser you’re using.
Now that you have the link, you can add it to an online course, custom menu, or knowledge base article.
Linking to the File from an Online Course
To link to the file in an online course built with SmarterU’s Course Builder:
Add a content slide to the online course.
Add some content to the slide.
Select the text or image you want to add a link to.
Click the
 icon in the WYSIWYG Editor.
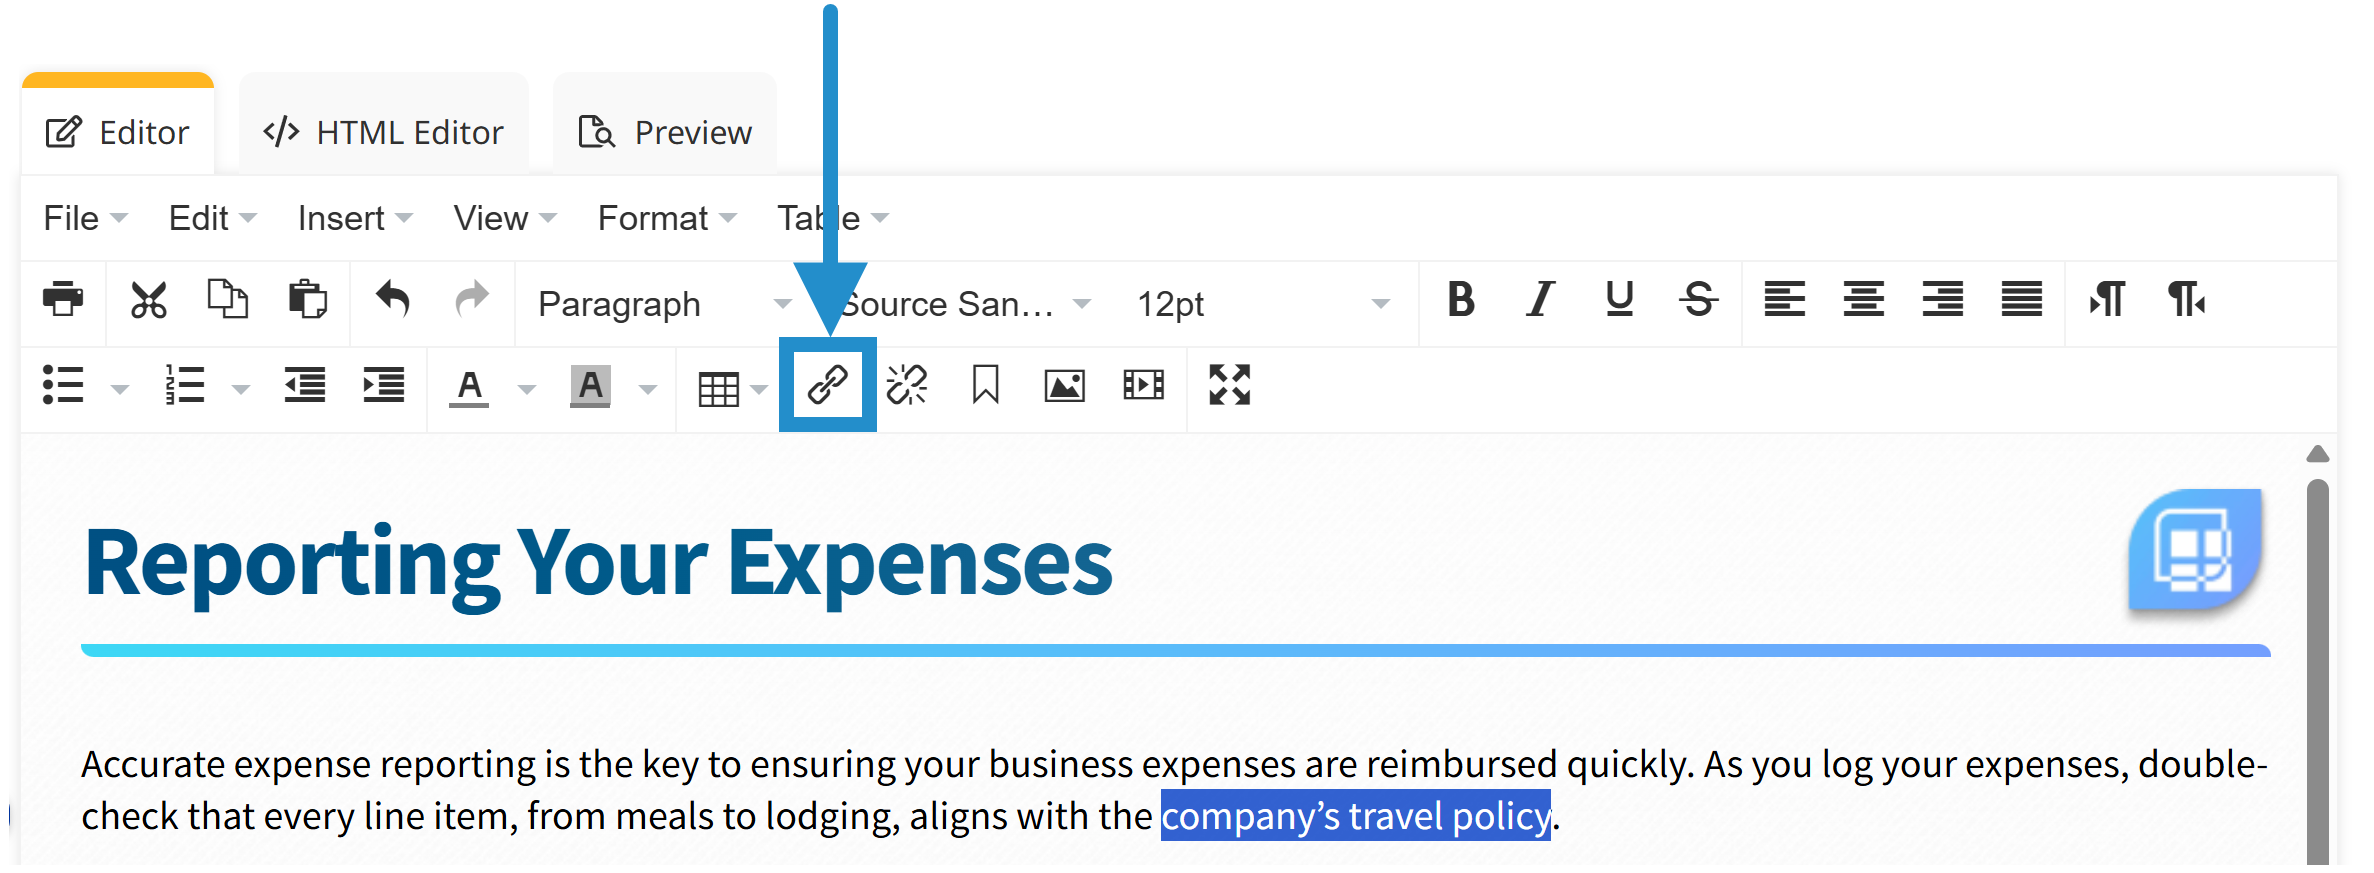
Paste the link into the URL field.
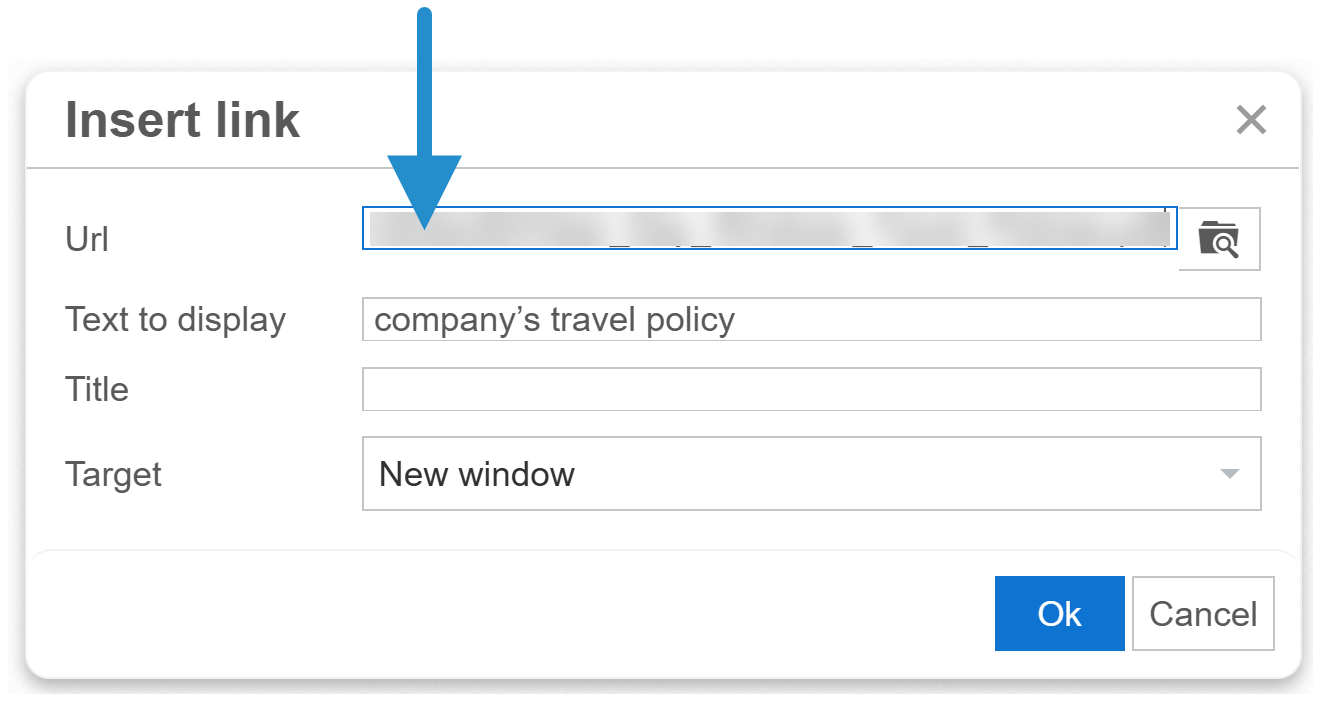
Set the Target to New Window, then click OK.
Click Save to save the content slide.
Linking to the File from a Custom Menu
Did you know you can add your own links to the menu on the Learner Dashboard? This is a great way to provide learners with shortcuts to helpful tools and resources, including files in your knowledge base.
Check out our Streamline Access to Anything with Custom Menus in SmarterU LMS blog post to learn more about custom menus.
To link to a file from a custom menu in the learner interface:
Navigate to the Learner Dashboard Builder.
Click the name of the dashboard you want to edit.
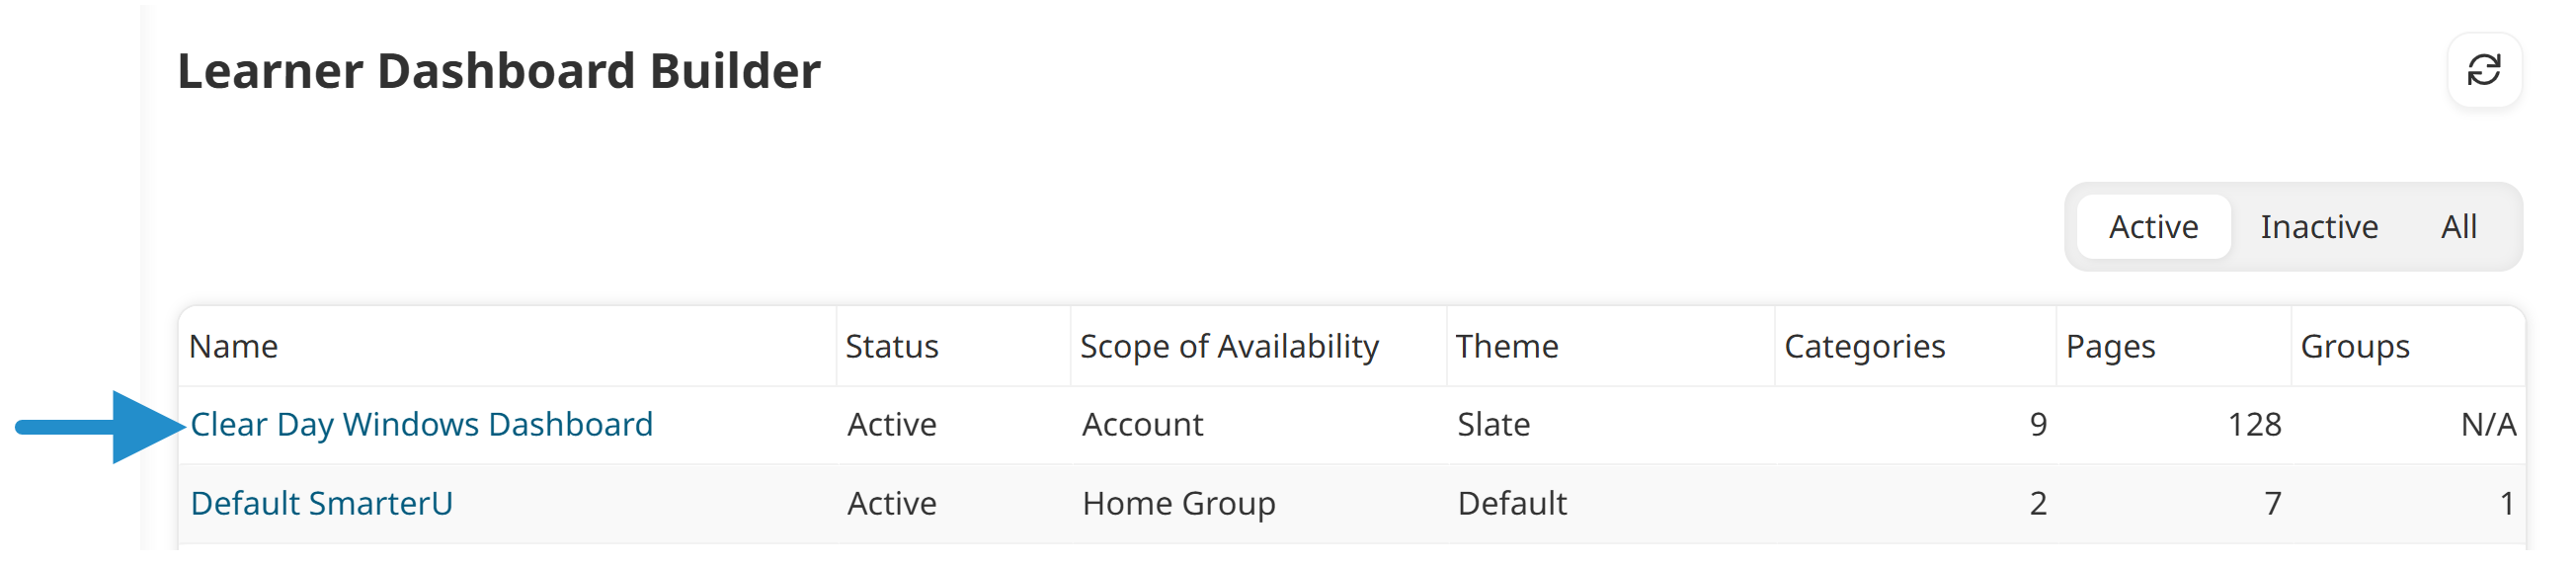
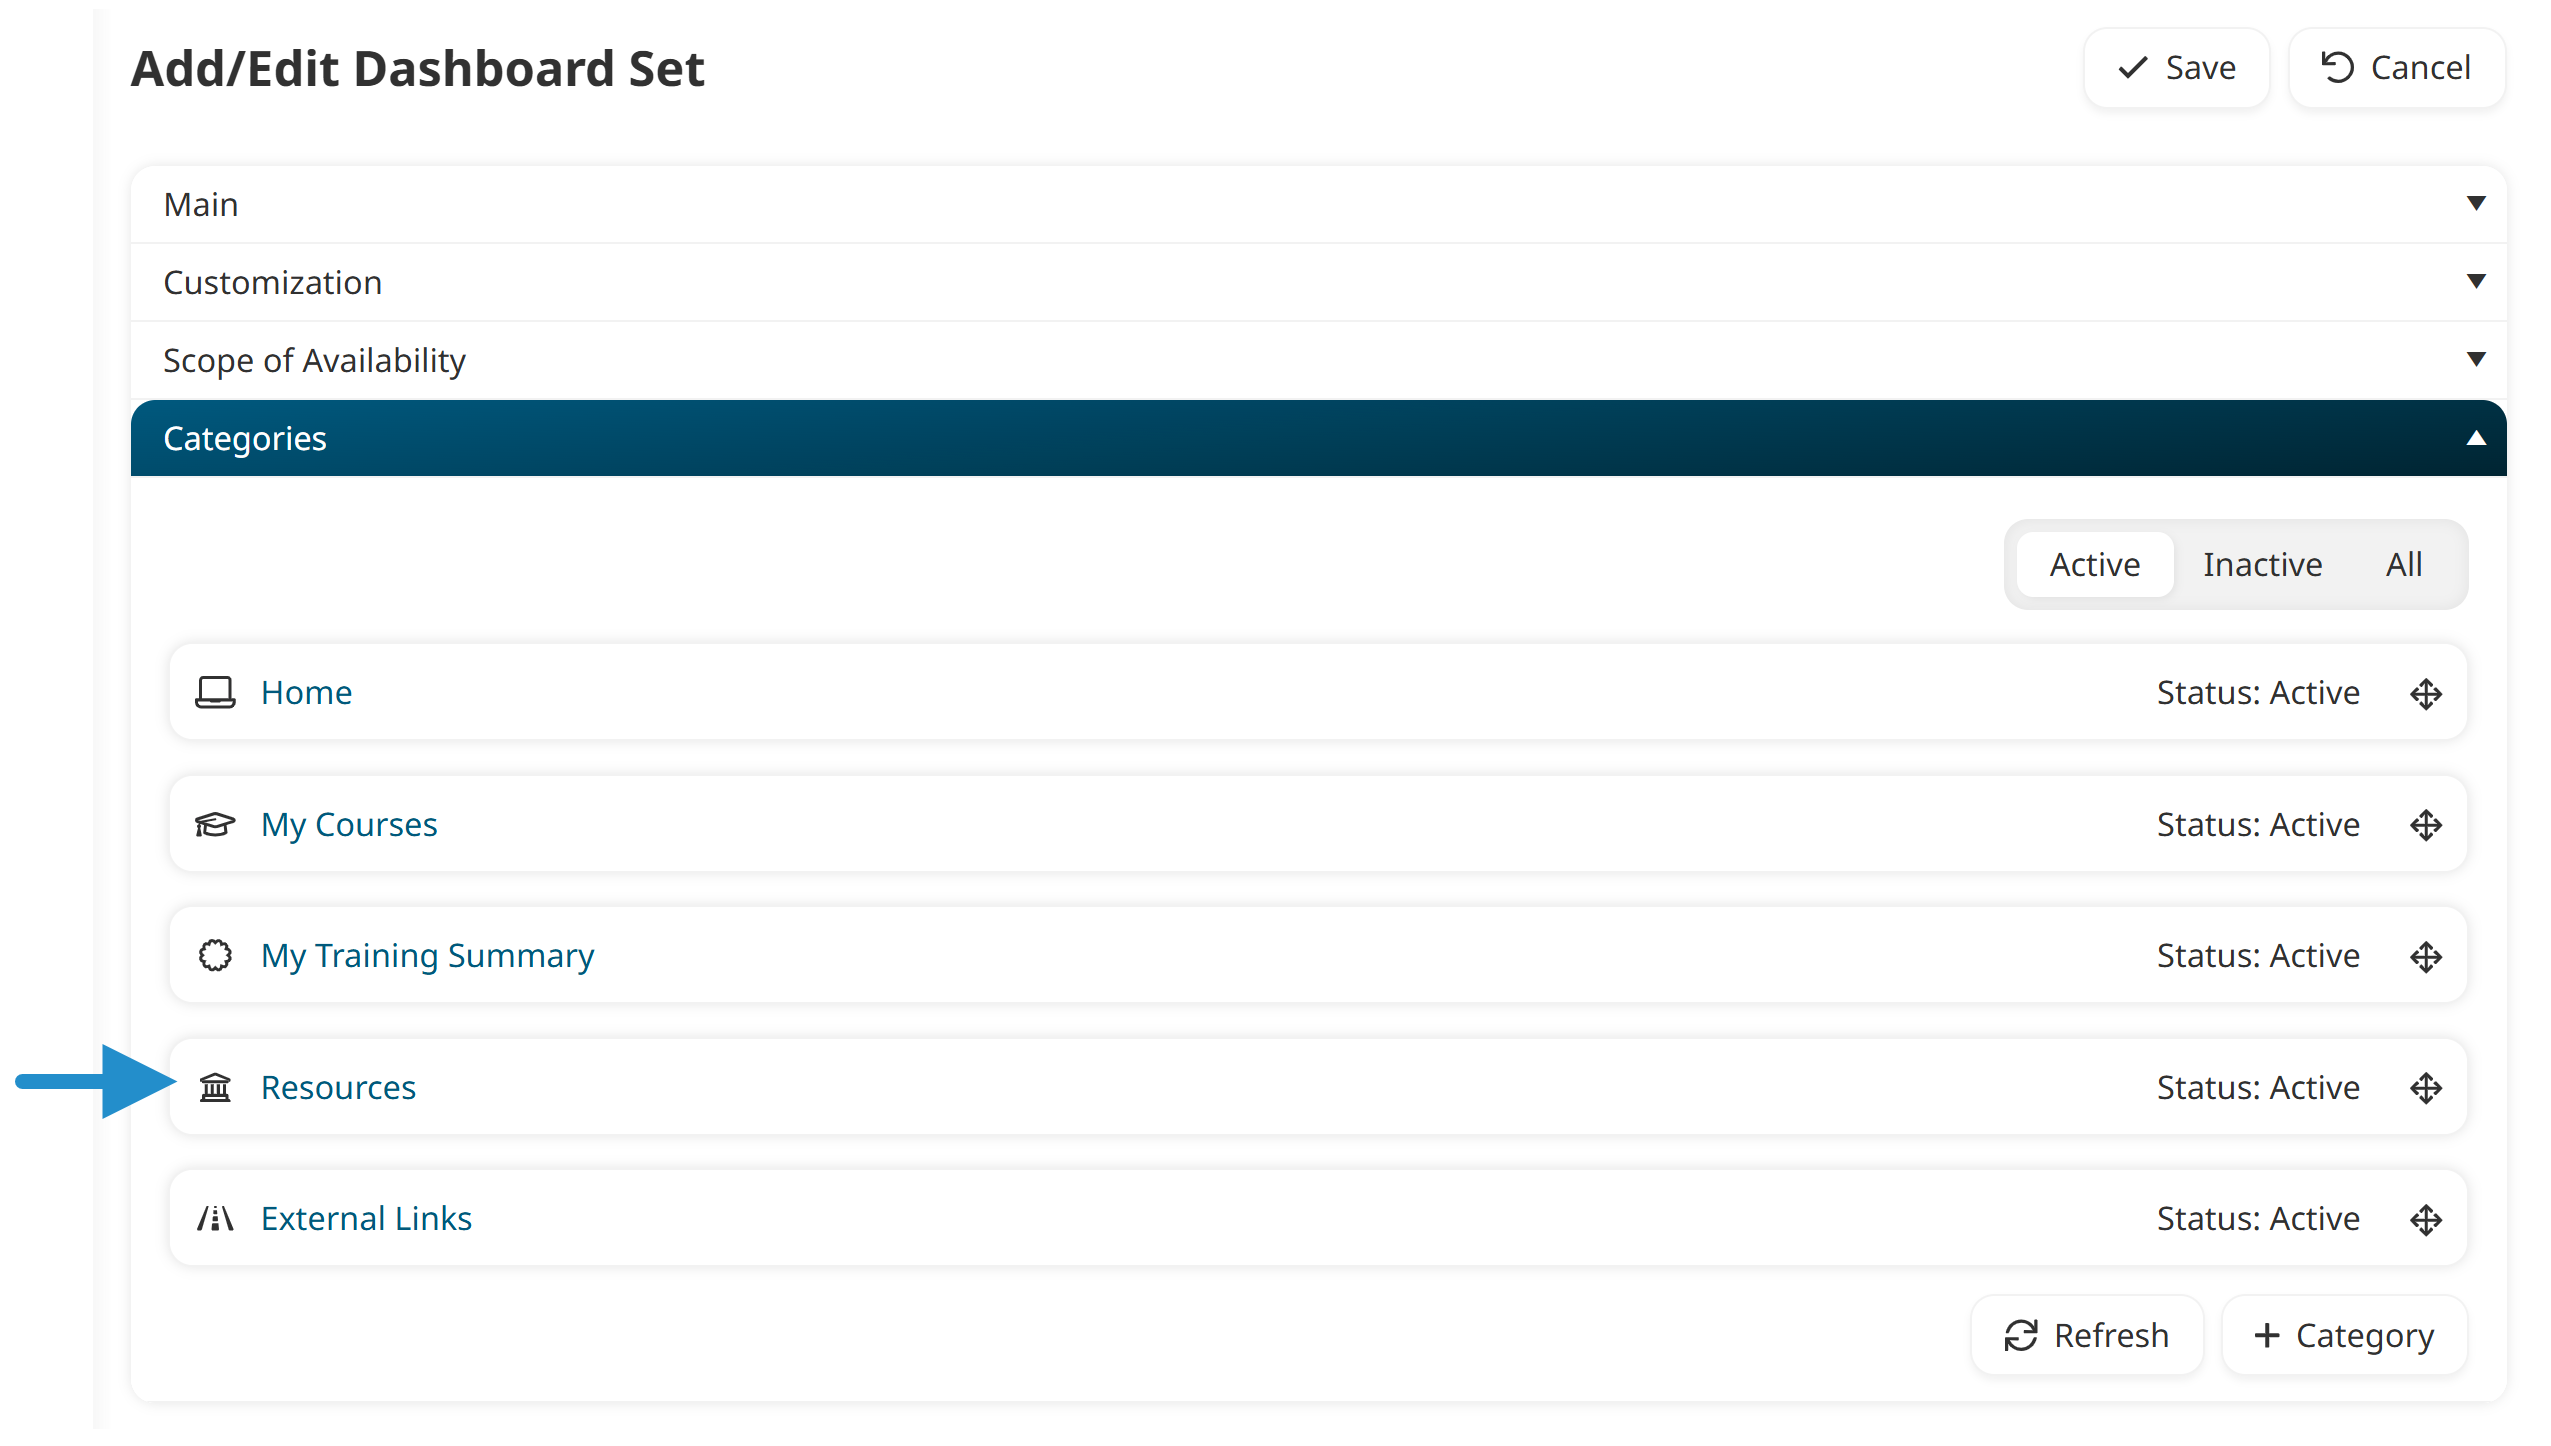
Click the name of the category where you want to add the custom menu item. Categories are collapsible sections used to organize your dashboard.
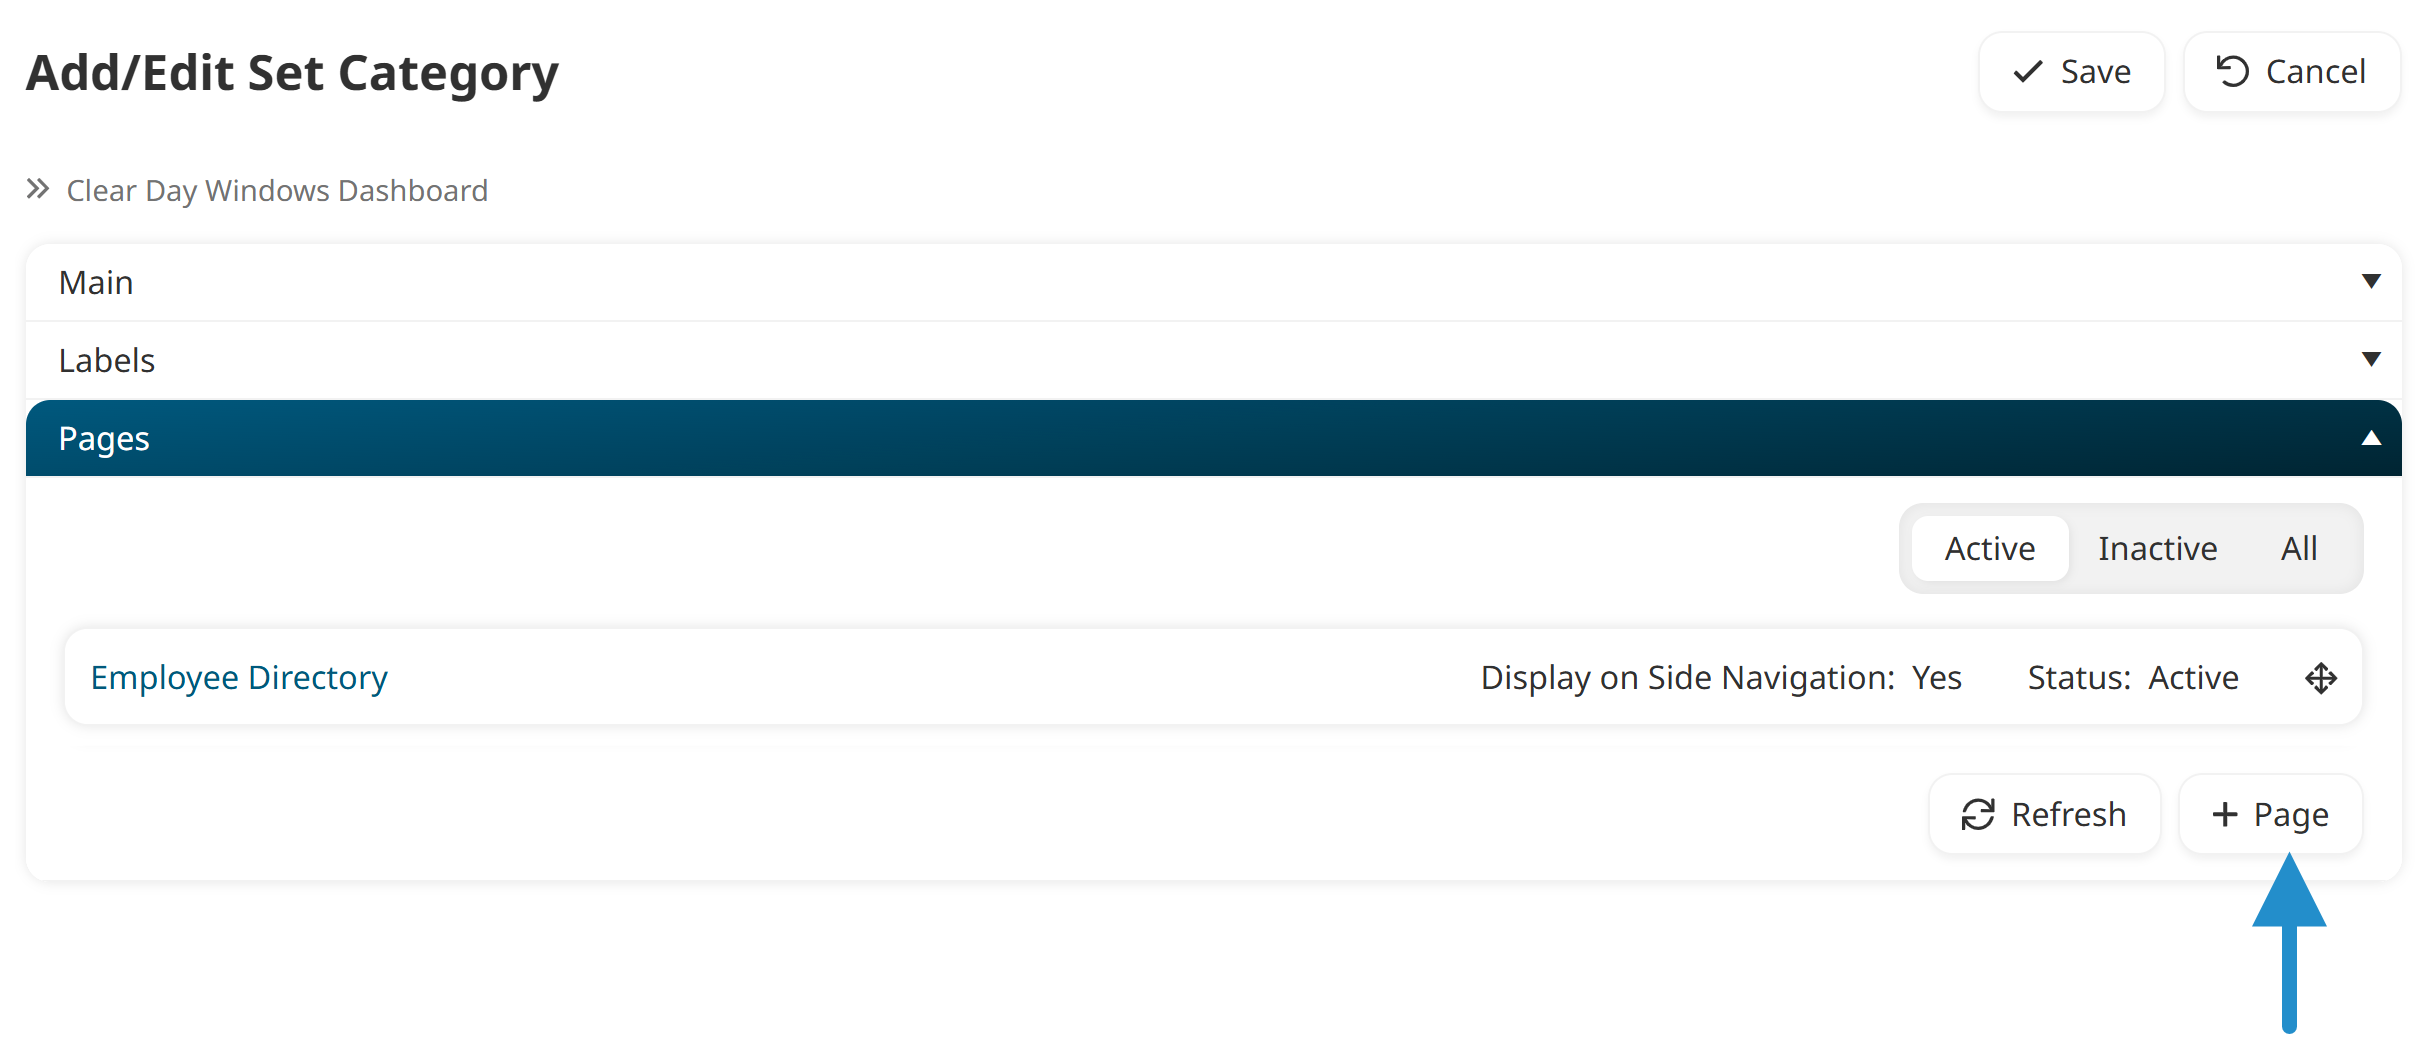
Click Page to add a new page.
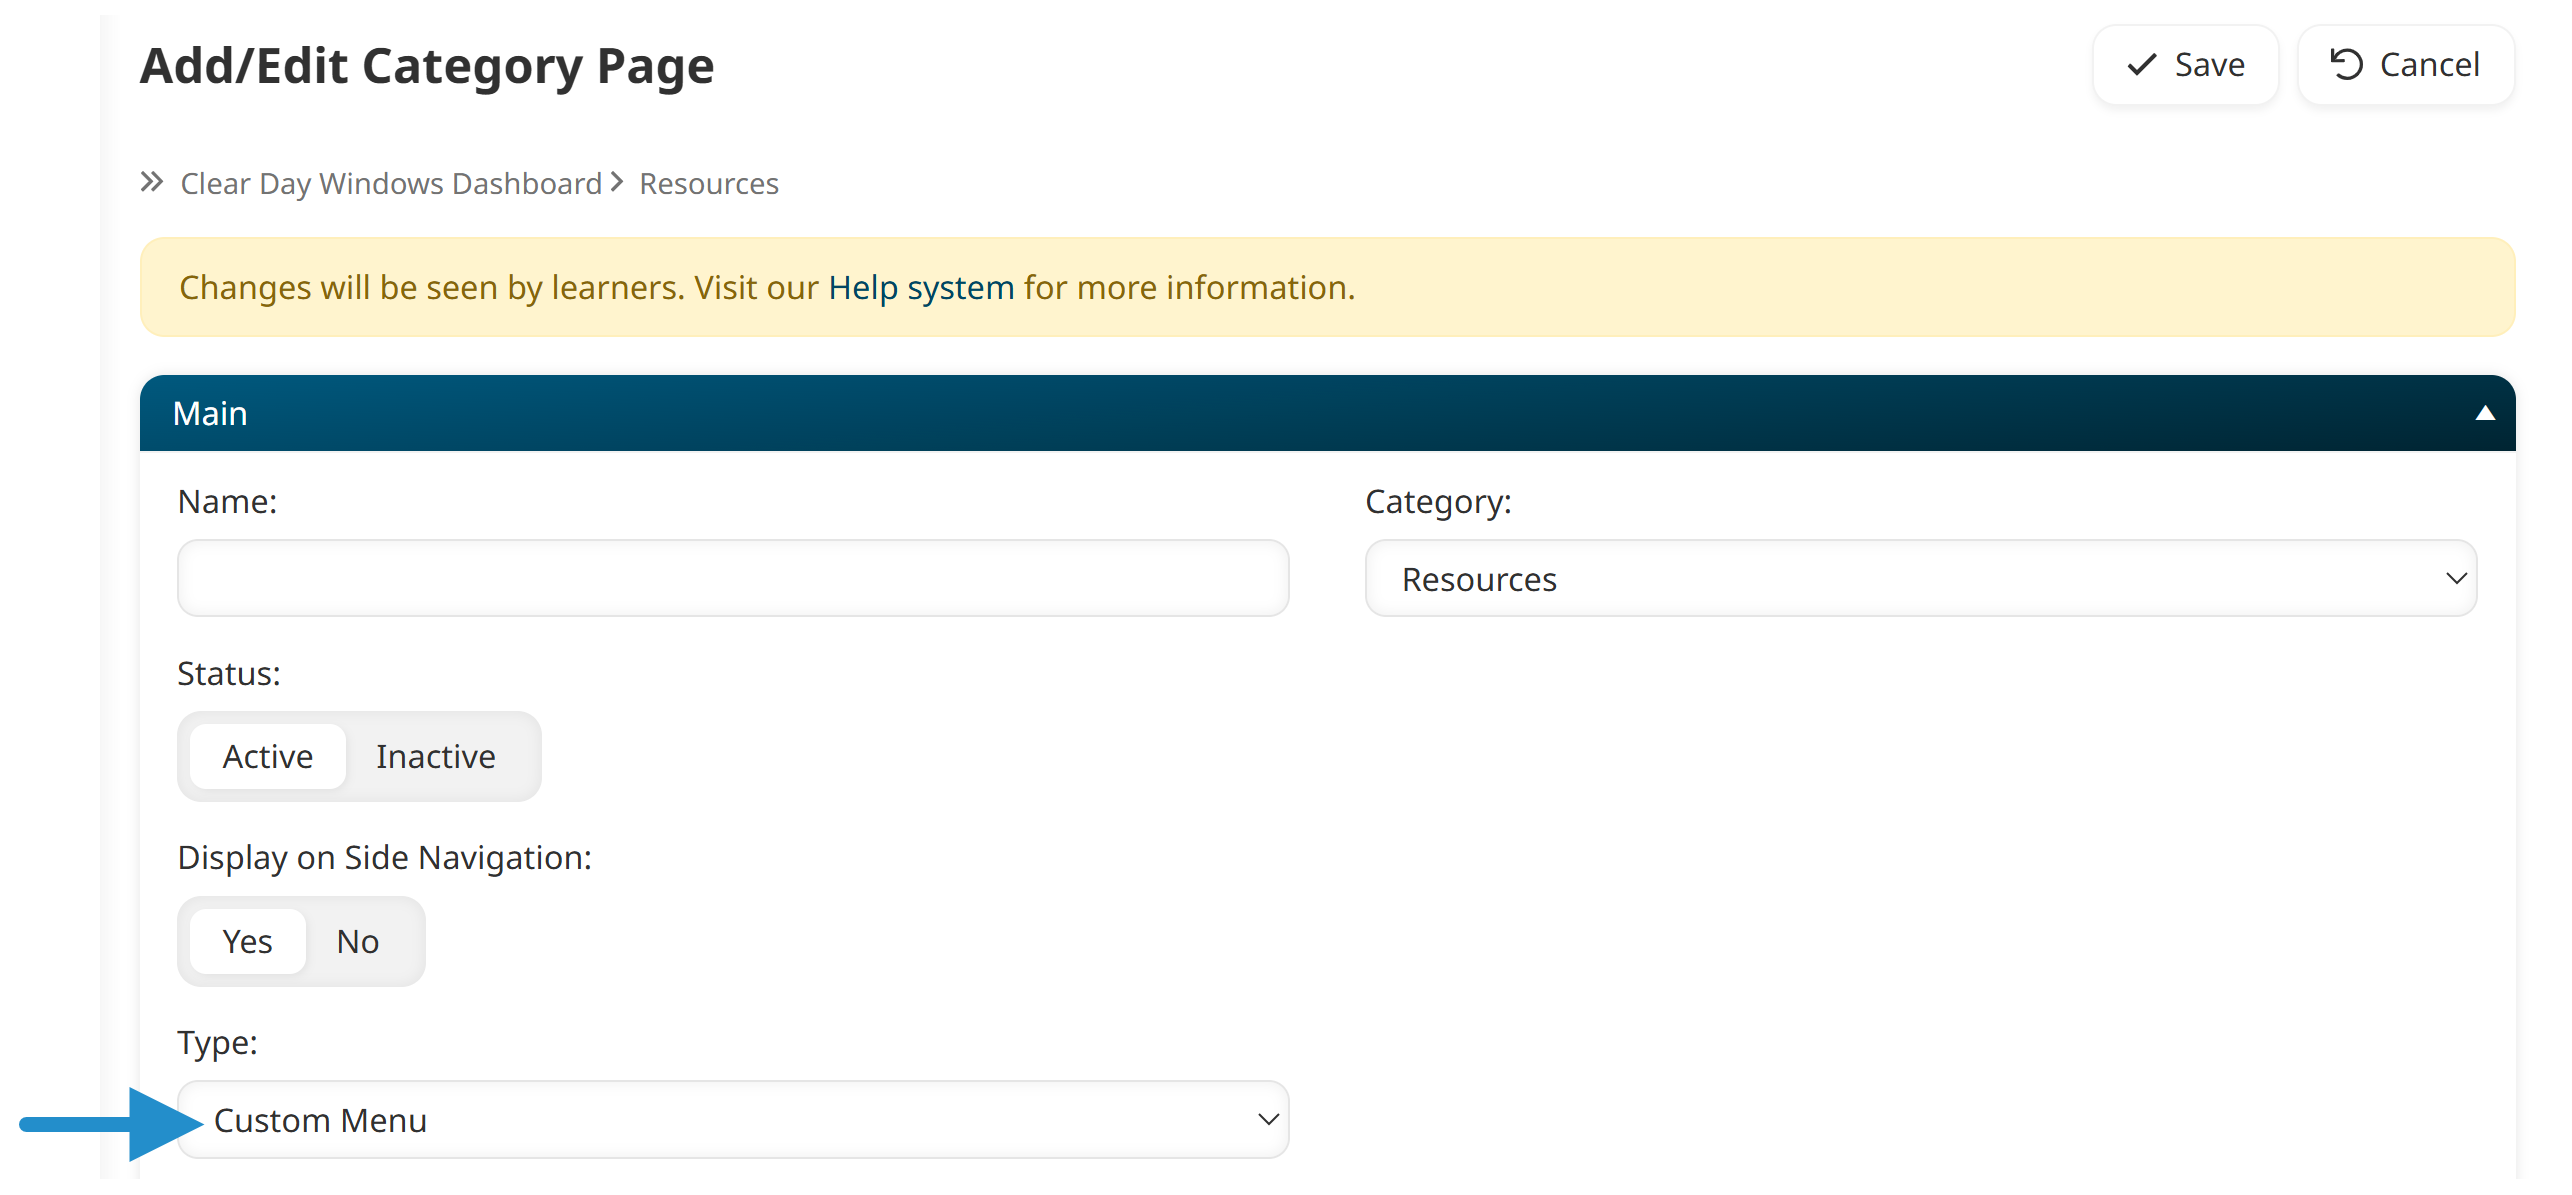
Enter a name for the custom menu item. This name won’t appear to learners.
From the Type dropdown, choose Custom Menu.
Add a label. The label will appear to learners, so pick something short that clearly identifies the link.
Paste the file’s URL.
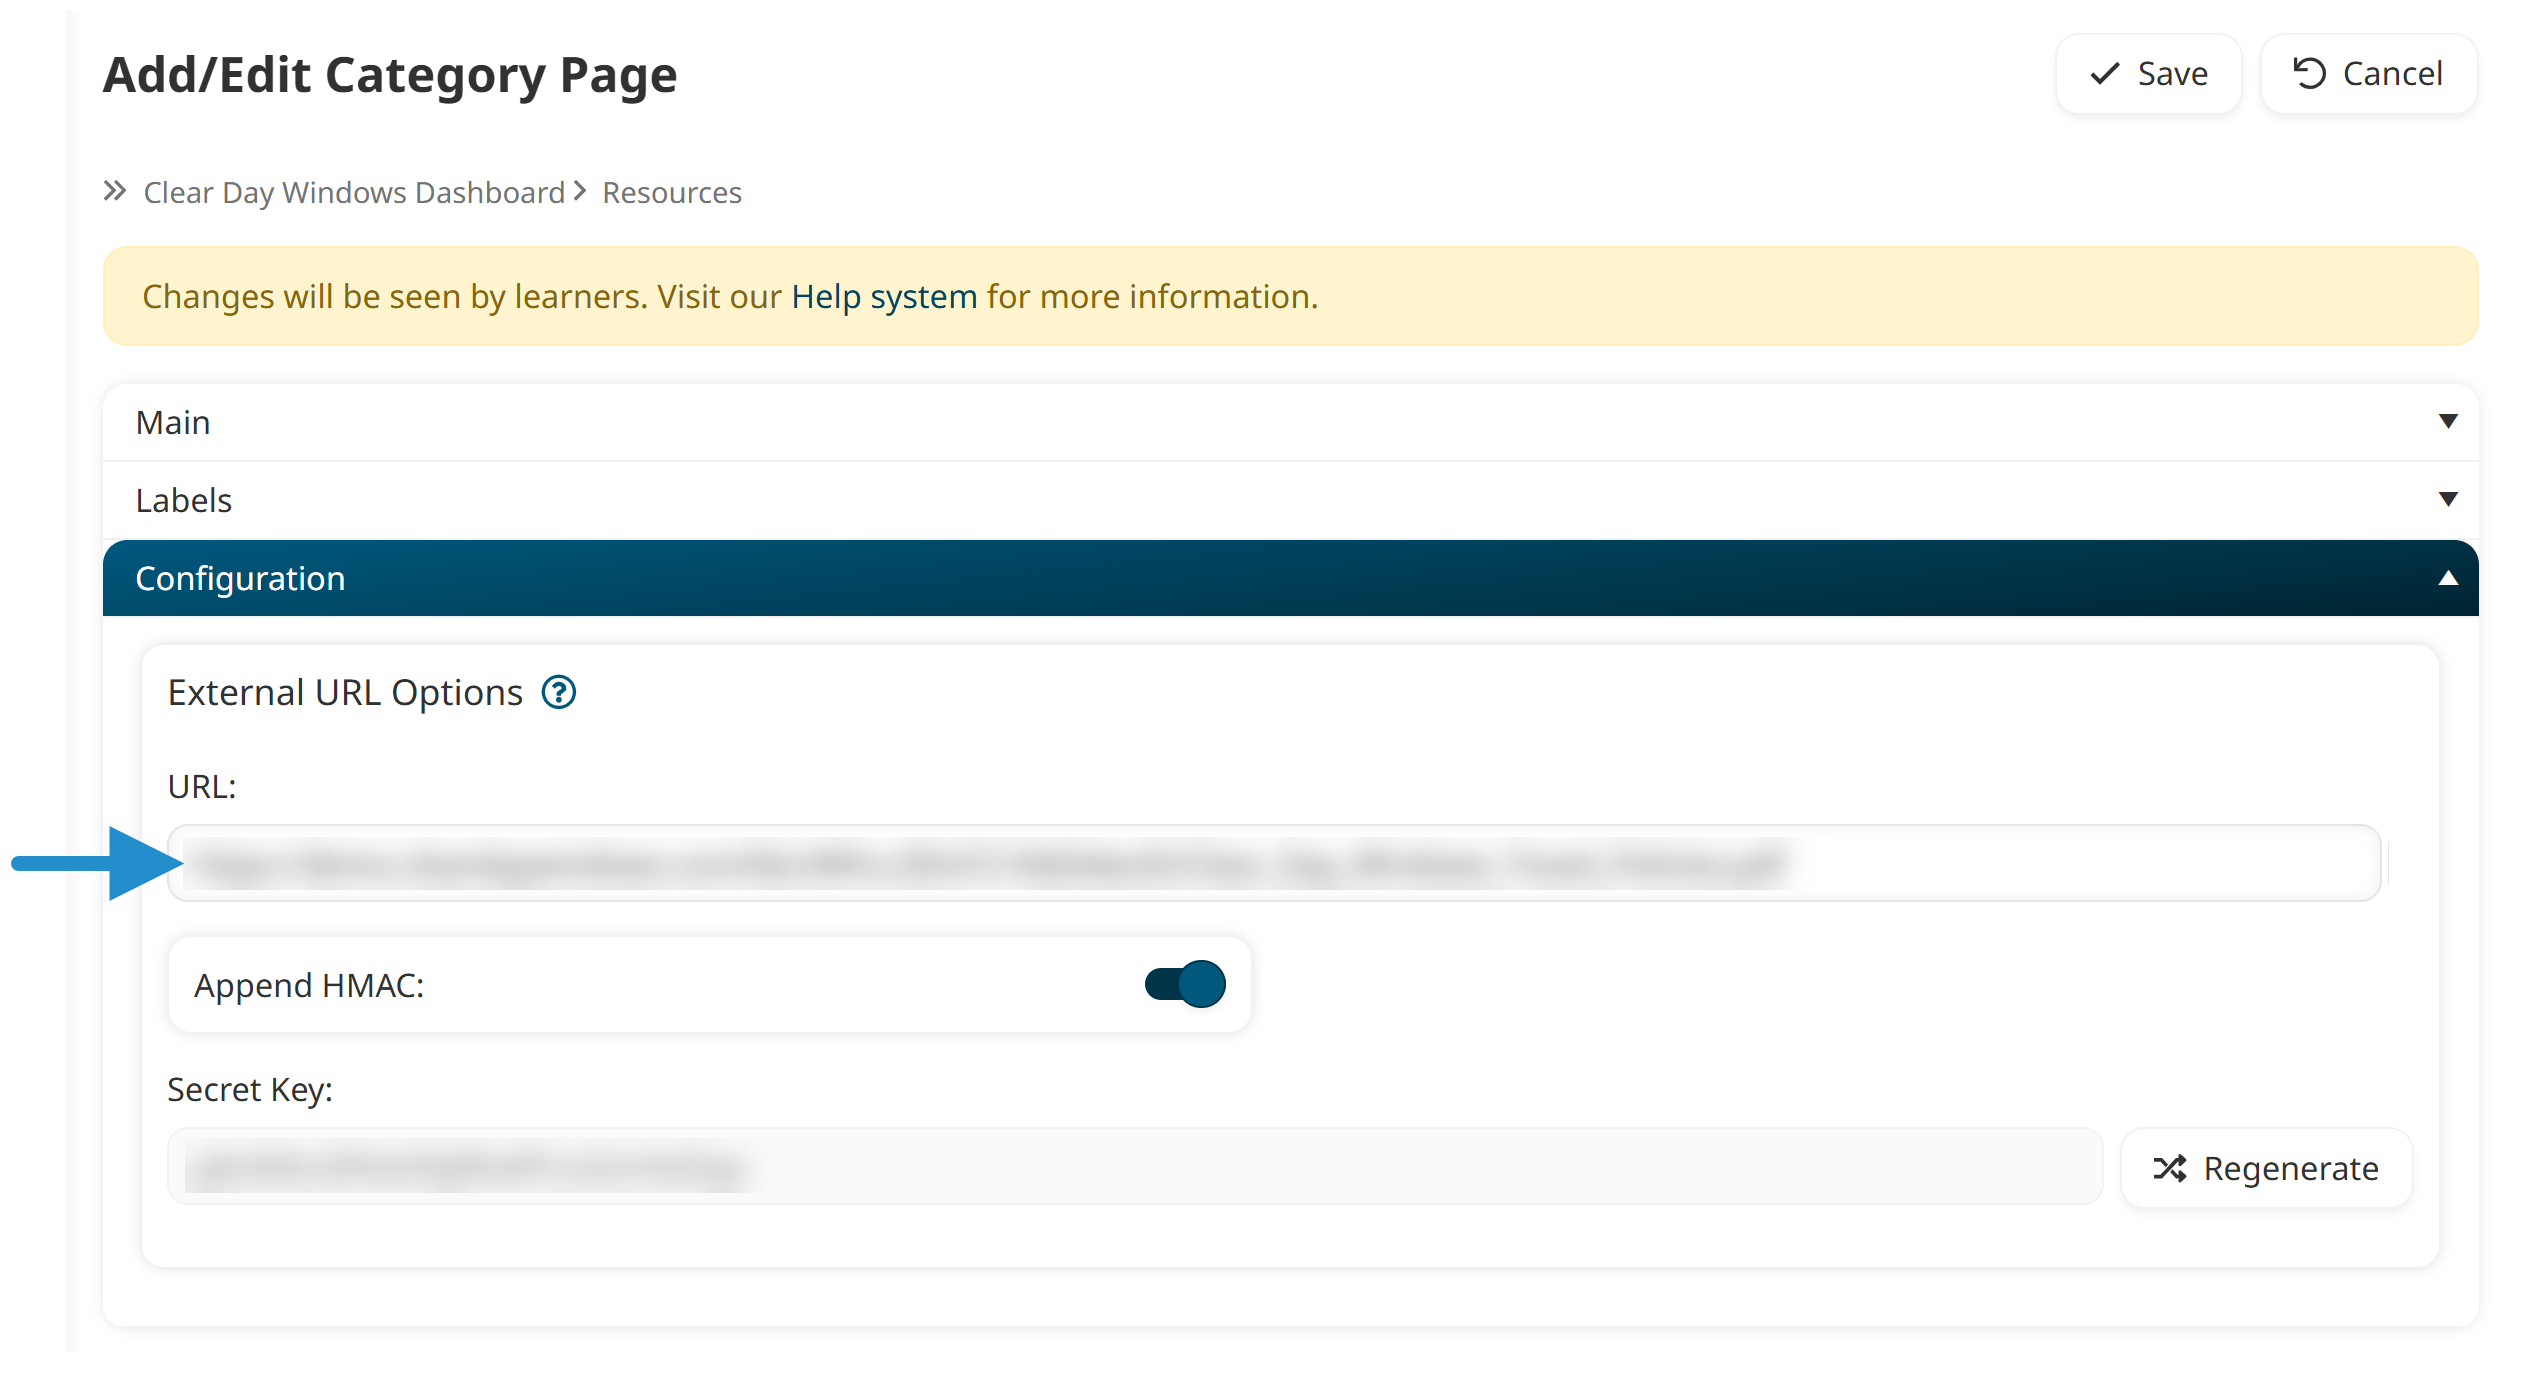
Click Save.
The link will appear on the Learner Dashboard.
You can also add custom menus to the admin interface.
Linking to the File from an Article
To link to the file from a knowledge base article:
Navigate to your knowledge base.
View the article’s Content accordion.
Add some content to the article.
Select the text or image you want to add a link to.
Click the
icon in the WYSIWYG Editor.
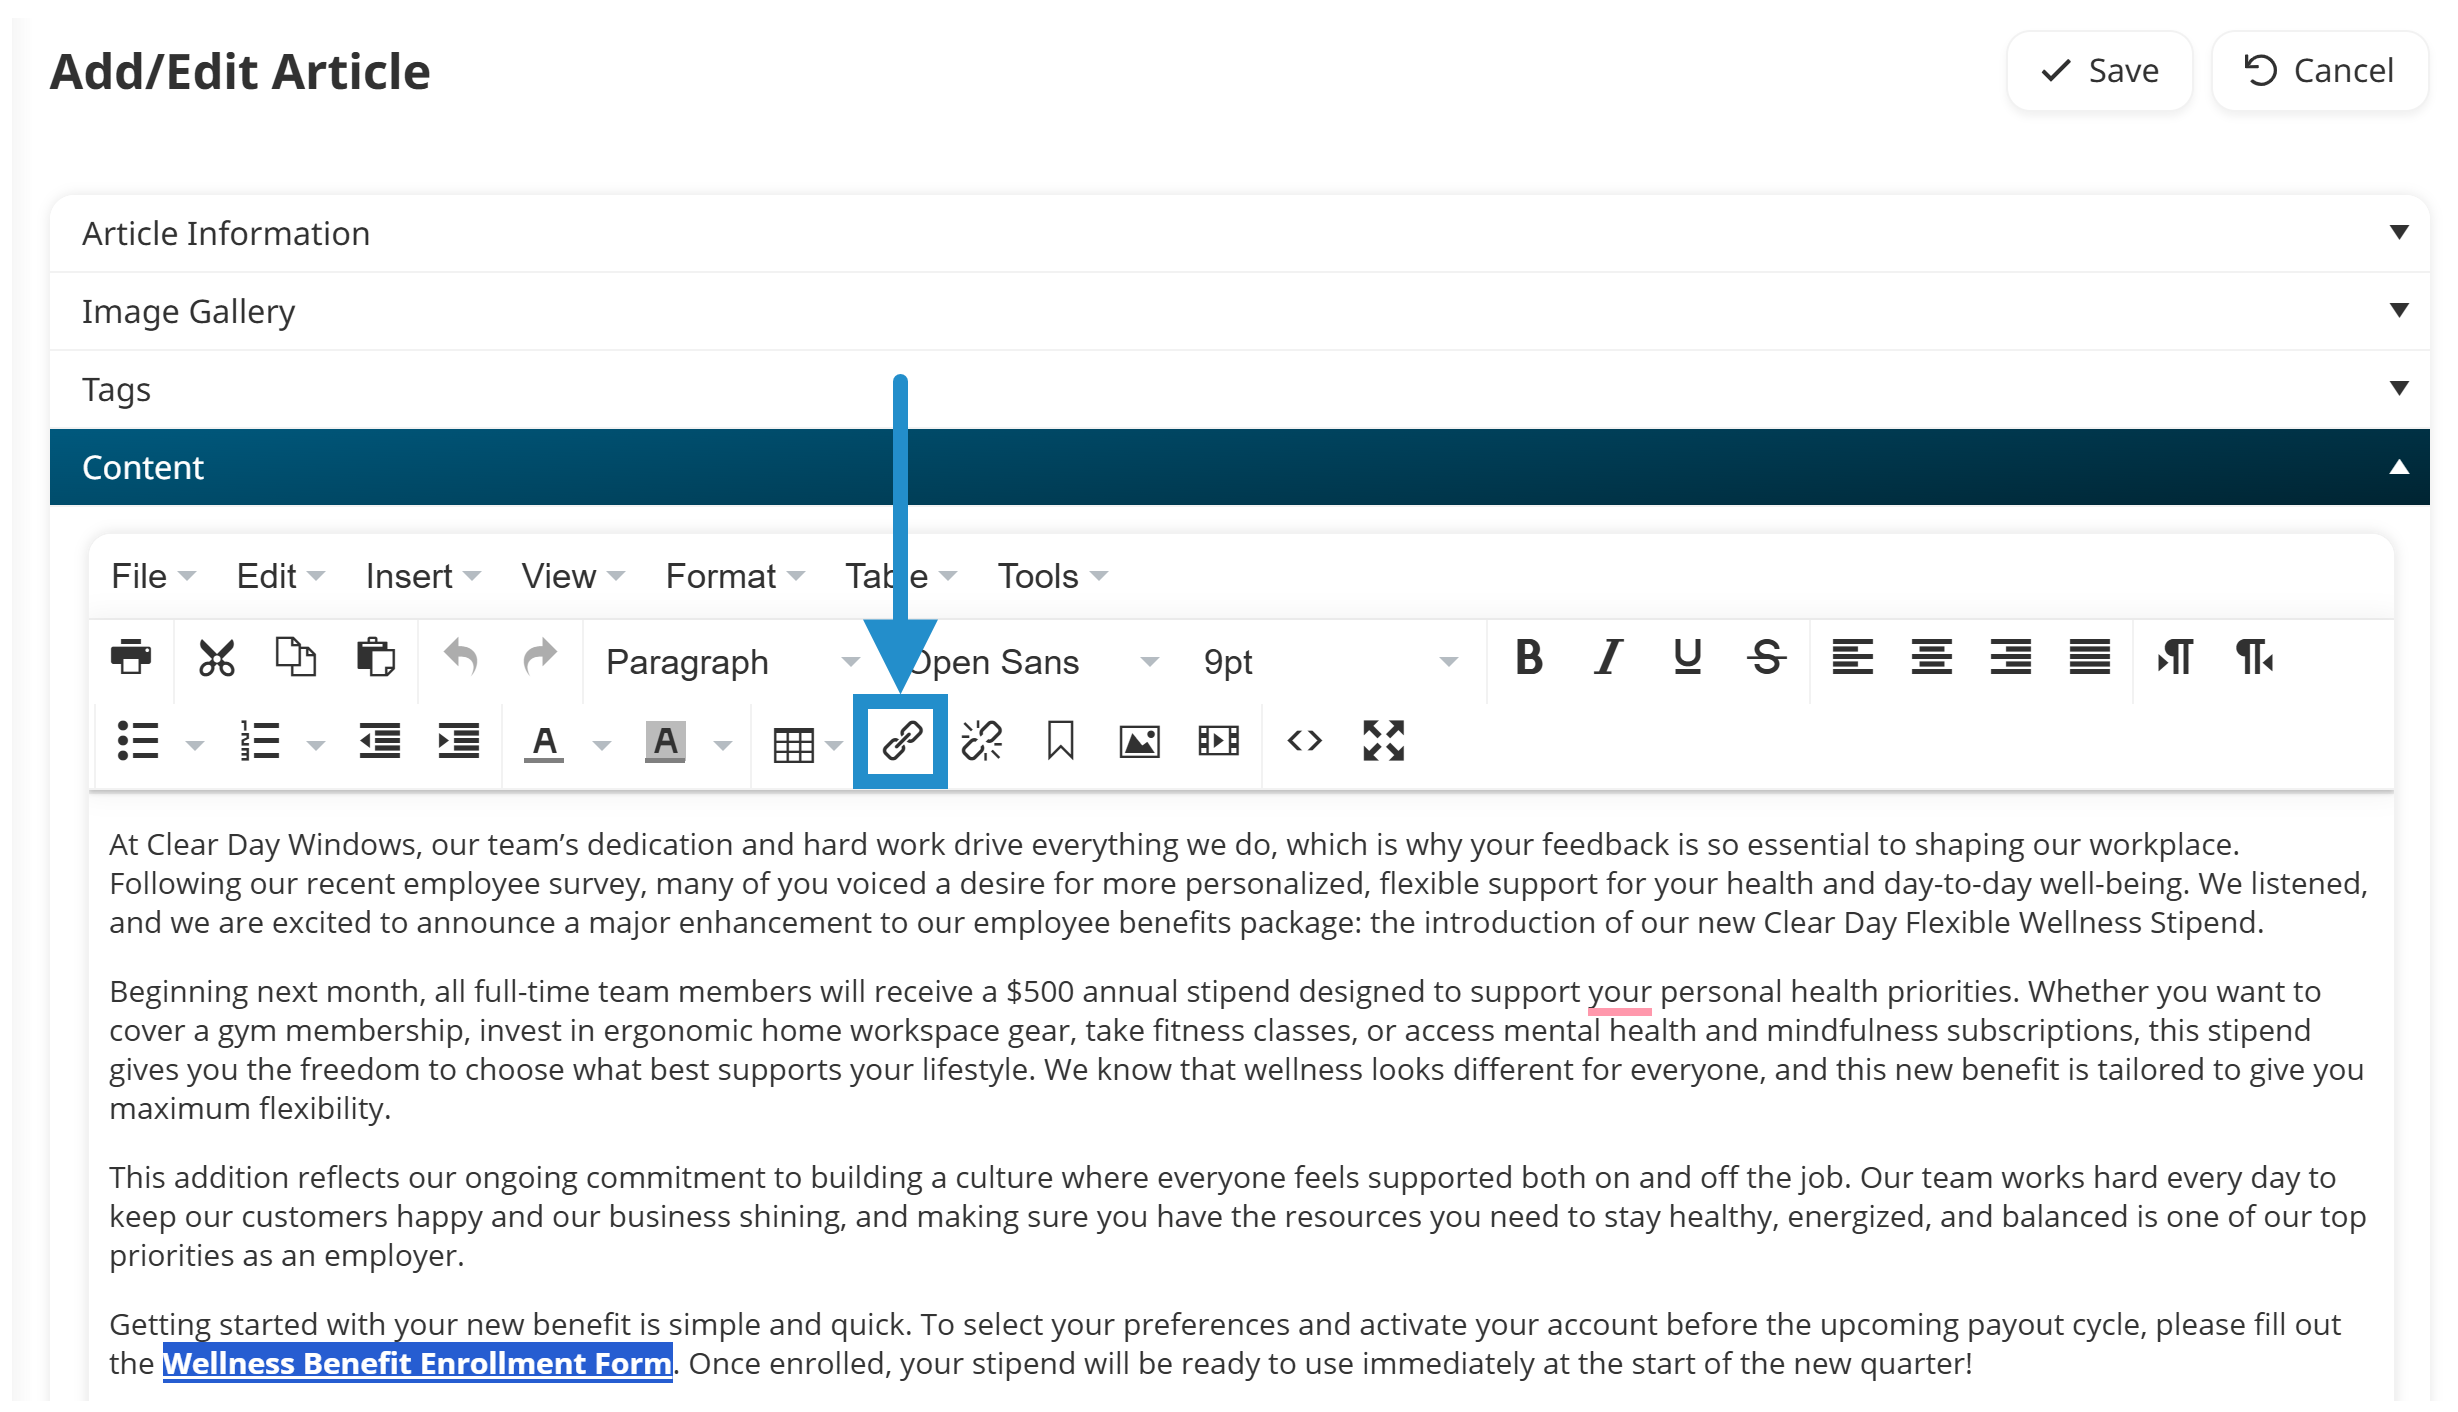
Paste the link into the URL field, then click OK.
Click Save.
Start with the File Your Team Asks About Most
Not sure where to start? Think of the one file learners ask about most frequently. Try linking to it directly from a course slide or menu option to put it right at their fingertips, giving them immediate answers and confidence that they’re accessing the most recent version.
Questions? Contact our Success Desk.