SmarterU enables you to customize various elements of your online course including the course's image that used in the course details page and various dashboards, the footer, the merge document, and completion certificate.
An online course's customization settings are located in the Customization accordion of the Course Information workscreen.
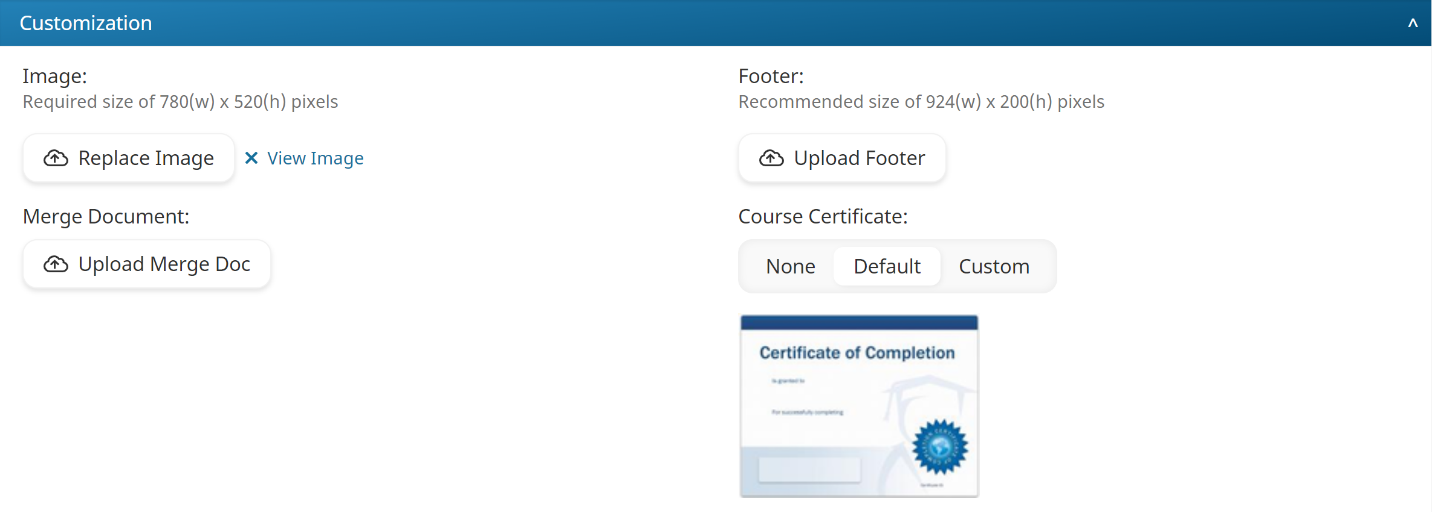
Course Image
This course image displays in the Courses Dashboard, ILT Attendance Dashboard, and the learner interface's tile view and list view.
To upload a course image:
- Add or edit an online course.
- From the Course Information workscreen, expand the Customization accordion.
- Click Upload Image. If you are replacing an existing file, click Replace Image.
- Upload the image by doing the following:
- Navigate to the file's location.
- Select the file.
- Click Open.
If you have already uploaded an image, hover over the View Image link to preview the image.
To delete the image, click the X beside the View Image link.
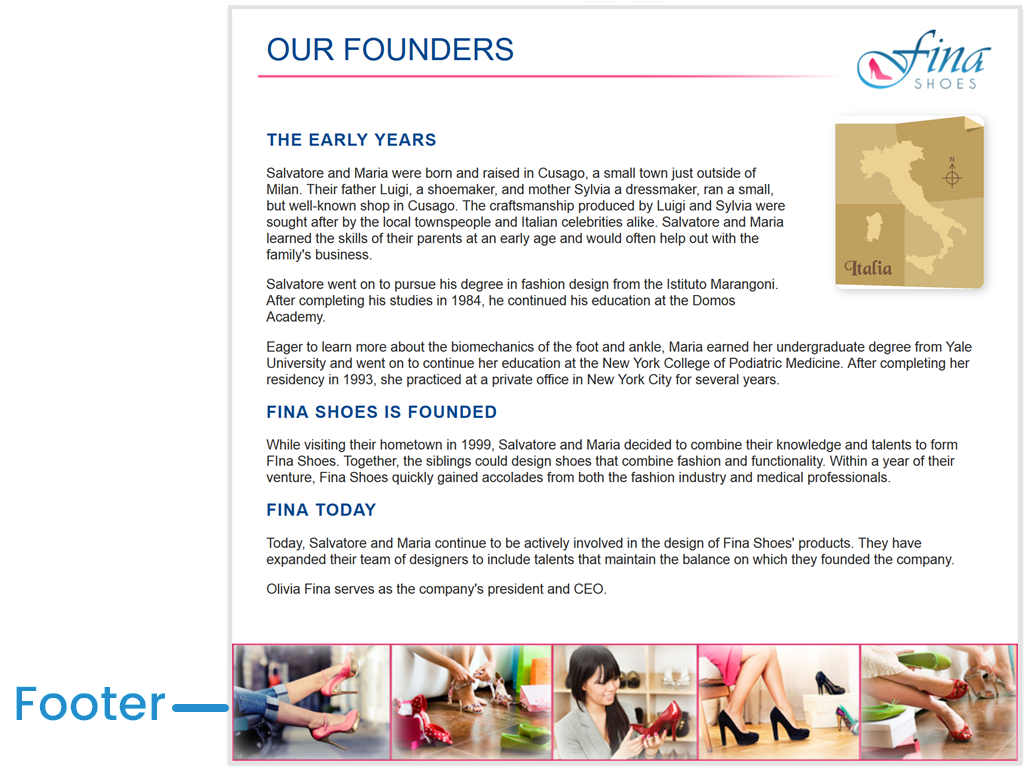
Course Footer
The course footer displays at the bottom of each content slide task. If you do not upload a course footer, the account footer will display.
To upload a course footer:
- Add or edit an online course.
- From the Course Information workscreen, expand the Customization accordion.
- Click Upload Footer. If you are replacing an existing file, click Replace Footer.
- Upload the image by doing the following:
- Navigate to the file's location.
- Select the file.
- Click Open.
If you have already uploaded an image, hover over the View Footer link to preview the image.
To delete the image, click the X beside the View Footer link.
Merge Document
With some custom programming you can add the ability to capture text from the learner as they progress through a course, and then merge it into a finished document with headers and other design elements. Contact our Success Desk if you are interested in using this functionality.
To upload a merge document:
- Add or edit an online course.
- From the Course Information workscreen, expand the Customization accordion.
- Click Upload Merge Doc. If you are replacing an existing file, click Replace Merge Doc.
- Upload the file by doing the following:
- Navigate to the file's location.
- Select the file.
- Click Open.
If you have already uploaded a merge document, hover over the View Merge Document link to preview the file.
To delete the merge document, click the X beside the View Merge Document link.
Course Completion Certificate
Select one of the following:
- None - There is no course completion certificate.
- Default - SmarterU's default course certificate is generated. If a certificate has been uploaded for the account, that will be the default certificate used. If no account-level certificate exists, the SmarterU default certificate will be used.
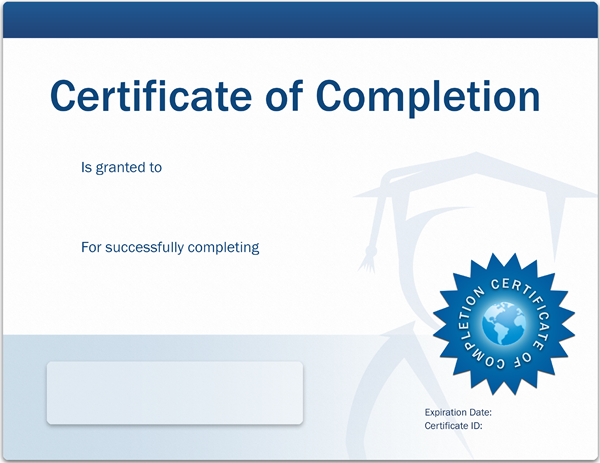
- Custom - You may upload a PDF that will be used to generate the course completion certificate. The PDF should be 8.5 x 11 inches and may contain text, graphics, and fields for the learner's name, course name, course provider name, and completion date. Upon completion of the course, SmarterU will merge the information into the PDF to generate a completion certificate for the learner. Refer to Creating a Custom Certificate for more information.
To upload a completion certificate:
- Add or edit an online course.
- From the Course Information workscreen, expand the Customization accordion.
- Click Upload Certificate. If you are replacing an existing file, click Replace Certificate.
- Upload the certificate by doing the following:
- Navigate to the file's location.
- Select the file.
- Click Open.
- The certificate attached to the course at the time the certificate is requested will be used.
- If Default or Custom is selected and the course's Send Completion Email setting is checked, the course completion certificate will be attached to the Course Completion email that is sent to learners. The Course Completion to Group Contacts email will include a link to download the certificate. The specified contacts will have 72 hours from the time the Course Completion to Group Contacts email is sent to download the course completion certificate.